How to Post Vertical Photos and Videos on Instagram (Without Cropping Them)
Instagram crops all vertical posts except for Reels to a 4:5, which means part of a vertical video or photo is cut off. But, if you add a background before publishing to Instagram, you can post the full 9:16 portrait without cropping.
Instagram crops all vertical posts to a 4:5 aspect ratio, with the exception of Reels. Regular Instagram photo posts and carousels (photo or video carousels), must fit either the 1:1 or 4:5 aspect ratios. That means if you take a screenshot, film a video clip on your phone, want to share an Instagram Story to your feed, or want to reshare a TikTok or Snap video as part of a carousel, you’ll have to resize it first.
To post a full vertical video or image on Instagram without cropping to 4:5, add a background to make it into either a square or 4:5 rectangle. Then, you can post the whole photo or video without cropping out or changing the size. This technique works for pictures, GIFs, and videos. In this article, we’ll break down how to do that with a step-by-step tutorial.
- How to Post Vertical Photos to Instagram
- How to Use AI Outpainting to Resize for Instagram
- How to Post Vertical Videos to Instagram
Let’s get started.
How to Post Vertical Photos to Instagram without Cropping
To post a tall, portrait image on Instagram, you have to add it to a 4:5 canvas using a resizing tool. Here’s how:
- Upload to a Resizer Tool
- Add a 4:5 Background
- Download and Share
Now I’ll show you how to do that using an online video and image editing tool called Kapwing.
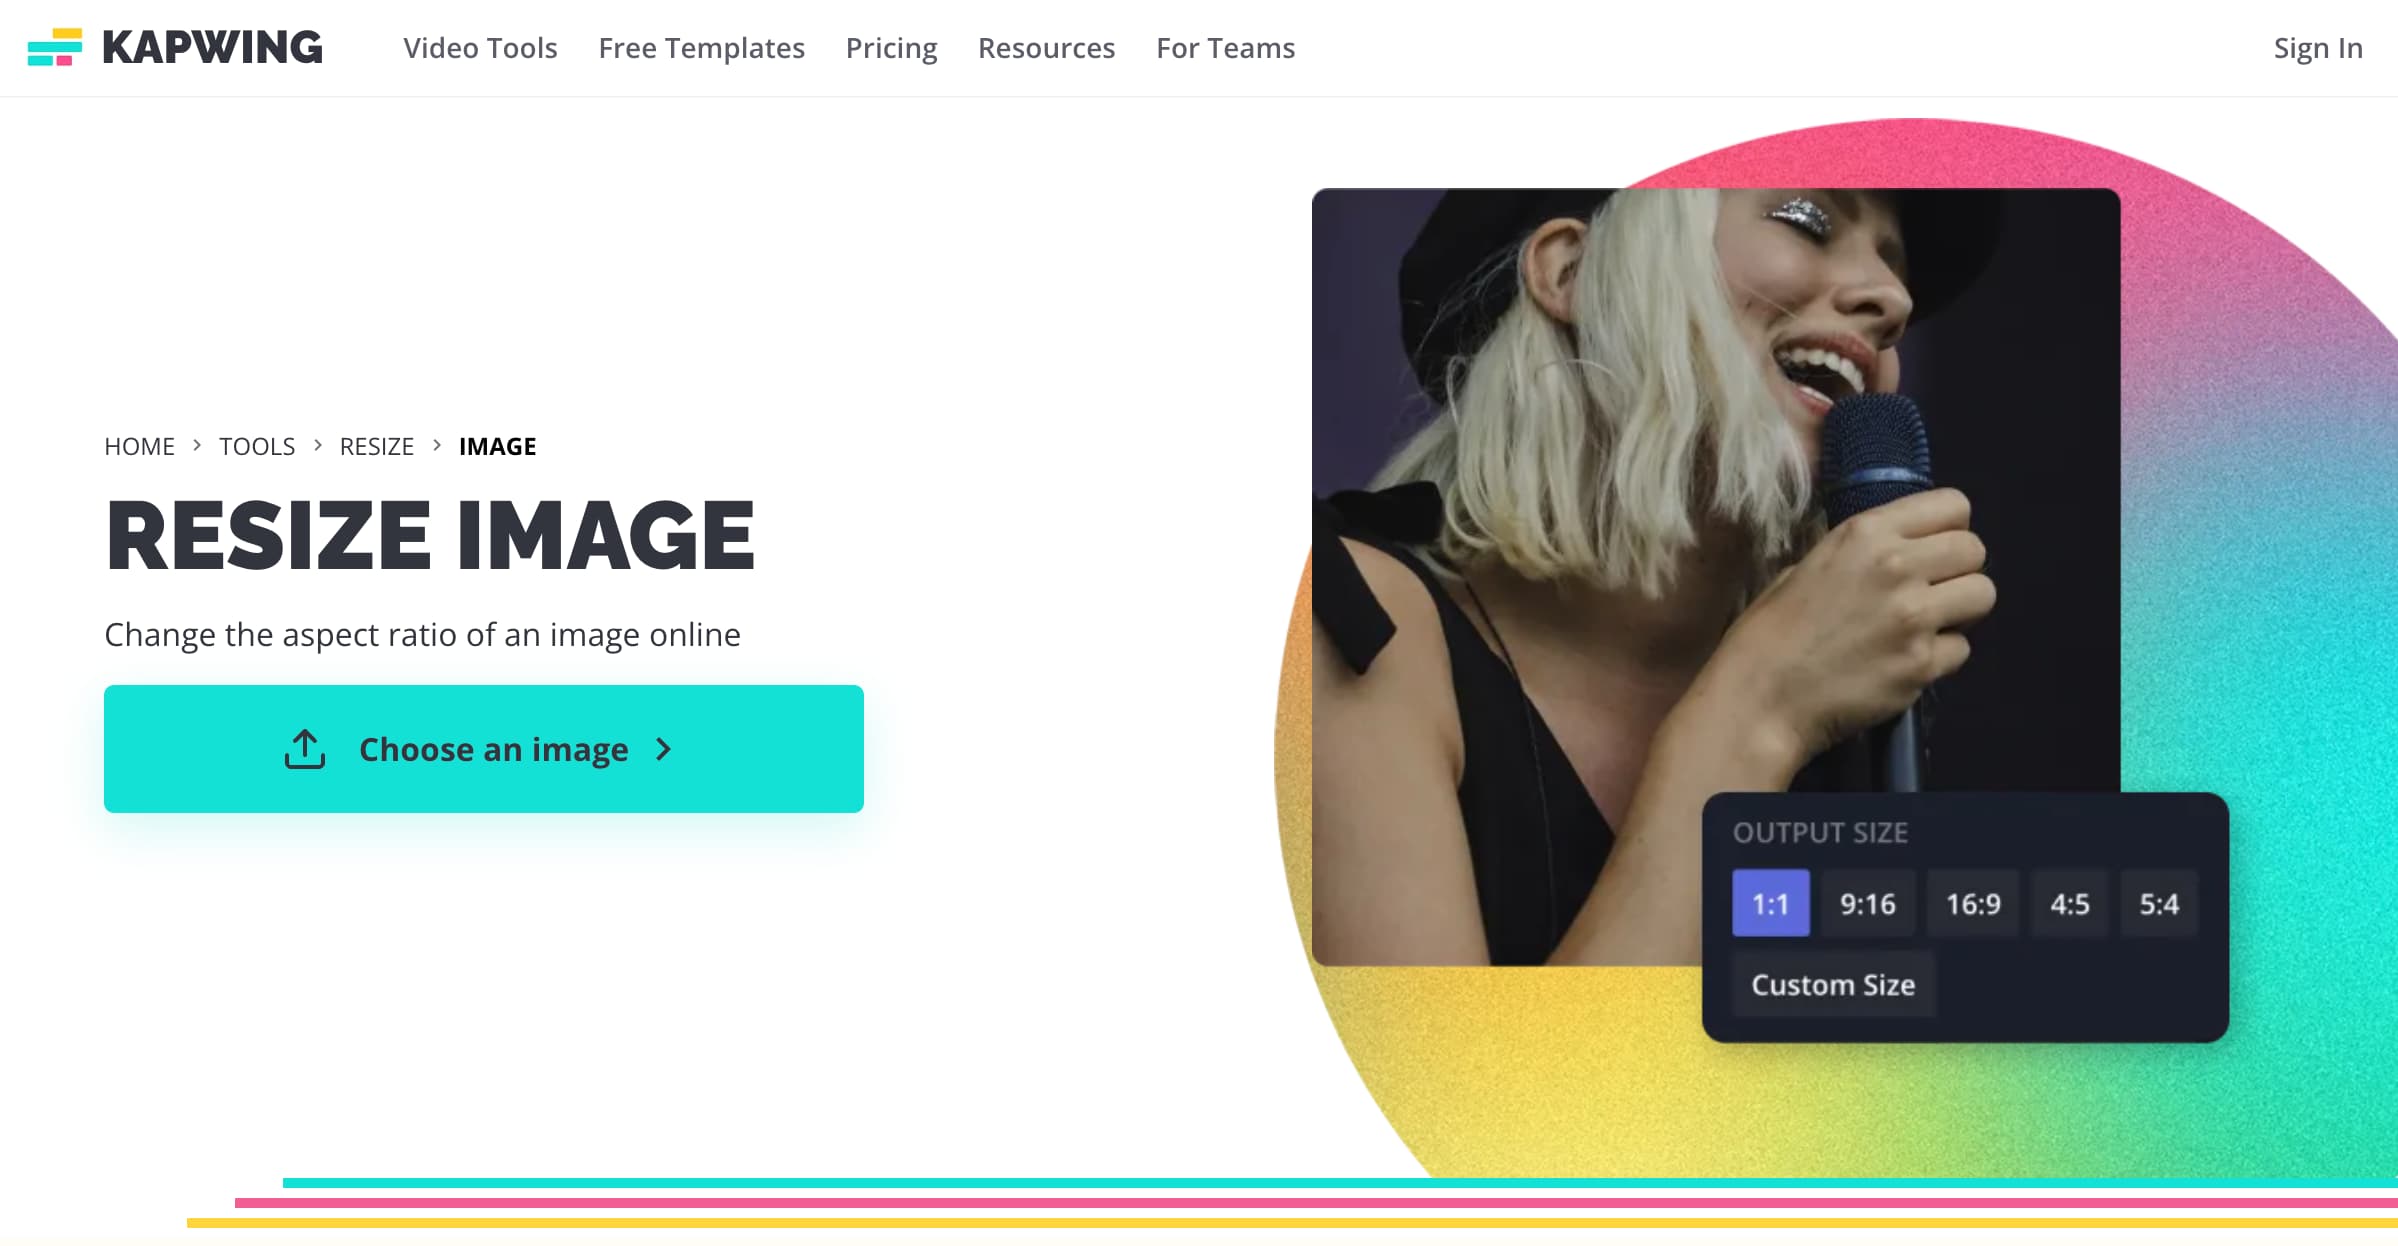
Step 1: Upload to the Resizer Tool
Head to Kapwing’s imager resizer tool and click the “Choose an image” button to get started.
Inside the editor, you’ll see the upload options.
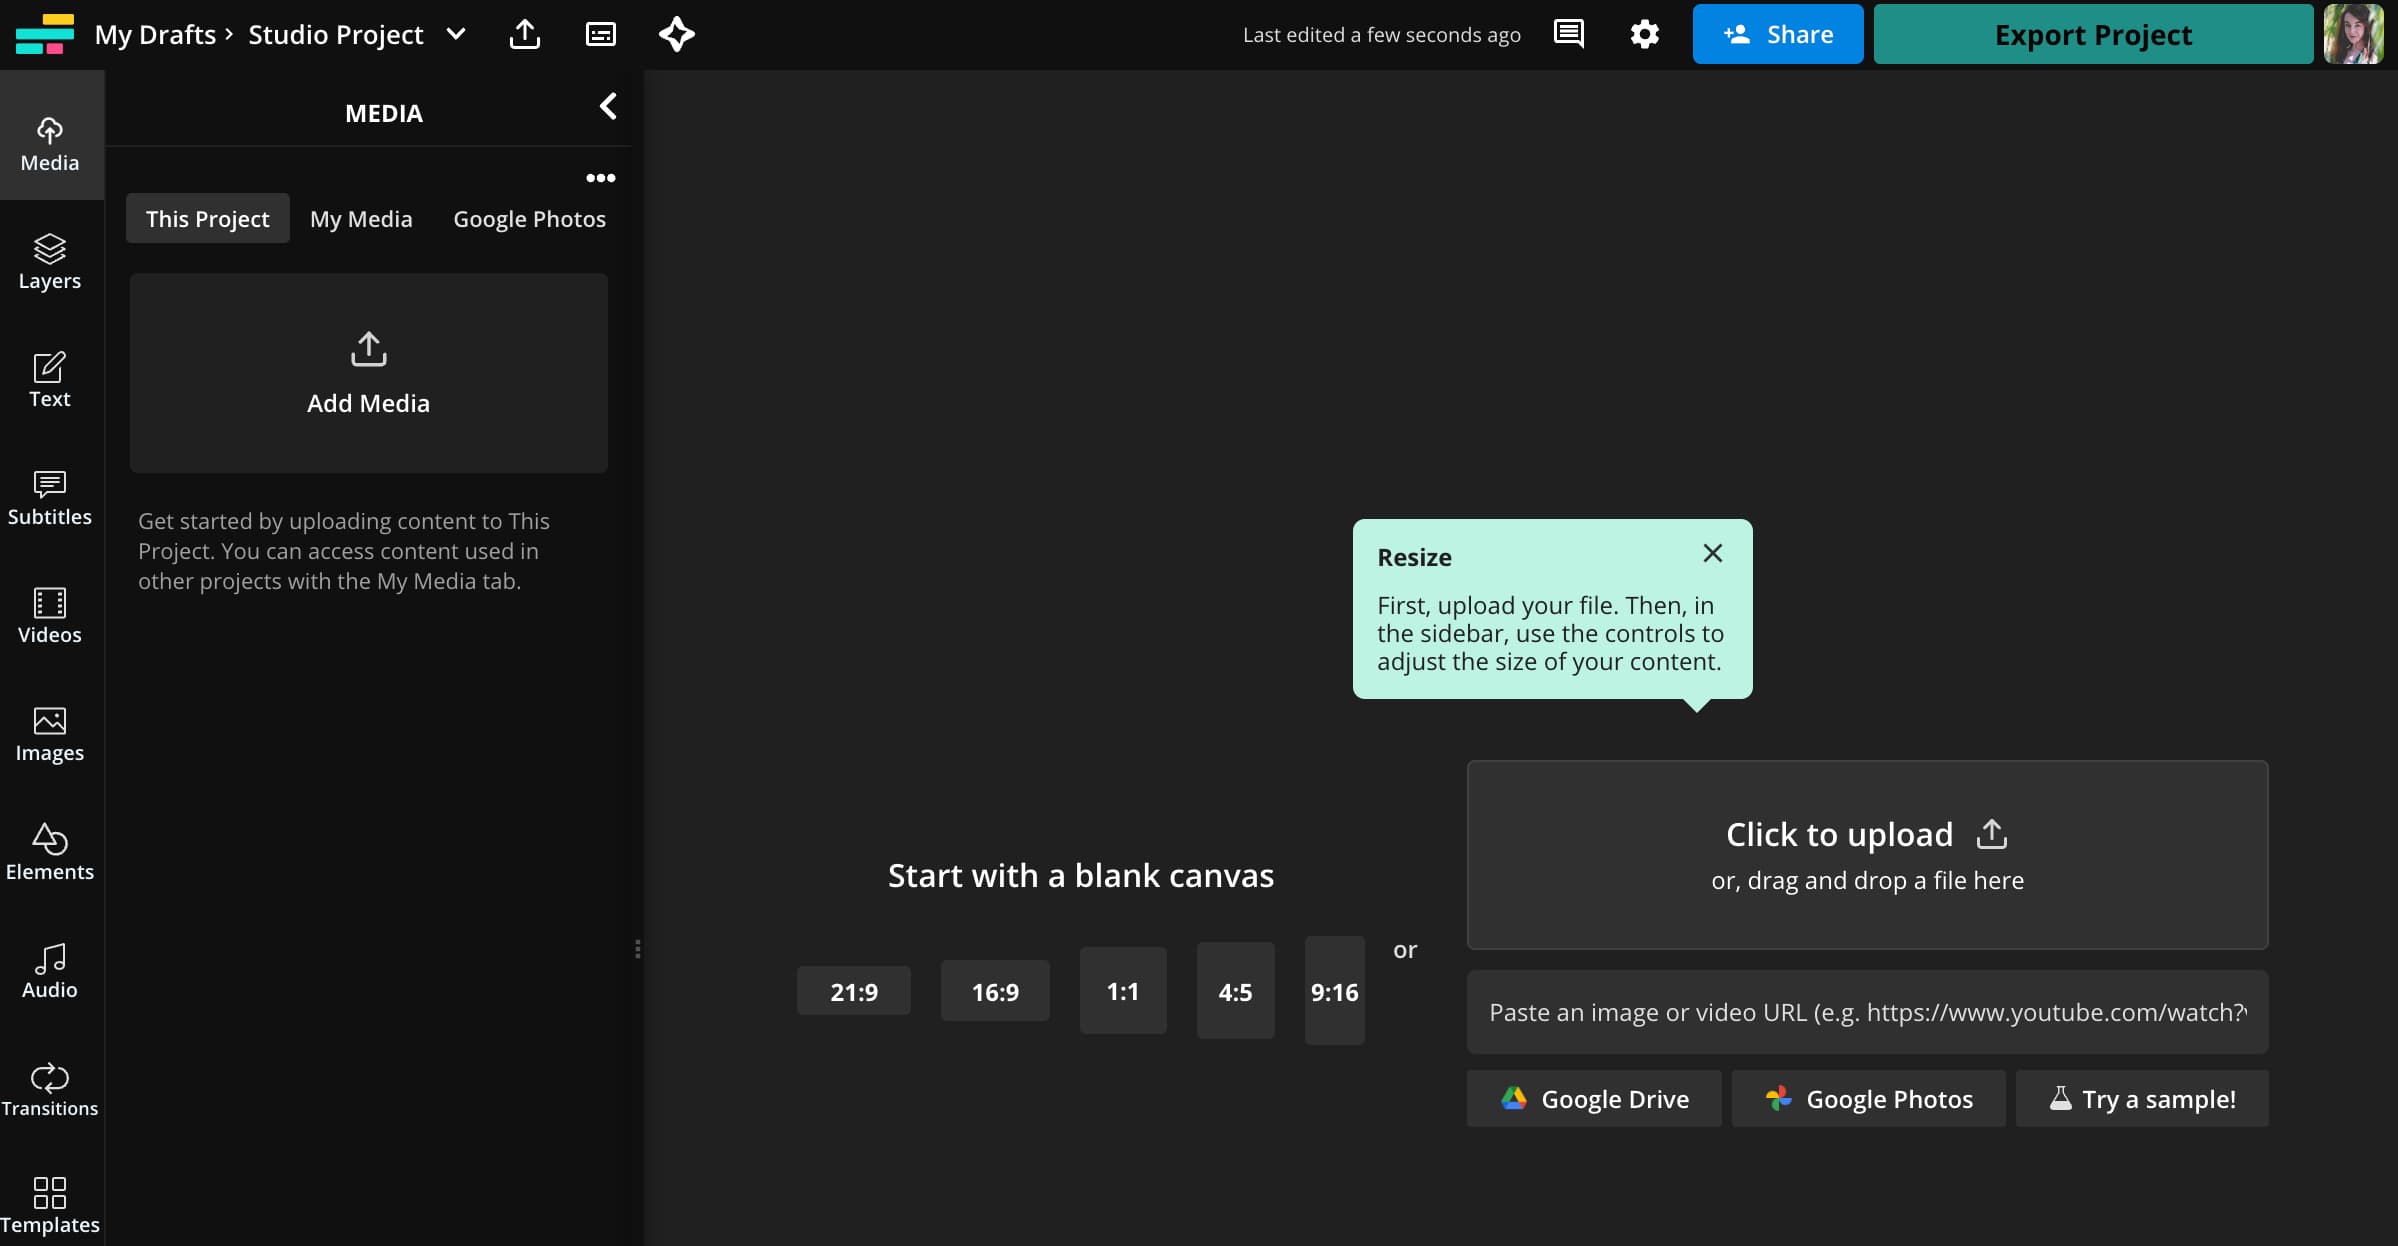
You can upload the vertical or portrait photo you want to post directly from your device, import from the cloud (Kapwing supports Google Drive and Photos), or from a link if you’re storing the image elsewhere online.
Step 2: Resize and Add a Background
With your photo uploaded, it’s time to add a background that meets Instagram’s size requirements.
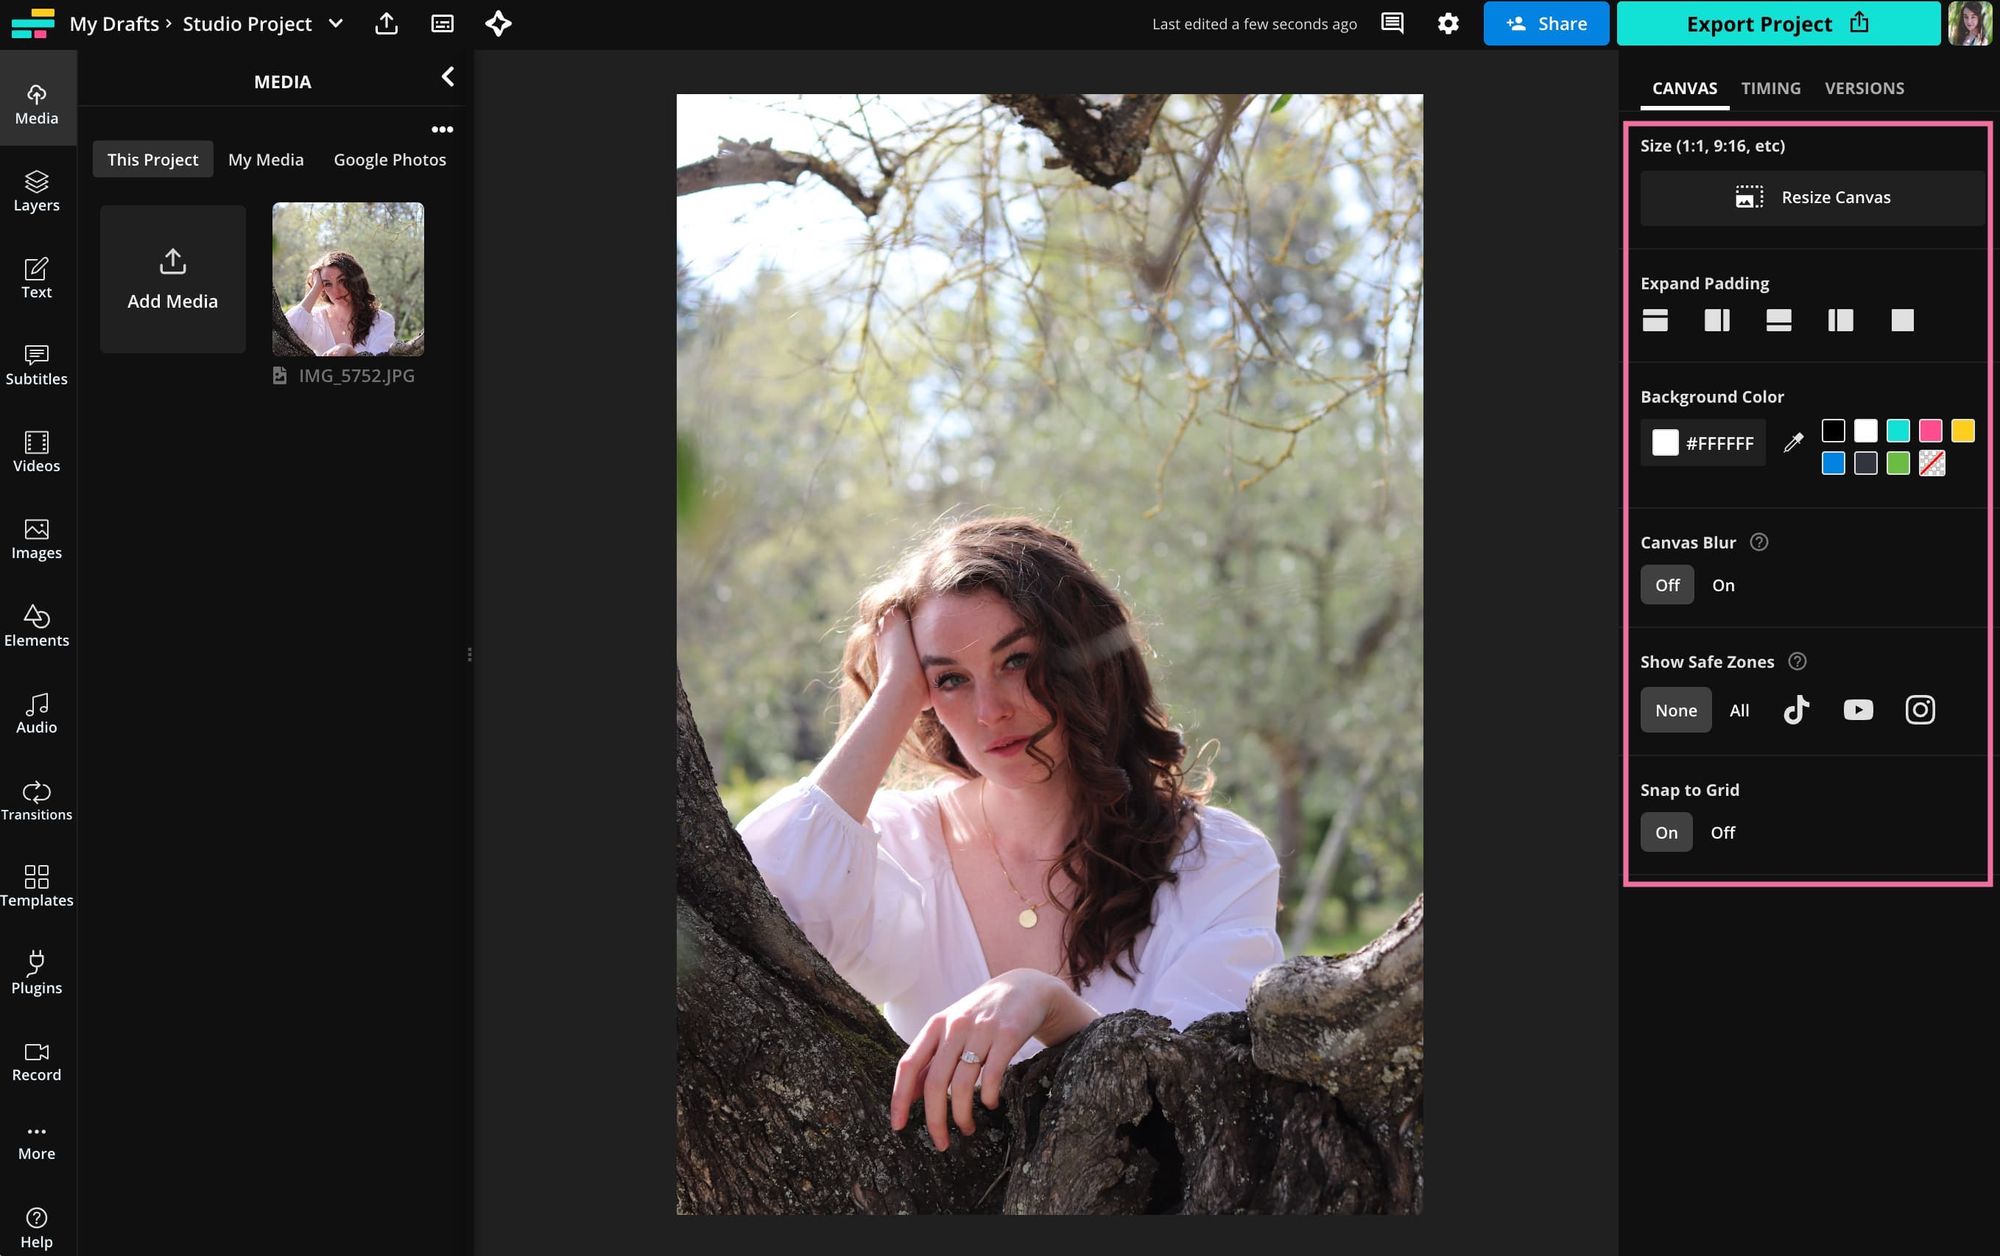
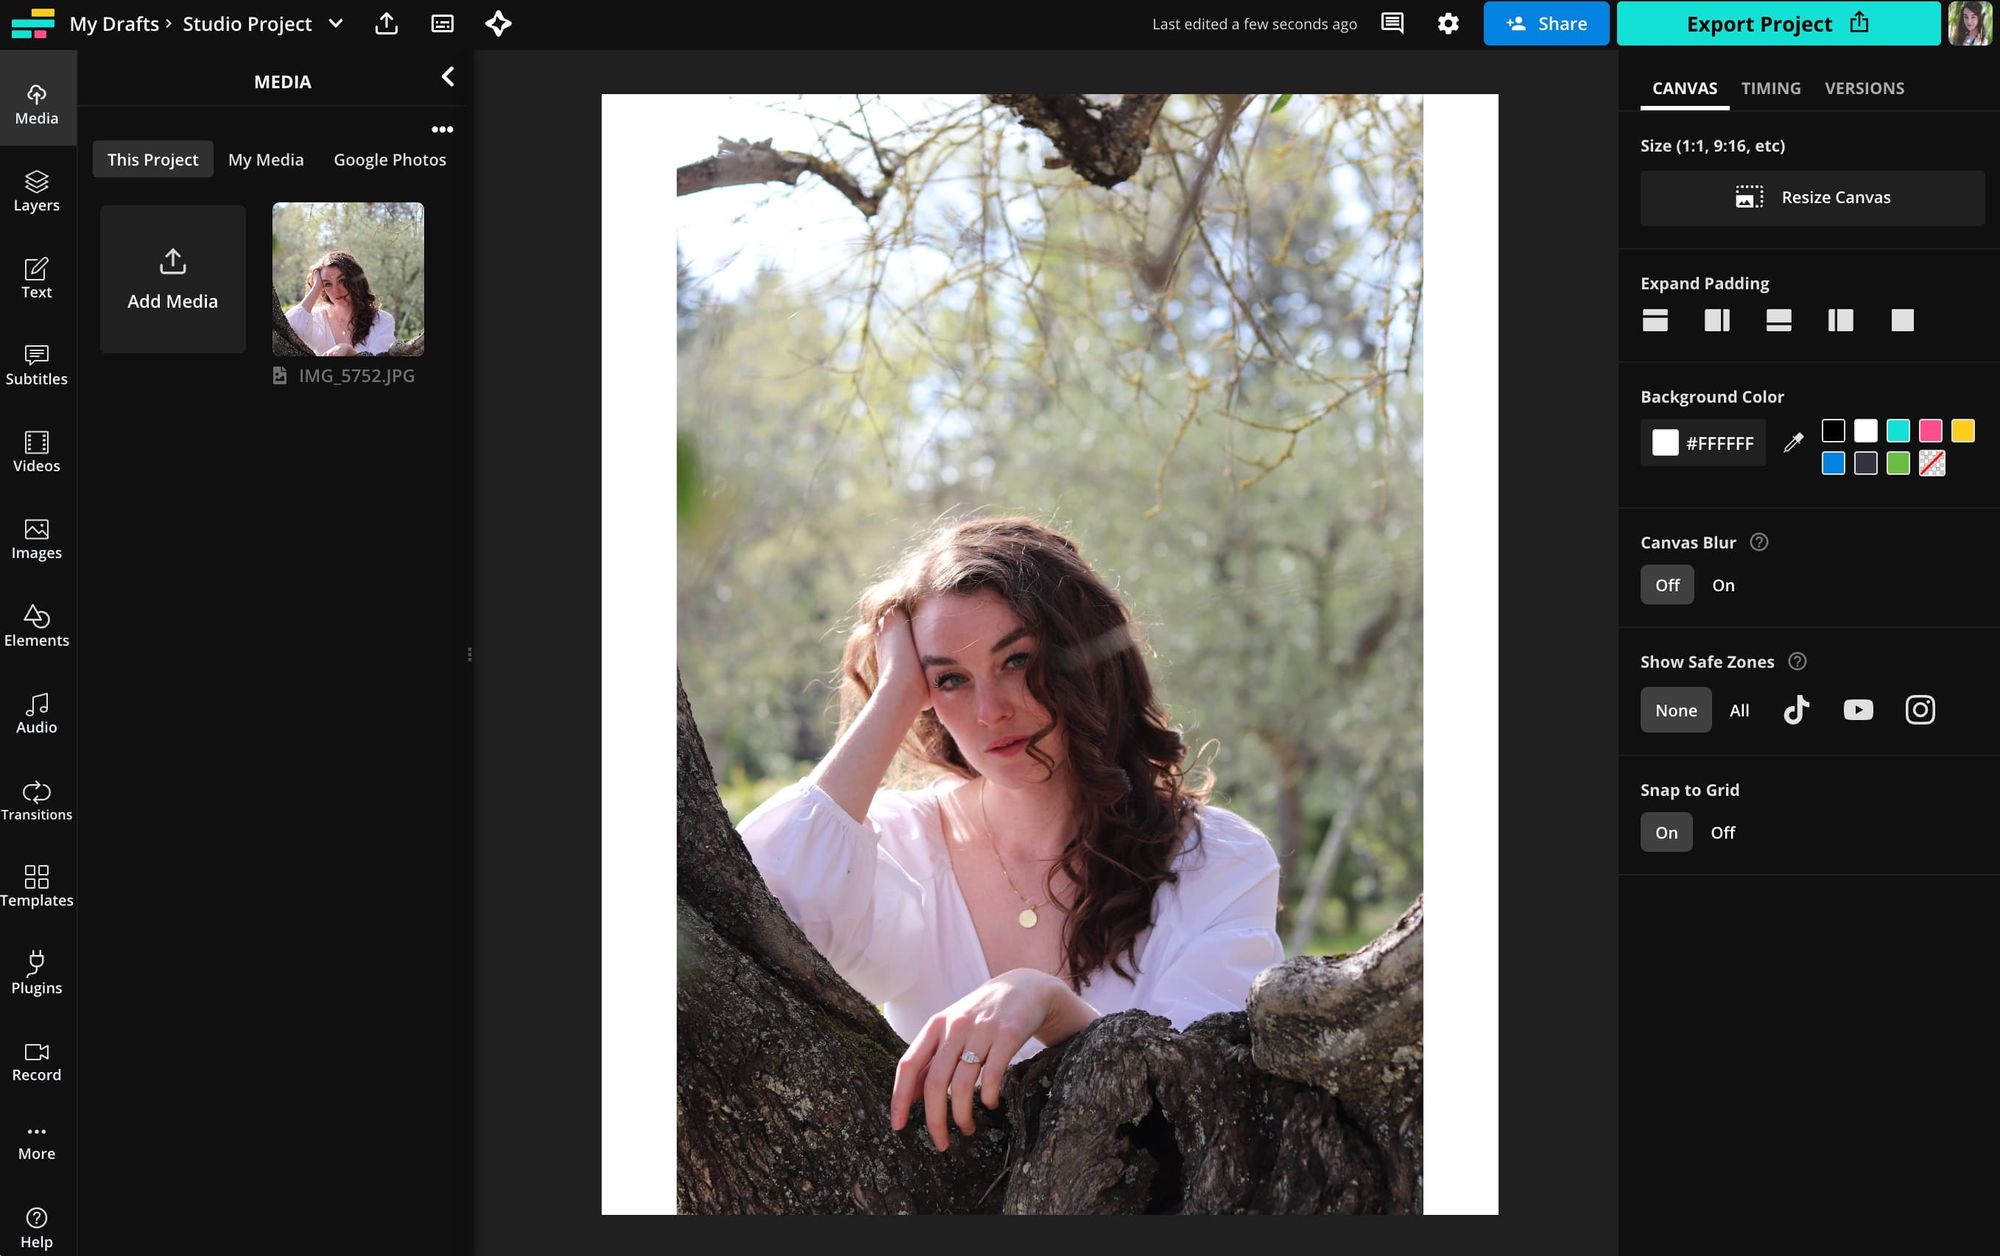
First, select the canvas – just click on the dark background behind the image instead of on the image itself. You’ll see the edit menu on the right side change from Image menu to the Canvas menu. Click on the “Resize Canvas” button.
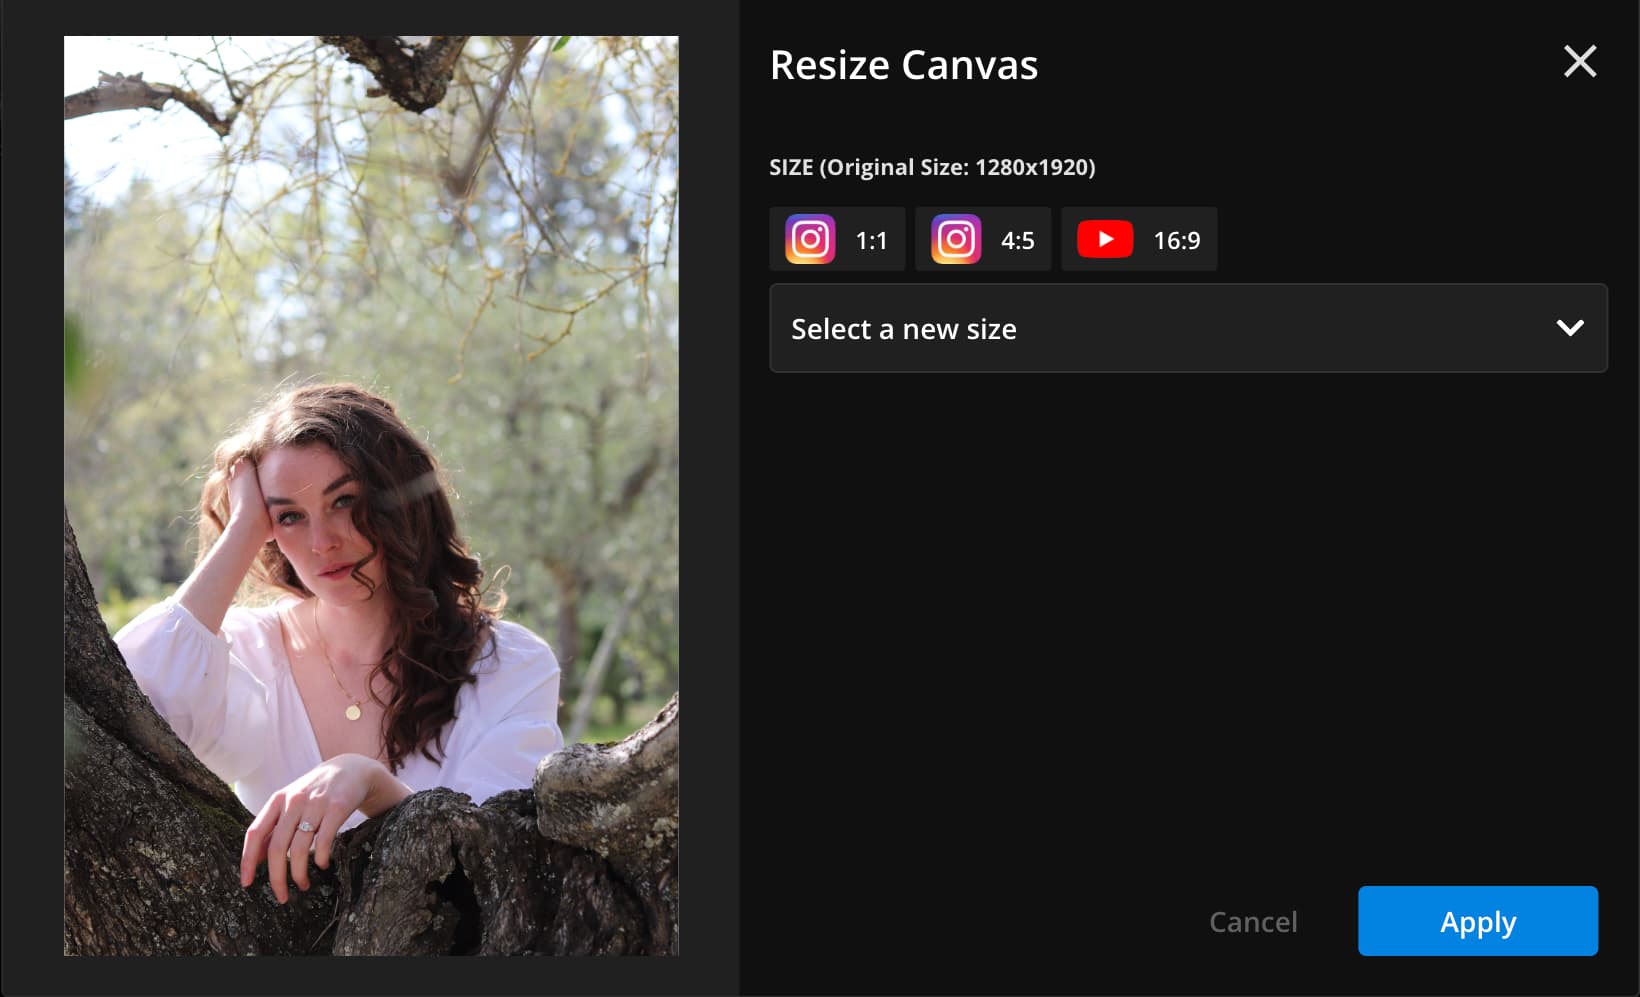
This will let you change the size of the background without changing or cropping the image on top. Select one of the Instagram presets, 1:1 if you want square, or 4:5 if you want rectangular. I chose 4:5 for this example because I wanted as little blank space to either side of my photo as possible.
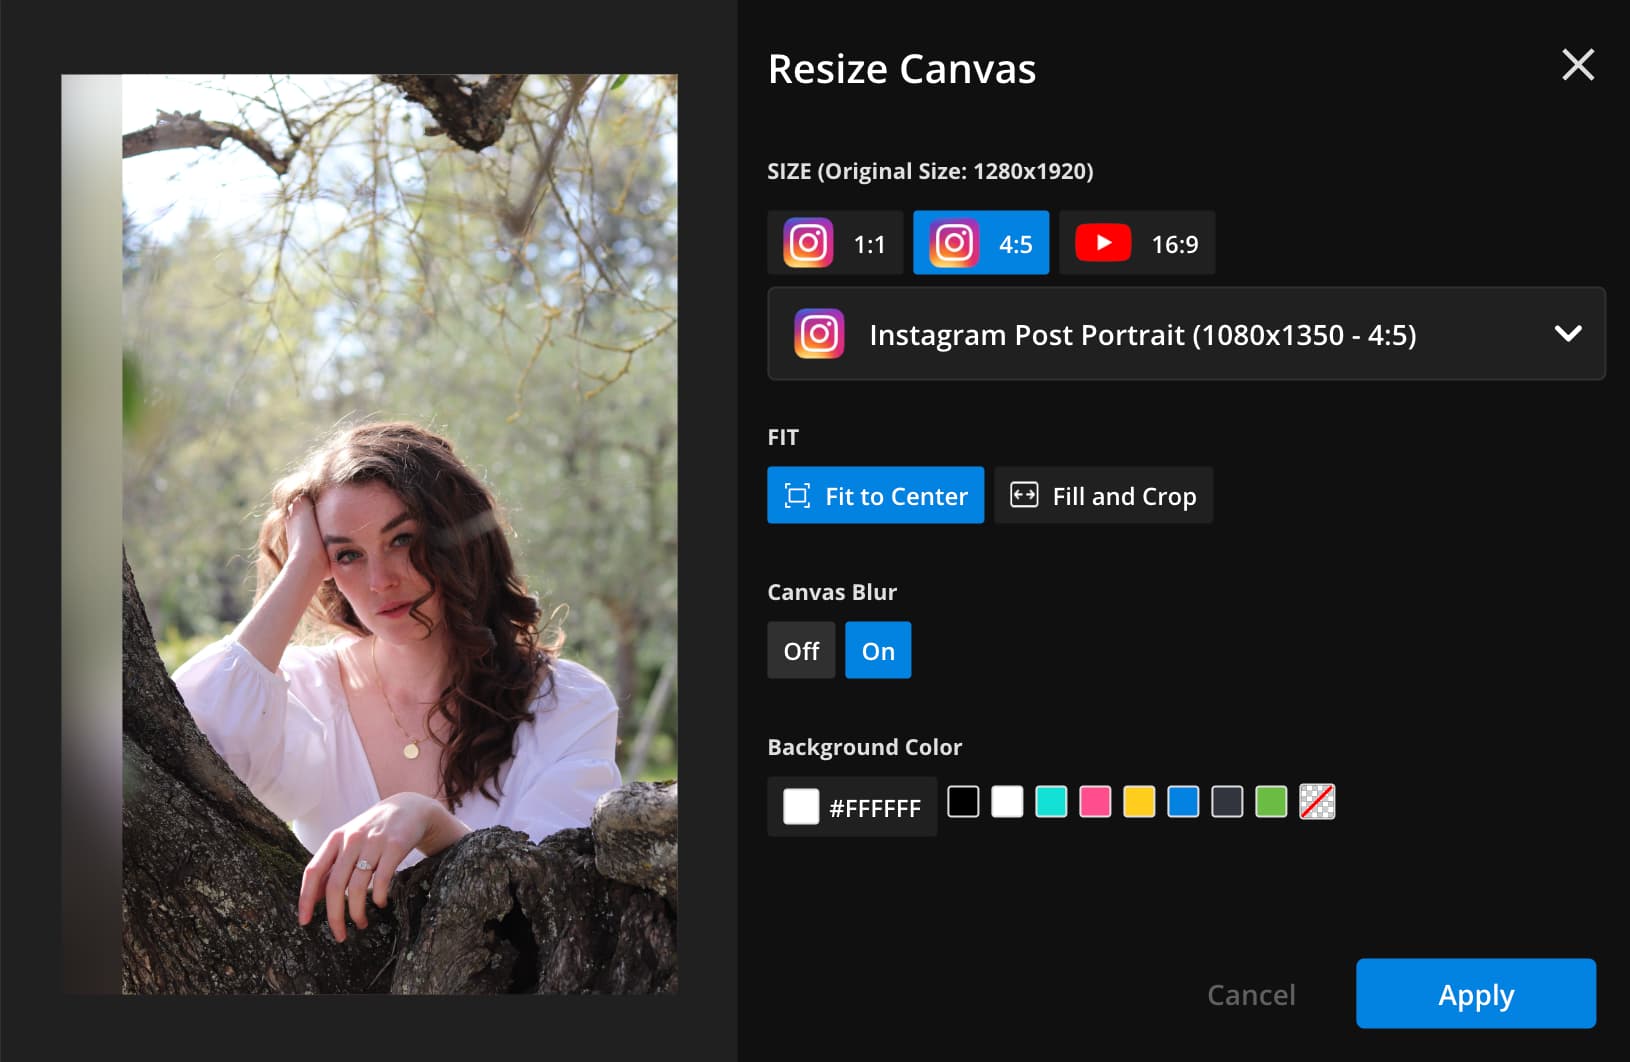
Make sure to select “Fit to center” and turn background blur off. When you turn the background blur off, the default background color will be white.
I recommend changing it to black, since most Instagram users have their phones set to dark mode. The black background will blend into the background of the IG interface and make it look like your image has no background at all, just a vertical photo posted to Instagram without cropping or resizing.
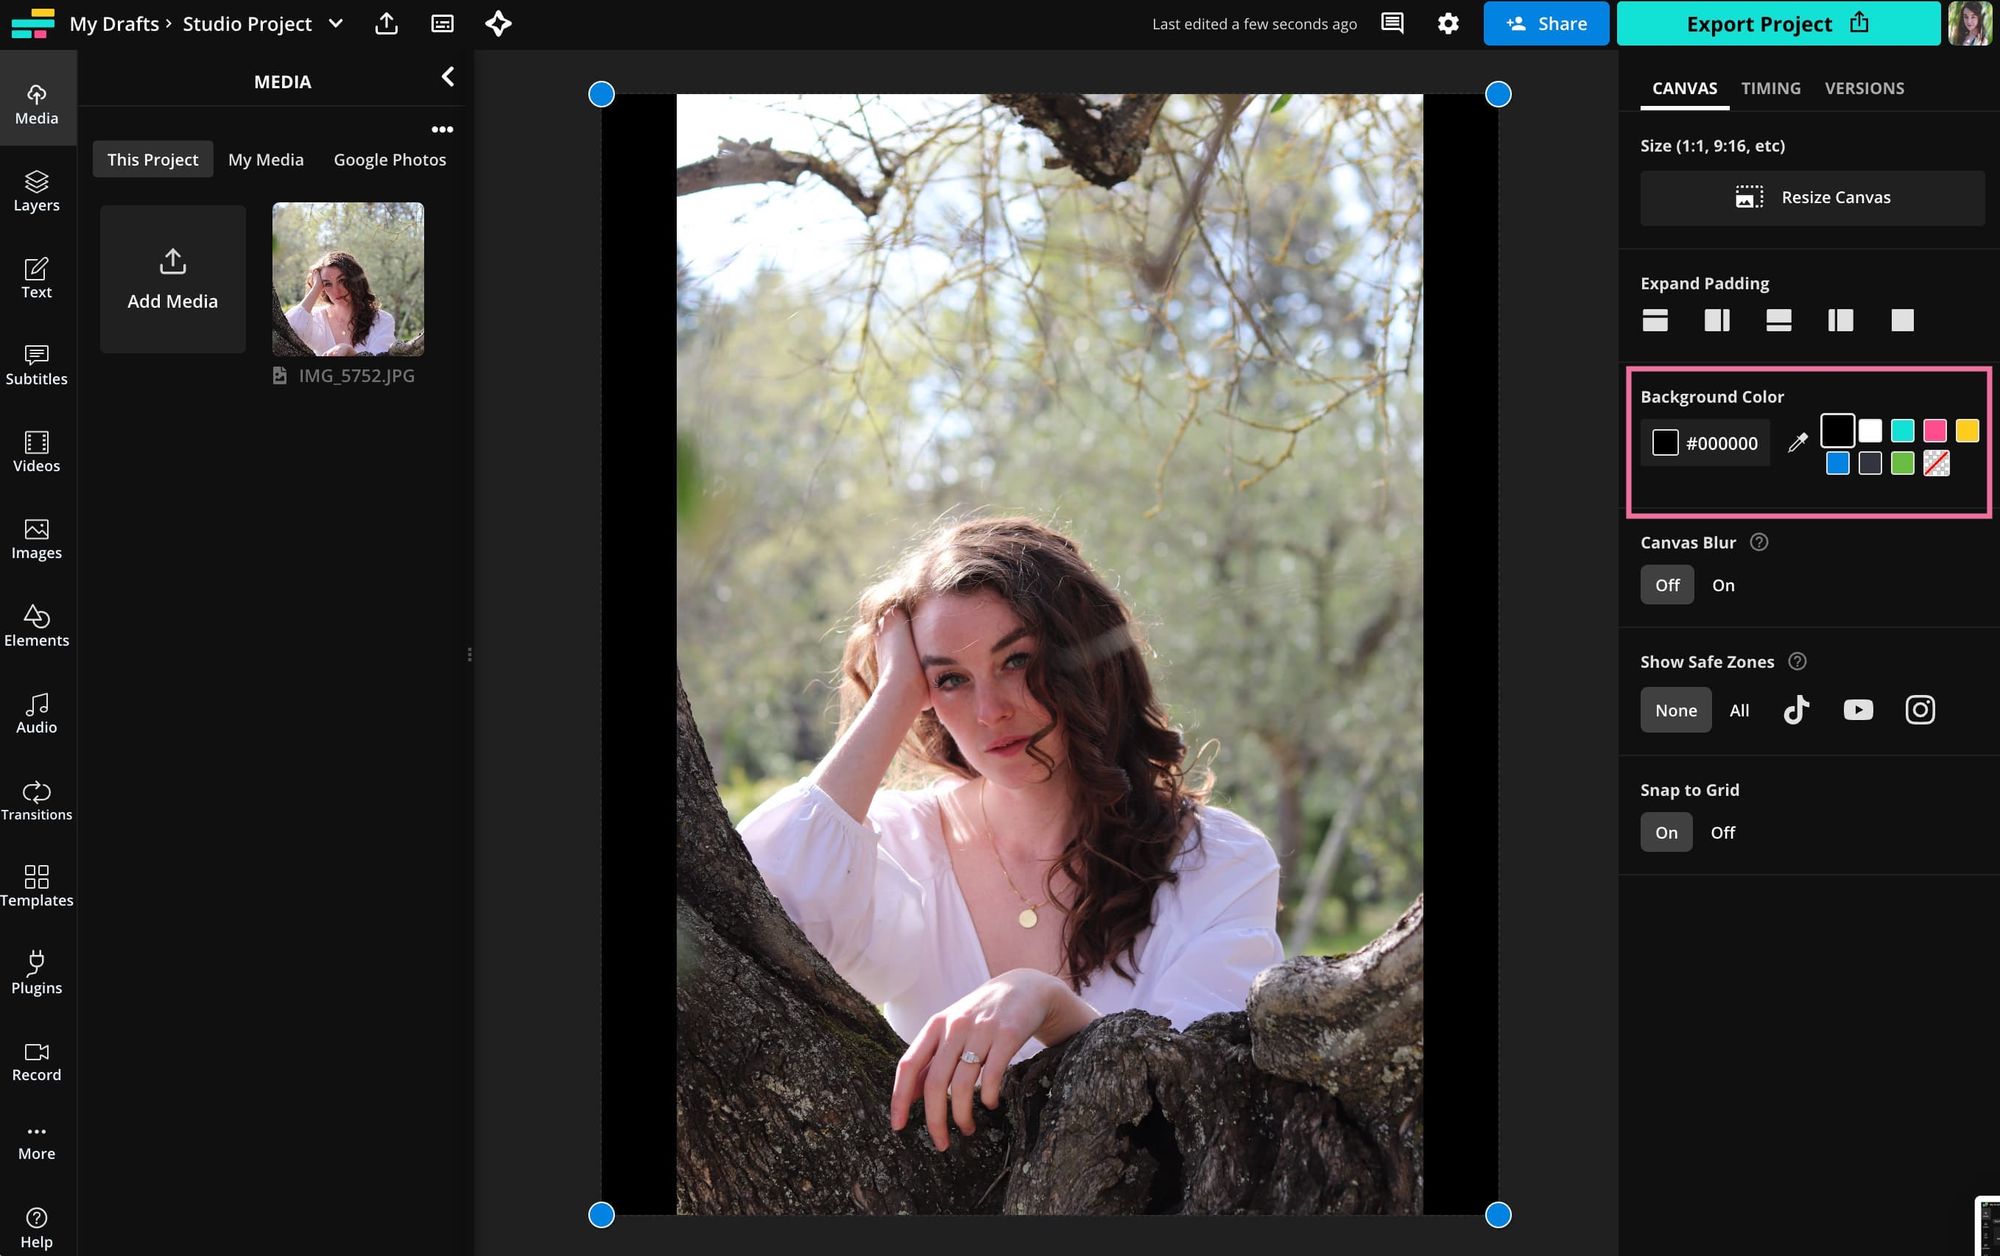
To change the color of the background, use the background color presets or custom color options in the resize modal or on the right side canvas edit menu.
Step 3: Download and Share
When you’re happy with your image and the background, click the “Export” button in the top right and choose your format and resolution settings.
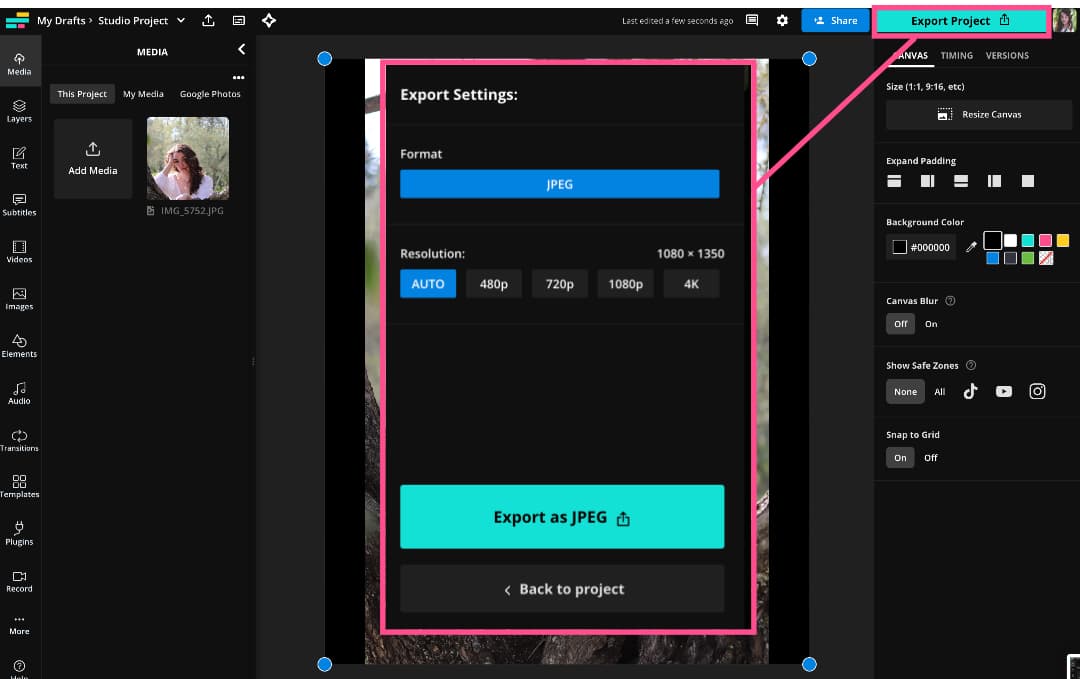
Wait a few moments for Kapwing to process your export, then click the download button to save the image to your device. Your vertical photo is now within a 4:5 or 1:1 frame and it’s ready to publish to Instagram.
How to Resize Photos for Instagram with Outpainting
One creative way you can resize your vertical photos to share on Instagram without cropping them is with something called outpainting.
Outpainting is a form of AI application that uses generative fill to expand an image. This allows you to resize a photo by adding AI-generated imagery that looks like a natural extension of the original image. When it’s done right, the new image should look like the photographer simply zoomed out, capturing a wider view.
Here’s an example of what that would look like:

The image on the left is the unedited, original photo. On the right is a square version of that same photo, with completely AI-generated material making up the outer thirds of the image. It looks like a nearly seamless continuation of the original image.
Let’s walk through how to expand your own images like this using Kapwing’s Magic Fill tool.
Step 1: Upload Your Photo to Kapwing
Head to Kapwing’s Image Editor and click the “Start Editing” button.

Once in the editor, you’ll see all of your upload options.

Select the photo you want to expand from your device or the cloud.
Step 2: Input Your Magic Fill Prompt
Click on the "Magic Fill" button in the right side menu.

From here, you’ll be able to set the new size for your image. Choose from the dropdown preset menu the size or social media channel that best fits your needs. For this example, we’ve selected a classic 1:1, square Instagram post size.
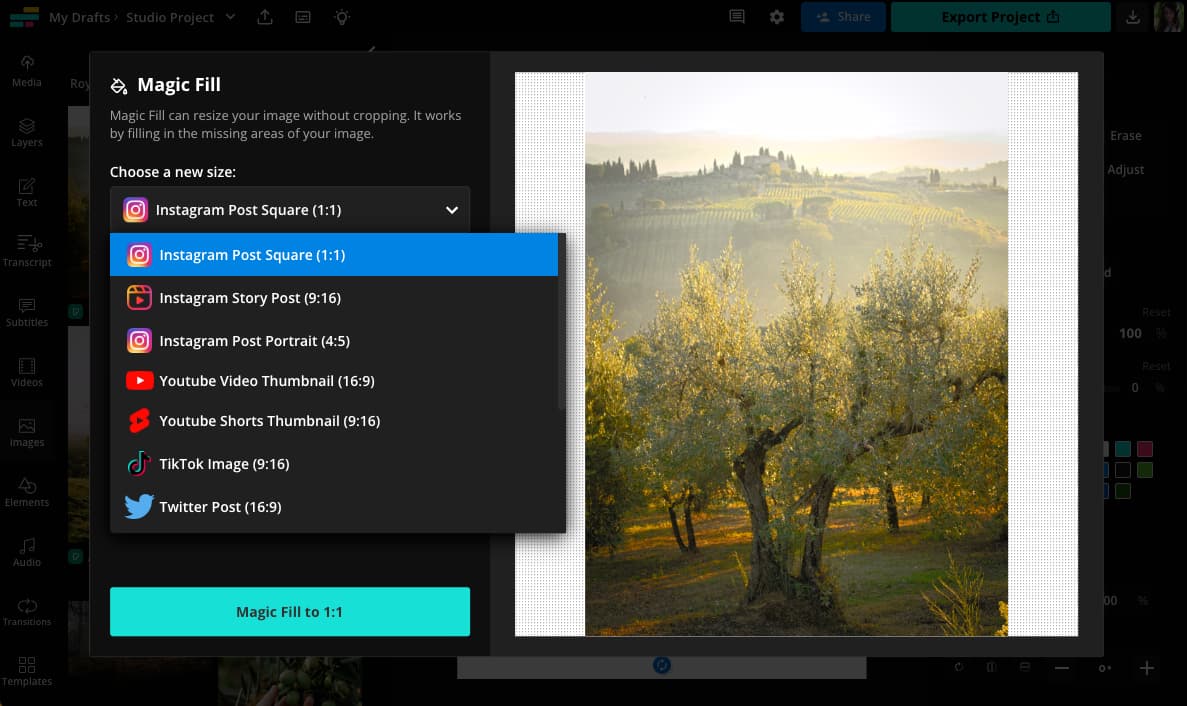
Next, describe what’s in your image. This will give the AI context for what to add in the portions of the image it generates. We recommend not skipping this step. You’ll get the best results when you provide these concrete details.

When you’re happy with your settings, click the "Magic Fill to [New Size]" button at the bottom of the window.
Step 3: Review the Generated Images
Magic Fill will generate four image variants for you to review and choose from. Sometimes all of the variants will look pretty similar. Sometimes they might look wildly different.

Choose the one you like best and add it to the canvas.
Step 4: Resize the Canvas
Click on the dark background behind the image in the editor to select the canvas, then click on the “Resize Canvas” button.

Select the preset size that matches the new image size you just created in the Magic Fill tool.
Alternately, you can simply use the "Remove Padding" button.
Step 5: Export and Download Your New Image
When you’re happy with your new image, hit the “Export” button in the top right corner and select your format and resolution settings.

Download your new image to your device and share it on Instagram!
How to Post Vertical Videos on Instagram
The easiest way to share a vertical video on Instagram is by creating a Reel. In fact, all videos published to Instagram are now shared as Reels.
That means you can post any 9:16 video as a Reel on Instagram as long as it’s under 90 seconds. If you have a video that's not 9:16 that you want to share on Instagram, you'll want to resize it first.
However, if you want to share a video as a slide in a carousel, the 9:16 ratio does not apply. Carousel slides are limited to the same aspect ratio as regular photo posts, which is to say either 1:1 or 4:5.
You can share multiple images and photos of different sizes in the same carousel, though. All you have to do is resize them first.
Use Kapwing’s video resizing tool to lay your 9:16 video over a 4:5 or 1:1 canvas to resize it without cropping. The steps are the same as the previous tutorial for resizing an image:
- Upload the video to the resizer.
- Add a white or black background.
- Export and download.
- Share on Instagram!
And that’s all there is to it.
Try these trending Instagram tools:
- Free Online Video Resizer
- Online Instagram Video Editor
- Instagram Reels Safe Zone Template
- Repurpose YouTube Videos to Instagram
- Free Video Progress Bar Generator
FAQ: How to Share Vertical Photos on Instagram
1. Why is Instagram cropping my vertical photos?
The aspect ratio for Instagram photo and carousel posts must be between 1:1 and 4:5. Anything taller than 4:5 or wider than 1:1 will be cropped to fit within those dimensions. That means if you are trying to post a tall photo, you won’t be able to fit the whole photo on your Instagram feed.
2. How do I stop Instagram from cropping my portrait?
To keep Instagram from automatically cropping your portrait photos, resize the photo first using a resizing tool like Kapwing. This will allow you to convert the taller photo to a 1:1 or 4:5 aspect ratio by adding a black or white background behind the image, instead of by cropping it.
3. Does Instagram allow vertical videos?
All video posts under 90 seconds are now shared as Reels on Instagram, so you can post 9:16 videos to your Instagram feed without cropping them. If you want to share them as part of a carousel, though, you’ll have to stick with the 4:5 ratio and resize the video before sharing.
4. How do you make a full vertical picture fit on Instagram?
To make a full vertical picture fit on Instagram, try resizing it with a tool like Kapwing. You can convert your vertical image to a 4:5 or 1:1 aspect ratio by adding a background instead of cropping the image. You can also share a full vertical image on Instagram by sharing it either to your Stories or in a Reel.
Both Stories and Reels support the 9:16 aspect ratio, perfect for taller photos. Photo dump Reels are particularly trendy. Keep an eye out for different templates and trending sounds that accompany these photo sharing videos that many photographers and influencers on the app have started using to showcase their photos in video format.
Related Articles:
- How to Post Videos on Threads (with Examples)
- How to Add Any Music to an Instagram Reels Video
- How to Download Instagram Reels Videos
- How to Host an Instagram Story Fundraiser