How to Make Your Signature a Transparent PNG for Documents and Pictures
Use this tool to create a transparent PNG image of your signature, then add it to photos or documents in Word or Google Docs.

Signing documents or pictures by hand is monotonous and time consuming. As more of our lives become automated by technology, so should your signature. With an electronic signature, you save time with a ready-made PNG that shows off your unique handwriting.
You don’t need to be tech genius to create an electronic signature. In this article, you’ll learn how to make a handwritten signature PNG just using your phone camera and a piece of paper. Here’s how it works:
- Snap a Picture of Your Signature
- Remove the Image Background
- Add It to Your Docs and Pictures
1. Snap a Picture of Your Signature
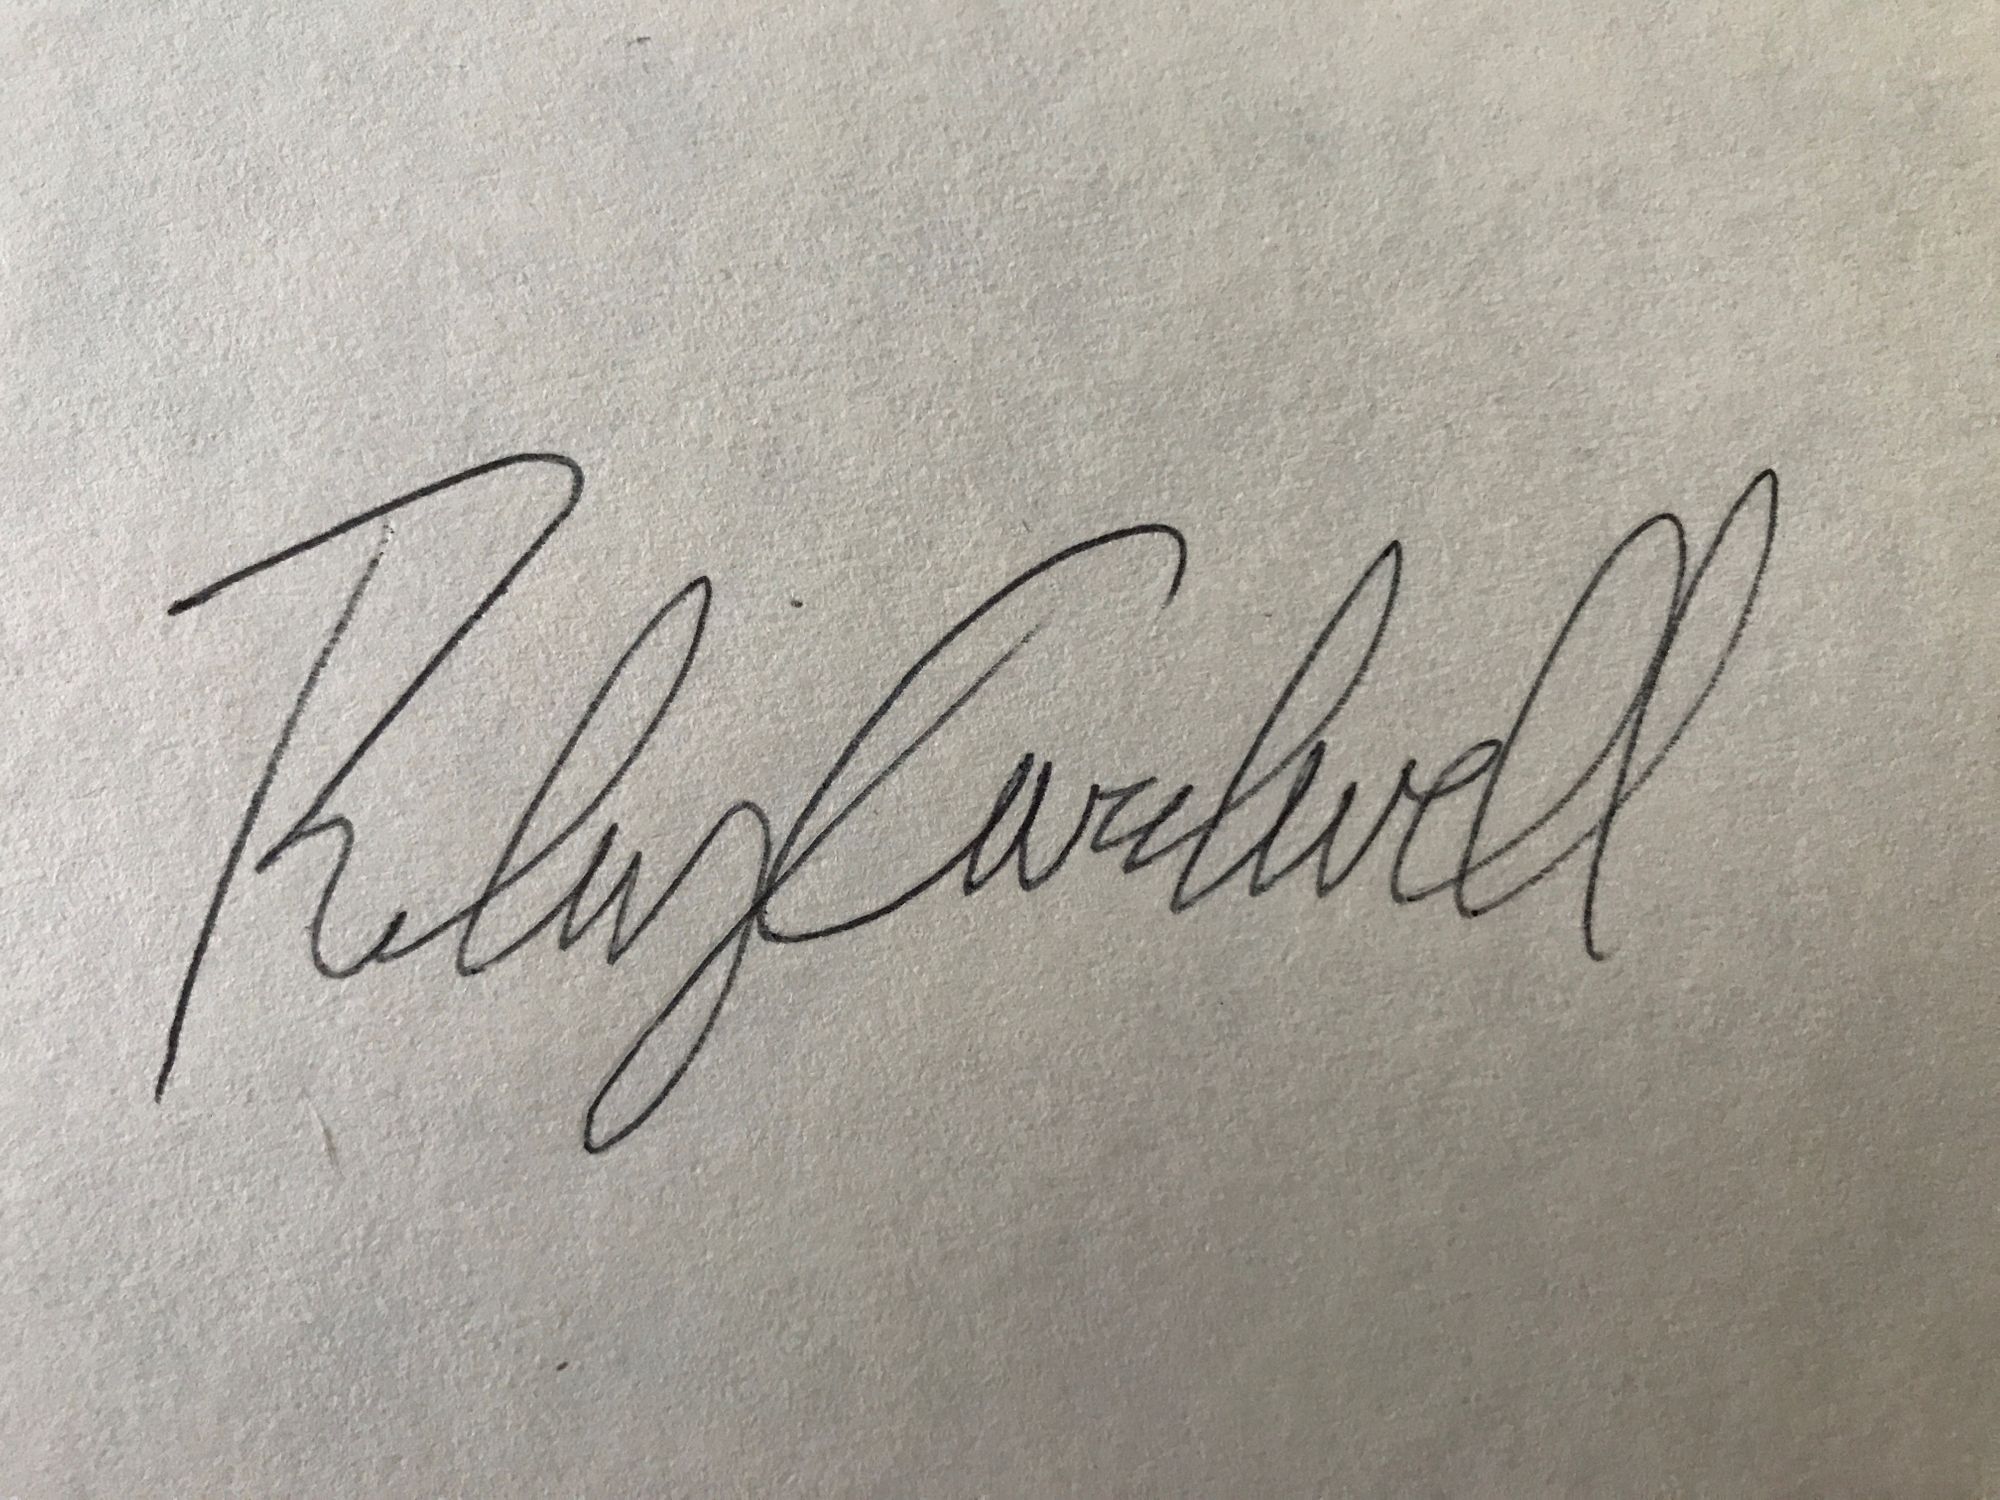
First, grab a white piece of paper to write down your signature. Next, find a well lit area and choose the pen color you want to show on your document or picture. Now, write your signature as big as possible. The bigger the signature, the better quality the electronic version will be. Once that’s done, snap a picture with a phone camera.
2. Remove the Image Background
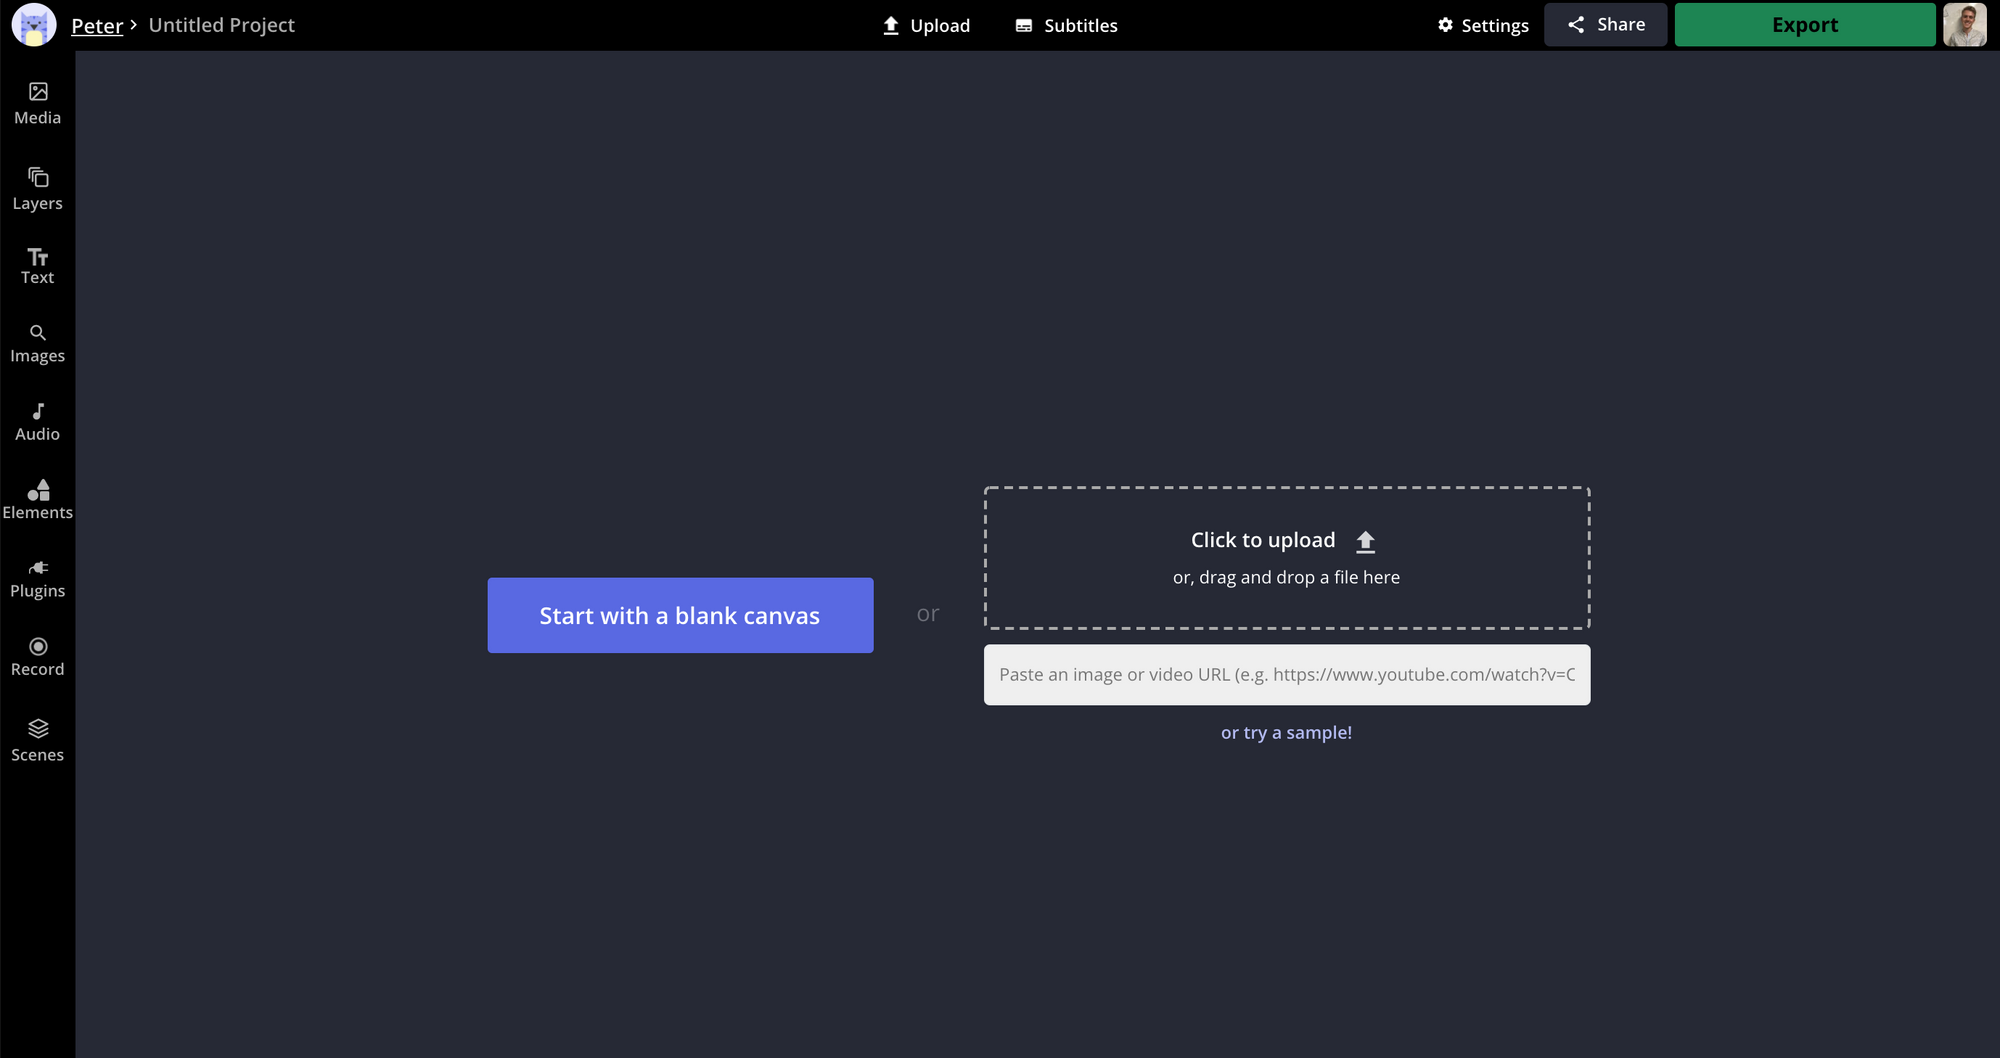
Now, open the Kapwing studio and click to upload your signature picture. I recommend Kapwing because it’s free and the remove background tool is easy to use.
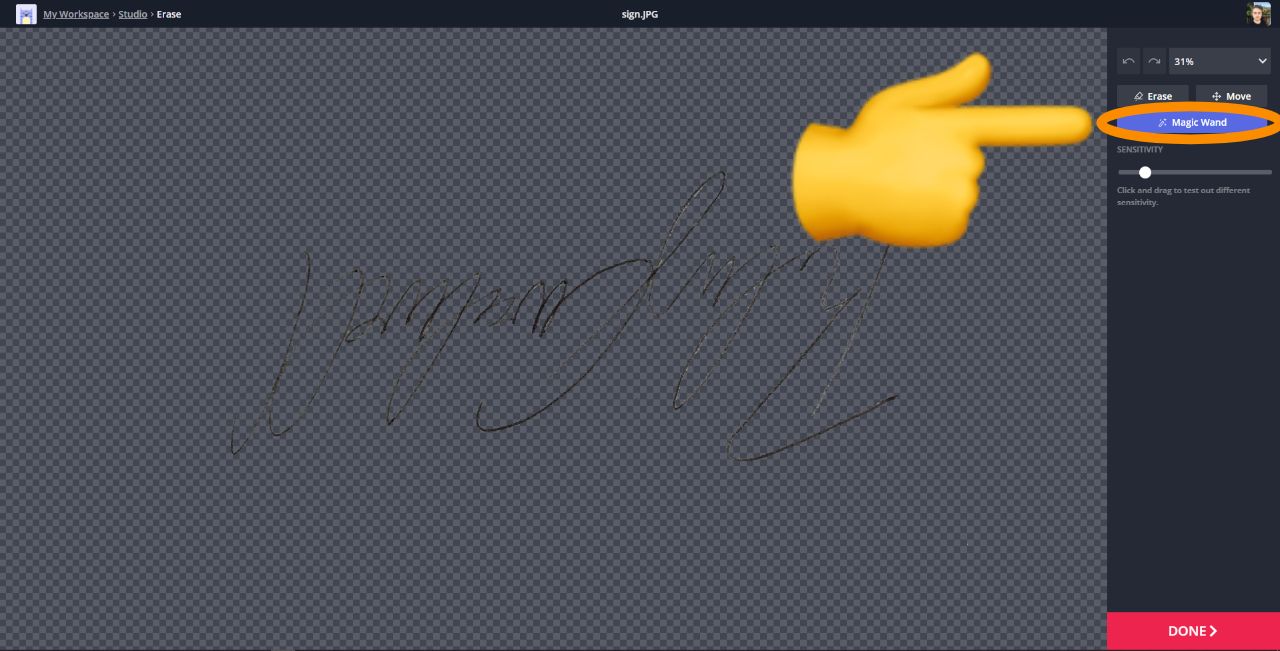
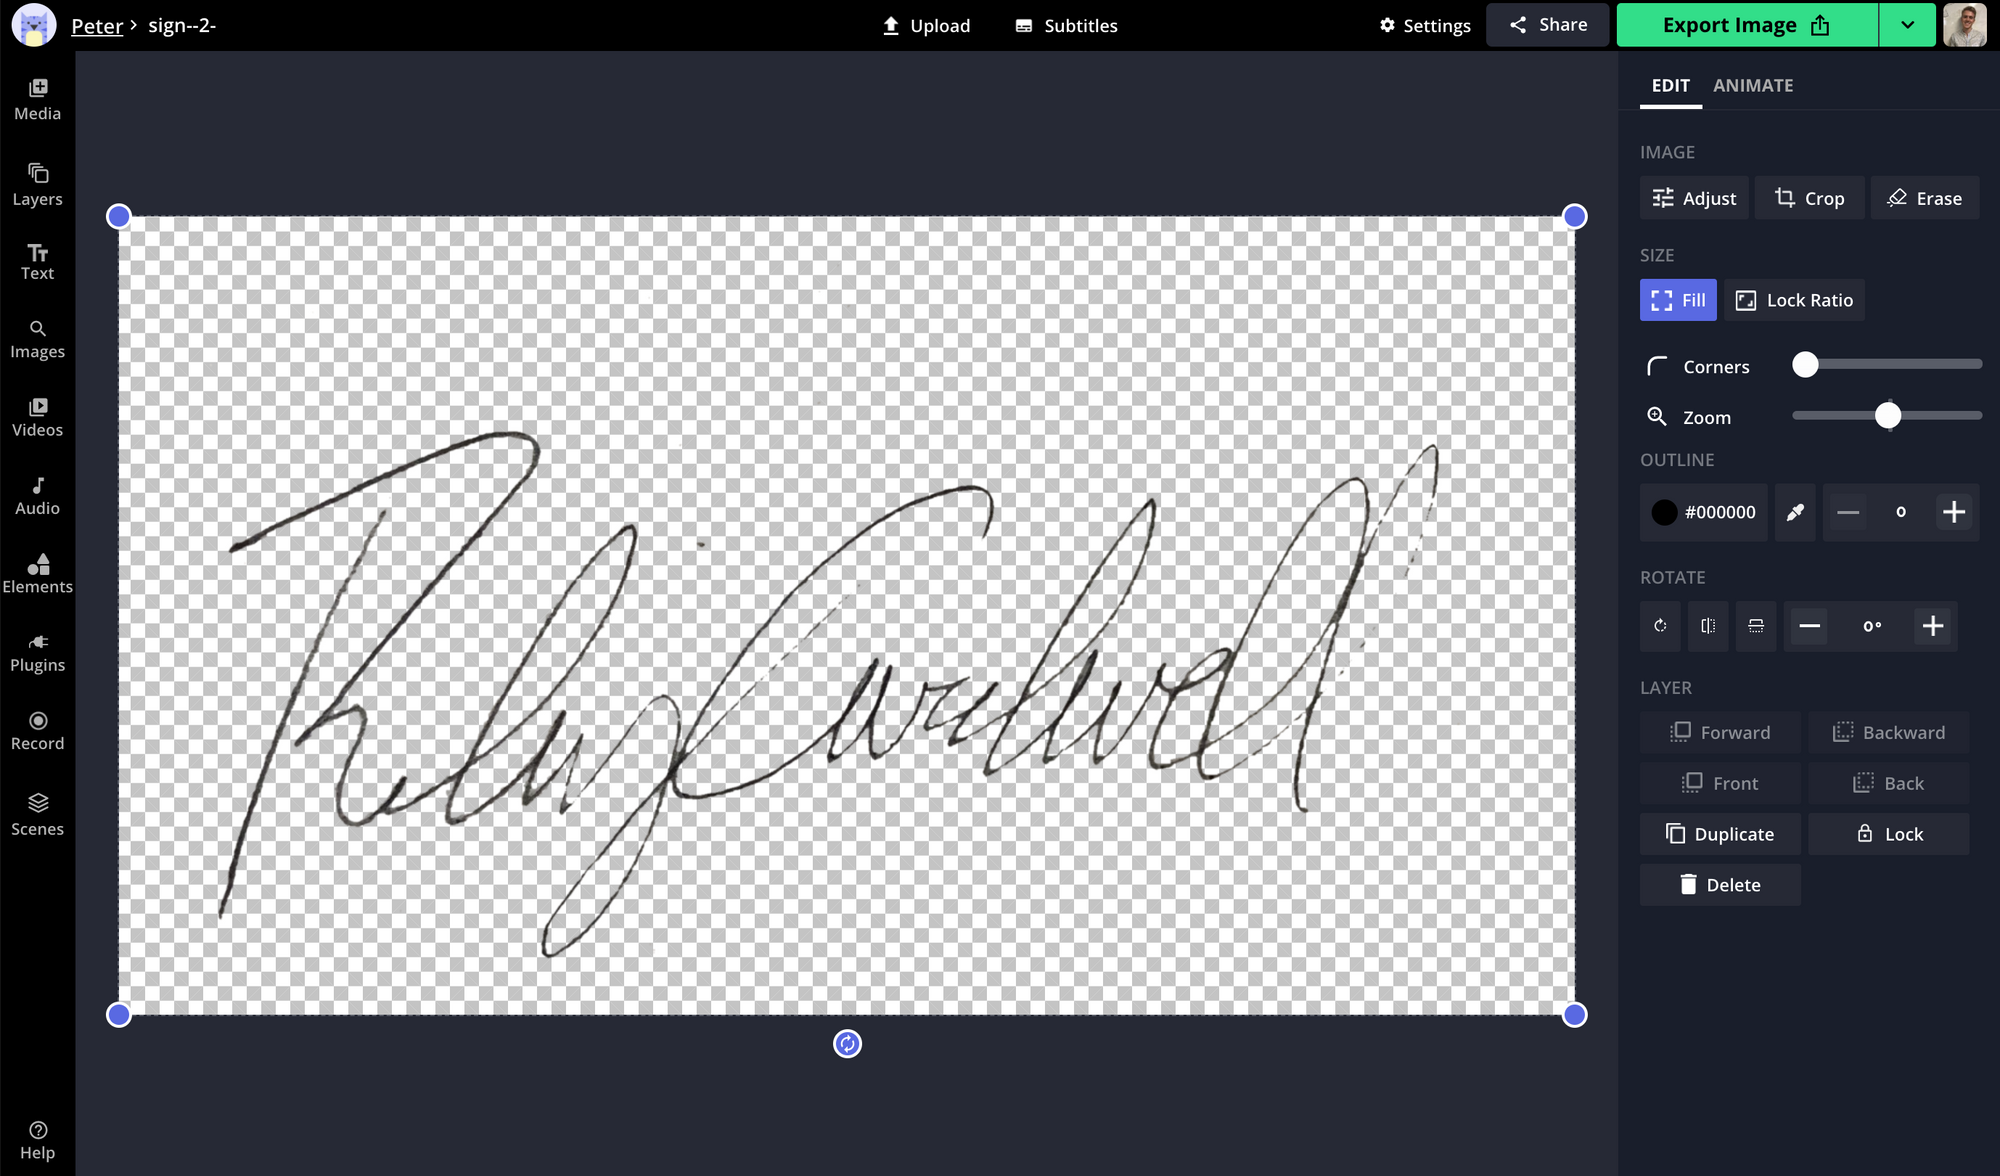
After that, select the picture and open the Erase tool from the right side menu. Inside, you’ll see two options to remove the background: the Eraser and the Magic Wand.
For this tutorial, choose the Magic Wand and click the white background. Each time you make a selection, click Remove Pixels to delete the white space. If you delete the signature, click undo and slide the sensitivity to the left for a more refined selection.
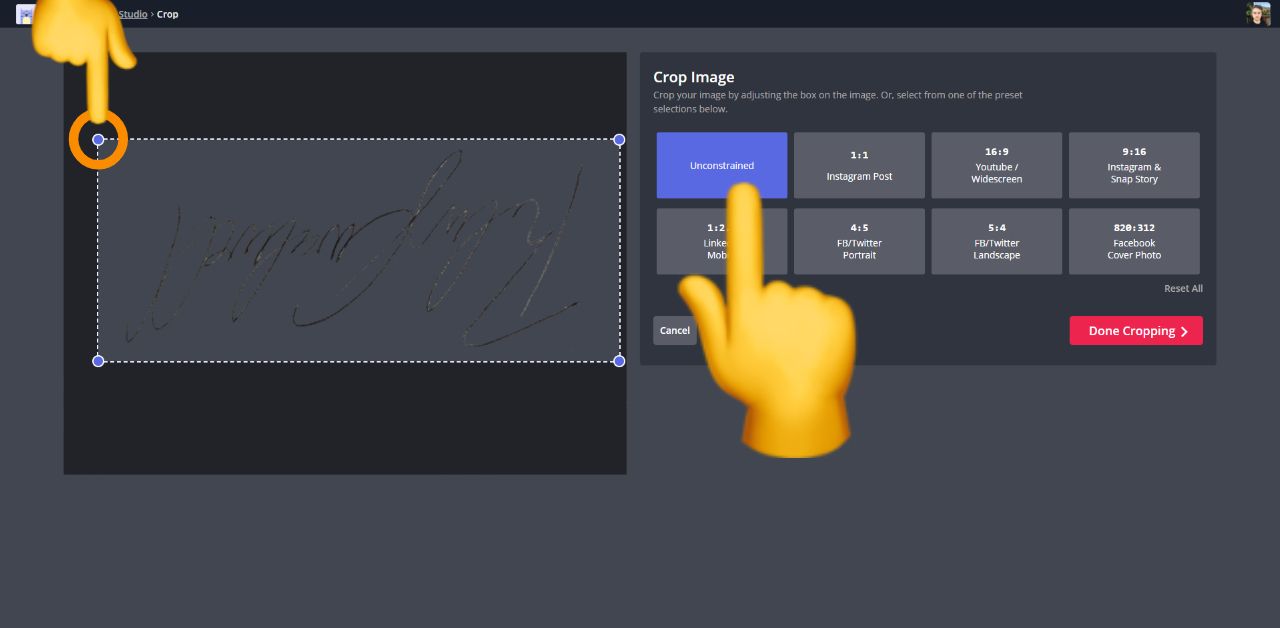
When you’re finished erasing, open the Crop tool from the Studio menu and adjust the unconstrained borders to fit the signature.
Then, click Export Image in the top right and wait for the image to process. Finally, you’re ready to download the signature PNG for your documents and pictures.
3. Add It to Your Docs and Pictures
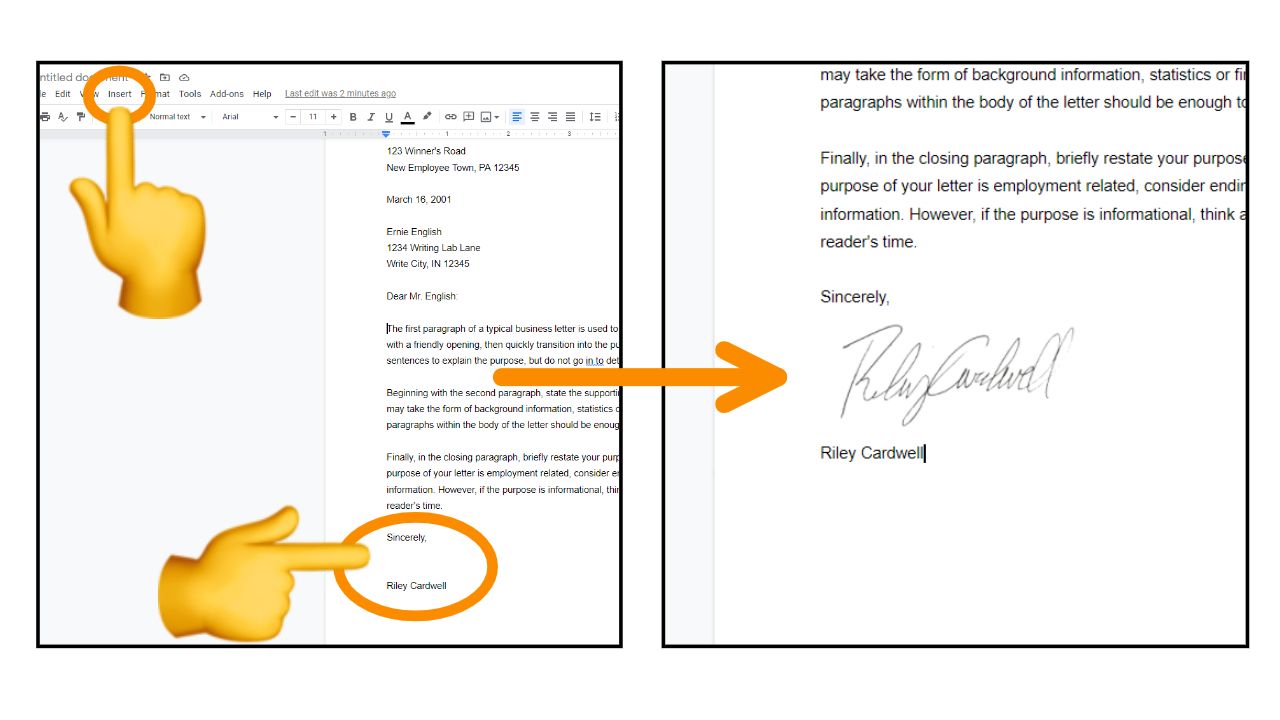
First, let’s look at how to add the signature to a document. Depending on your word processor, the specifics may differ but the overall process should be the same.
Now, open the doc (I’m working in Google Docs) and place your cursor where you’d like the signature to be placed. Usually, this will be after a complimentary closing such as “sincerely.” Then, click Insert and choose Image where you can upload the PNG from your device.
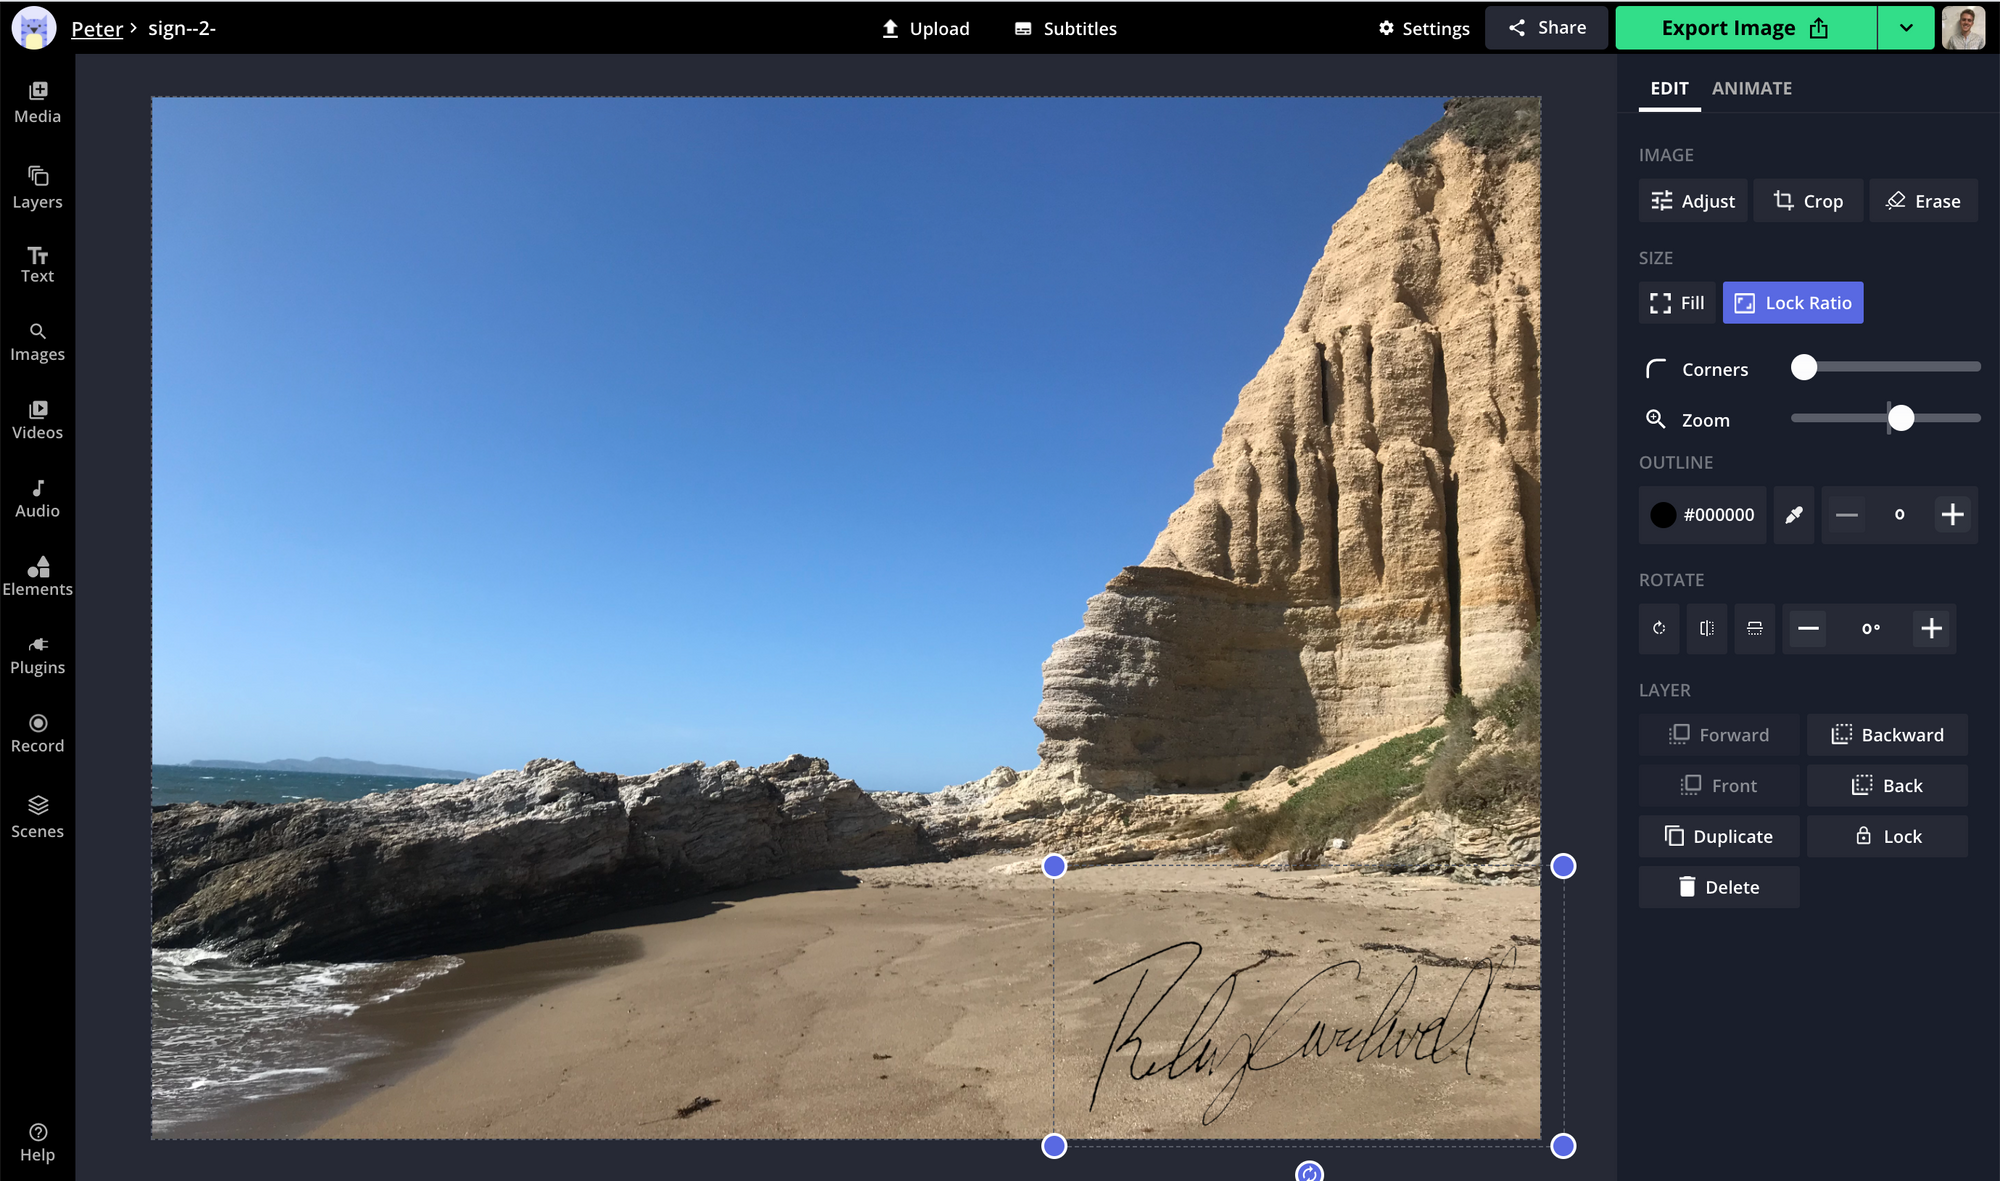
If you’re adding the signature to a picture, it couldn’t be easier. Open the Kapwing studio and upload the picture with your signature. Resize the signature and place it in one of the corners.
Electronic signatures not only save you time, but also they add a nice stylistic element that improves overall look. If this guide helped you with your signature, be sure to subscribe to the Kapwing Resources page for new tutorials. And, check out the related articles to keep learning:
Related Articles:
- How to Add Your Signature to Word or Google Docs
- Make Business Cards Online: Templates & Guidelines for Designing a Custom Business Card
- Make a Custom Logo for Free Online – Tips, Tools, & Guidelines
- How to Add a Logo to a Word Document