How to Create an Aging Time Lapse Video
Make a video that illustrates how you've grown up, one selfie at a time! I'll show you how to do it yourself in just a few minutes online.
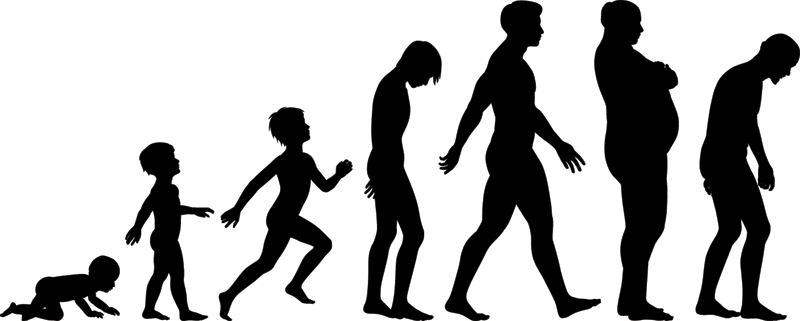
Combining pictures into a quick slideshow can show how you've changed or evolved over a long period of time. These aging time lapse videos are magical because they show how gradual changes add up into step-function glowup.
If you’re looking for ideas for cool videos, look no further. In this article, I’ll show you how to create an aging time lapse using a free website called Kapwing.
Get Started Now: Upload your images to the Kapwing Studio and create your video in minutes.
Here's an example of someone who created a video by taking a picture every day for years and years:
Here’s how to make an aging time lapse in 5 steps:
- Collect your selfies
- Upload your photos
- Resize and time your photos
- Add music
- Finish and share
Step 1: Collect your selfies
Go through your photos app, your hard drive, your desktop folder, wherever you store your photos. Take all the selfies you find (and you like) and put them in one place. If you want to be really smooth with your video, pick a consistent expression and angle that you see throughout your photos and only use those.
Step 2: Upload your photos
Make sure whatever device you’re using, your clips are available. I recommend a computer. If you need to transfer your clips between devices, do that! You can airdrop them, email/message them to yourself, download from Google Photos, or plug your phone in and transfer them that way.
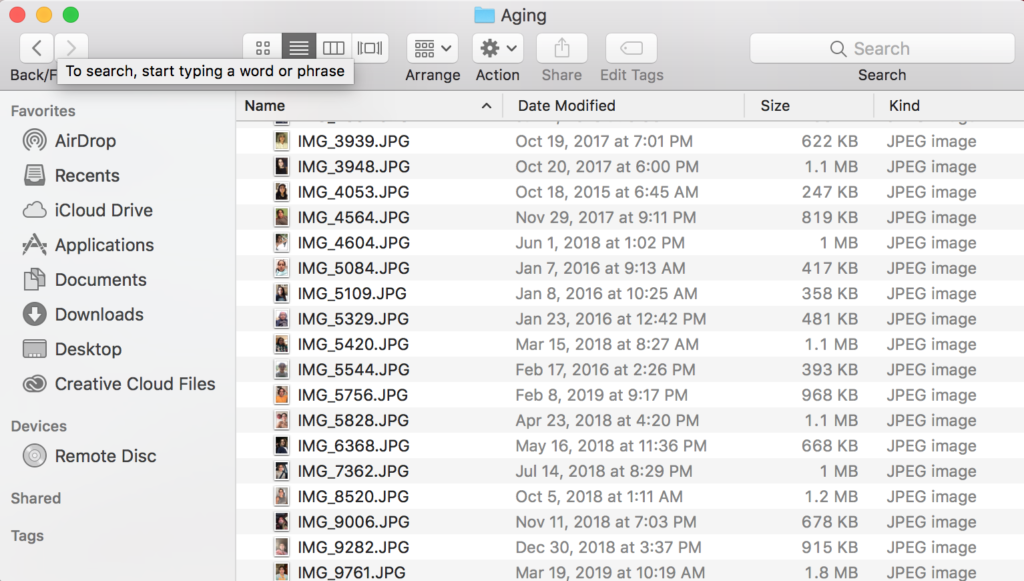
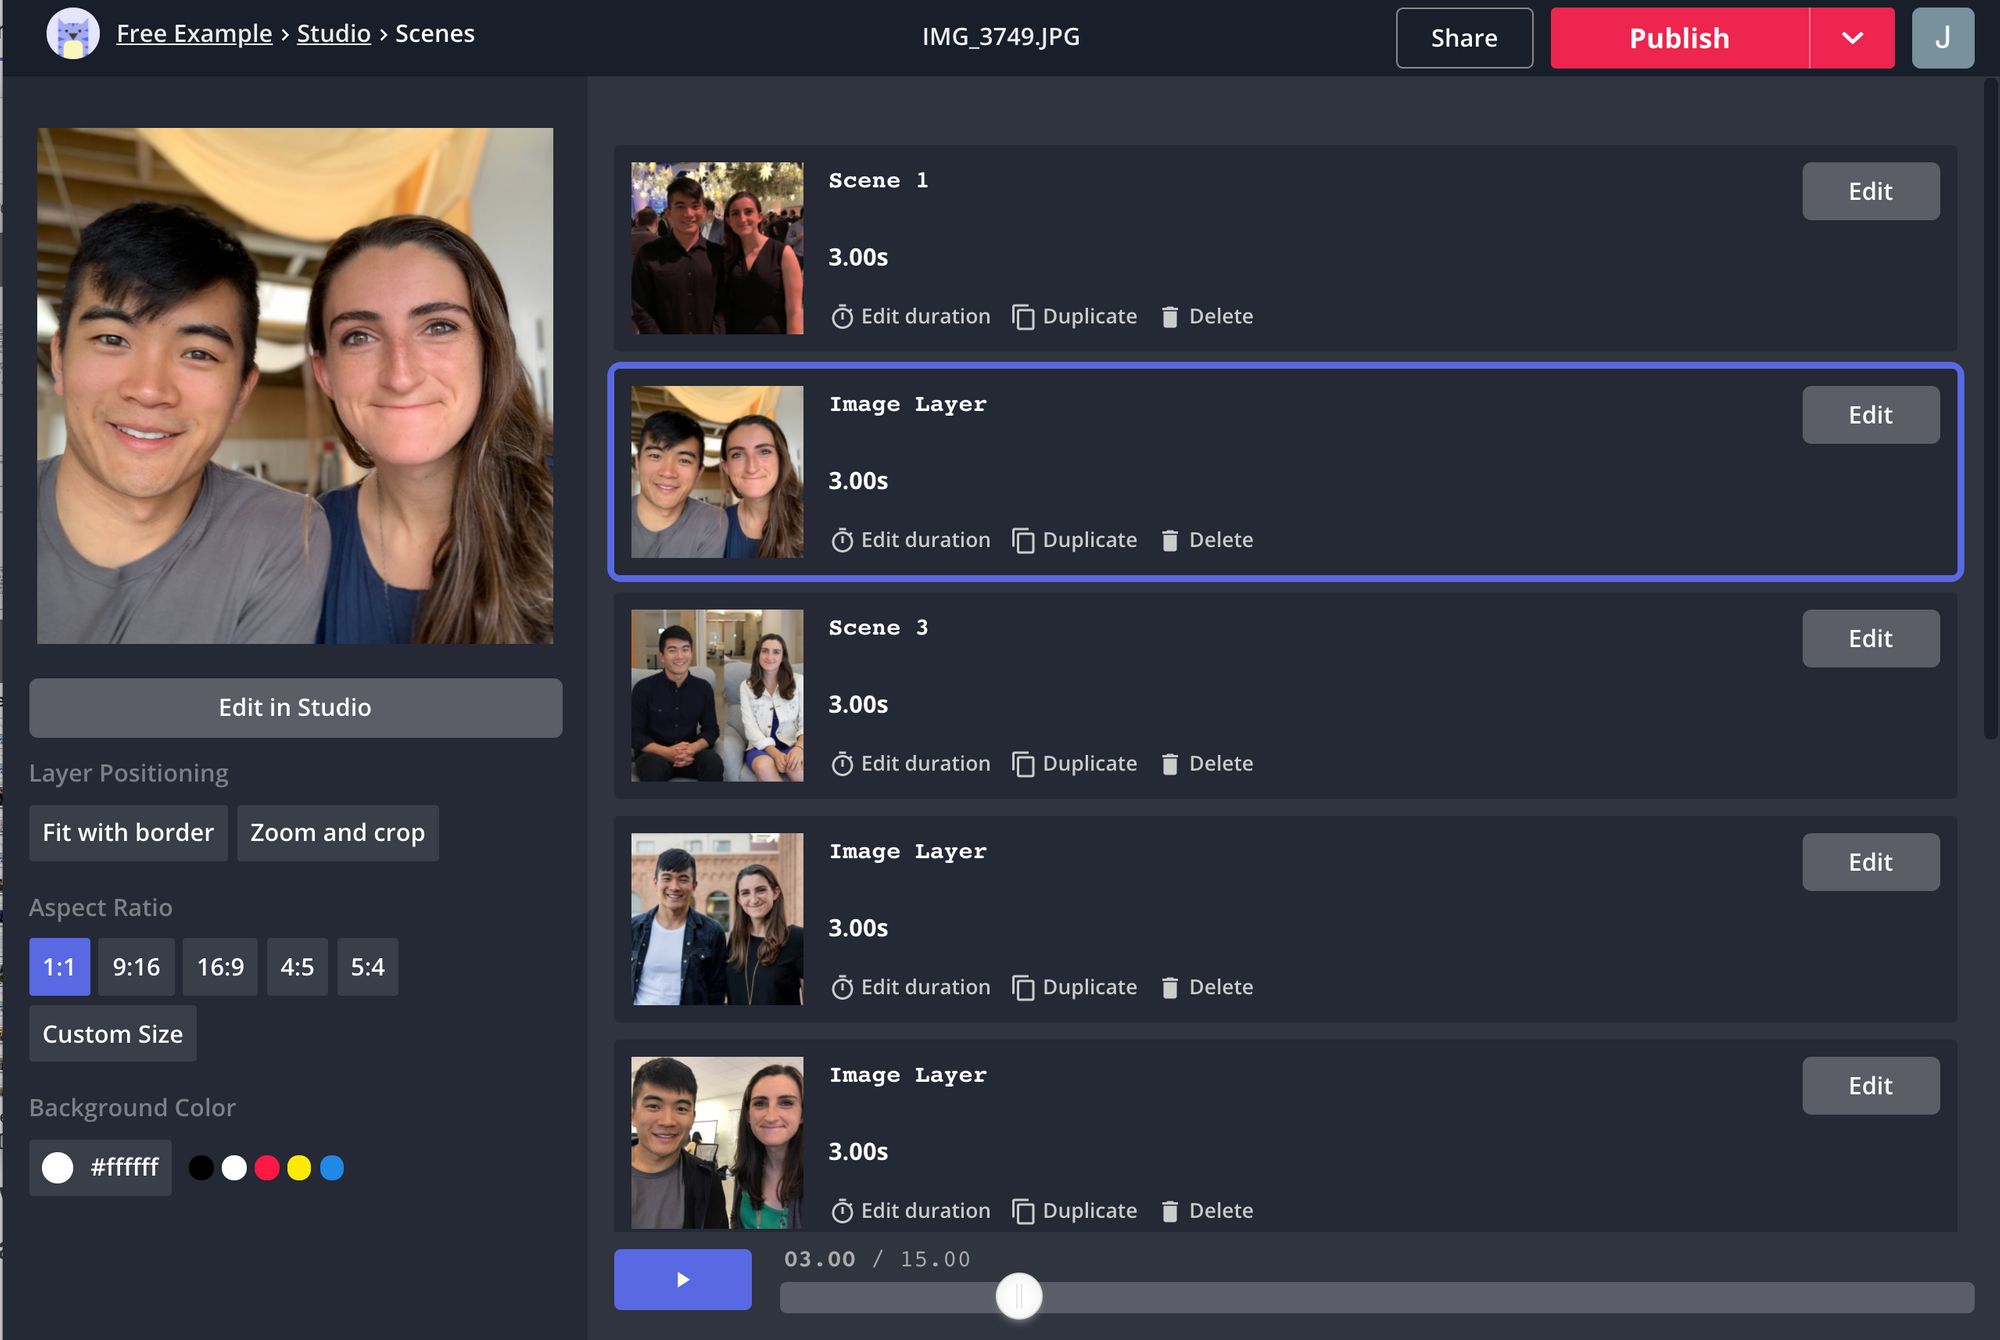
Organize your photos by date modified. Then, open the "Scenes" view and upload each photo to a scene in Kapwing’s Studio. You will see a blank video preview on the left and a drop area to add all of your pictures. Upload one by one or drag the whole folder into the Scene View.

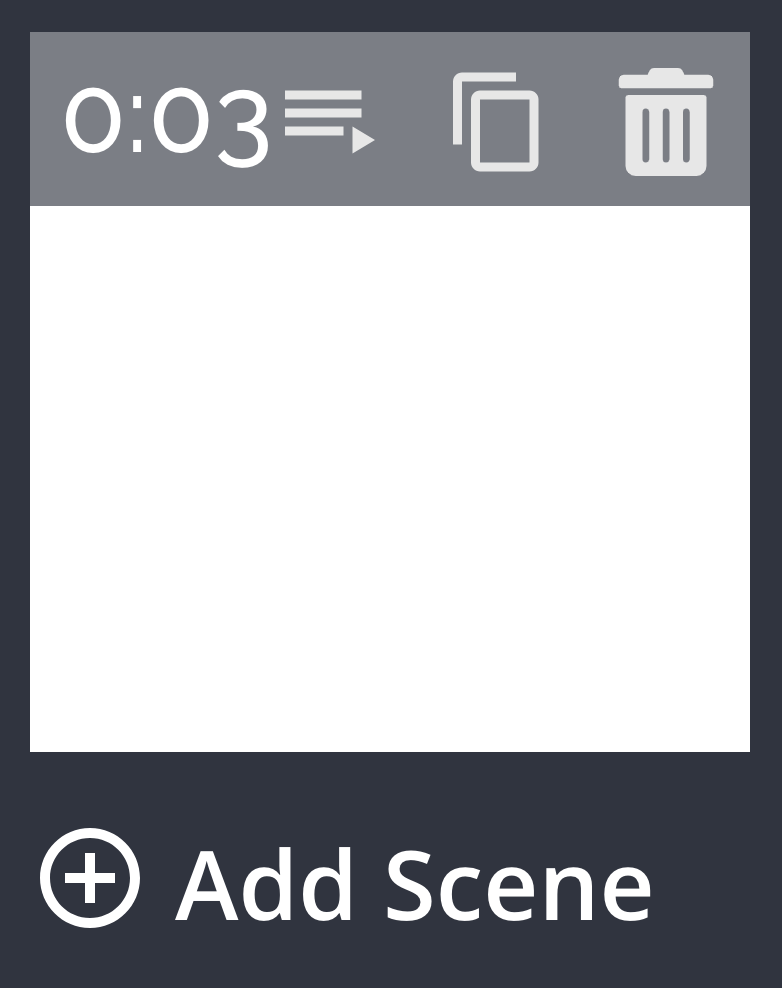
Alternatively, use the "Add Scene" button in the Studio and add each image one by one. Rearrange your clips by dragging them so they are in the right order and delete anything you feel is extraneous.
If any of your photos are out of order, rearrange your scenes into your desired order by dragging and dropping from the left panel. You can also use the "Scenes" view for easier access to rearranging and timing out the images.
Step 3: Time and resize your photos
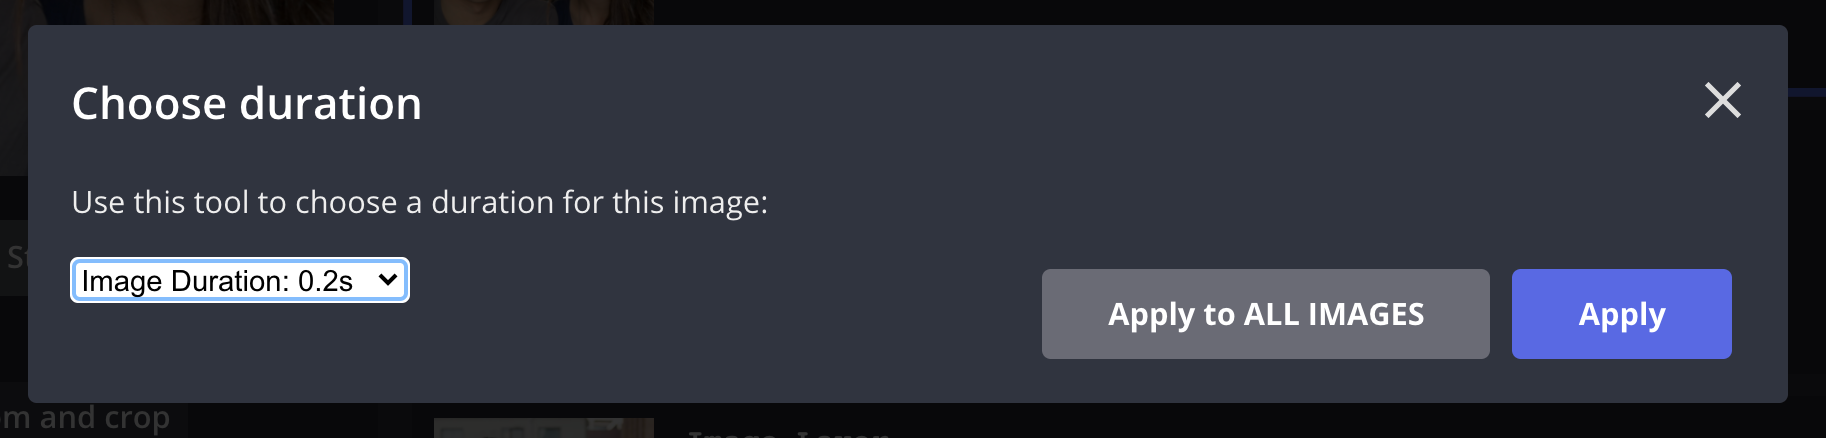
To make your video look like a timelapse and bring a sense of animation to the video, you'll need the images to transition quickly. Use the "Edit duration" button in the "scenes" view to make the photos last less time, like .3s. Click "Apply to ALL images" to make a change for every image you've added. When each scene has a shorter duration, the video will appear to speed up.
The next step is to resize each photo to line up with each other photo such that the same features align in each scene. Click Lock Aspect Ratio to keep your image whole. Pick the most zoomed in selfie and keep the rest in line with that sizing as that will be your limiting factor, or leave a background behind the edges of the image. Drag the corner circles to rotate and resize your image.
Step 4: Add music
When you’ve finalized your scenes and video, add a song to finish it off. The first step is to find the song that you want. You can choose a popular teen angst song, song about growing older, or find more subtle ambient music to accompany the montage.
Click Audio in the top toolbar and upload a music file (MP3) from your computer. You can also import a video from YouTube by copy/pasting a YouTube URL.
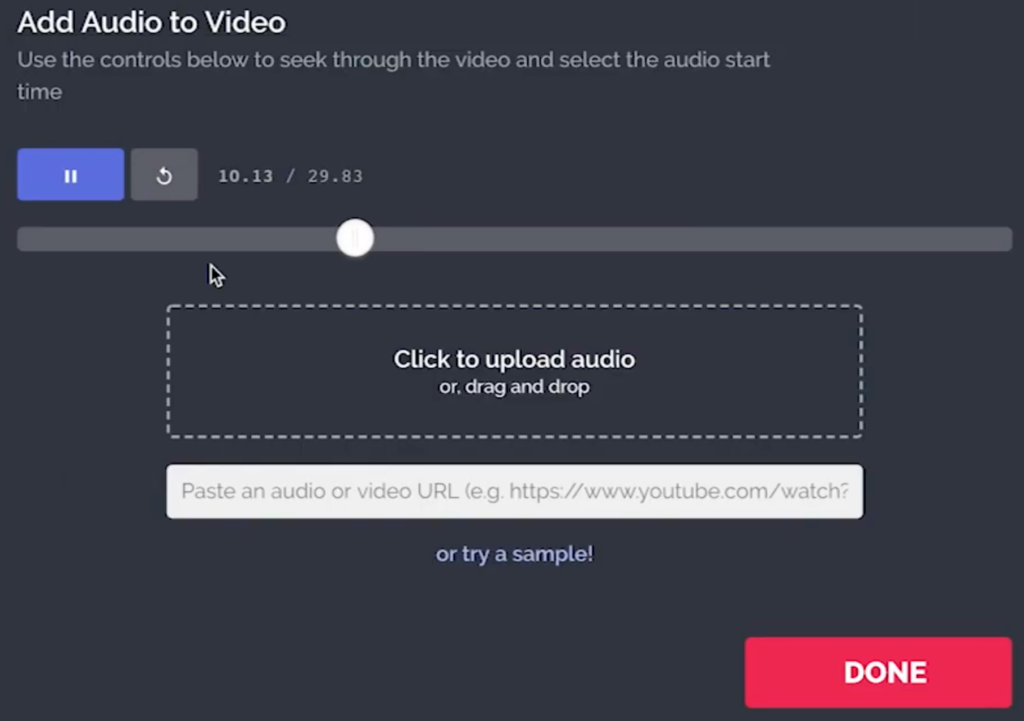
Once you’ve added your audio file, you can Trim the soundtrack to make the song begin at your favorite part. If your video is longer than the song, you can loop the song to make it continue.
Step 5: Finish and share
Download your video and share it with your friends directly or by copying and pasting the link. If you're not signed into a Kapwing account, sign in or sign up using your Google or Facebook account – once you've signed into a Kapwing account, the watermark in the lower right corner will be removed from your final image.
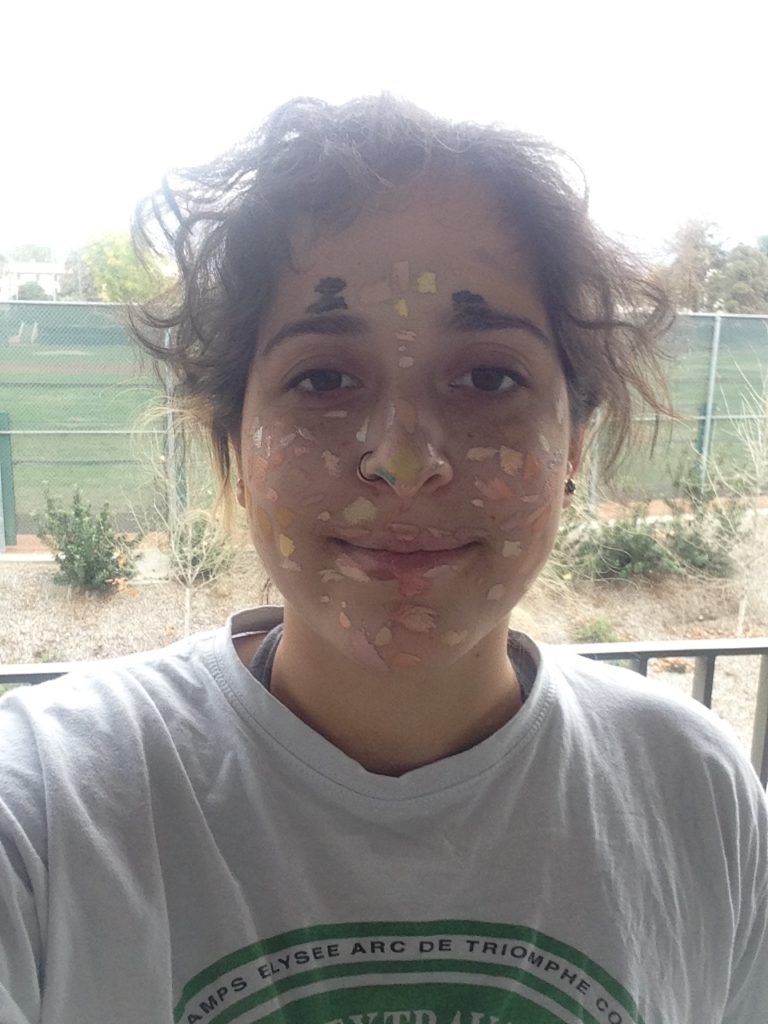
Here’s what I created:
Thanks for reading this article! I hope that it gives you inspiration to take more selfies and remember your own personal transformation or journey as you've grown up. For more tips and tutorials on creating great digital content in 2021, check out the Kapwing YouTube channel. And while you're here, take a look at some related articles on image editing with Kapwing:
• How to Make a Custom Clubhouse Profile Photo
• How to Make a Bio Photo for Any Website
• How to Resize Pictures with Pixel Precision