How to Add Photos and Videos to the New Gmail Templates
Gmail's new email marketing tools are great for small businesses and creators. In this article, I'll show you how to add photos and videos to your email marketing using Gmail's new professional templates.
Gmail recently added professional templates and multi-send, making it a good email marketing tool for small business owners who are just getting started with email marketing.
Not sure how to access these features? Read this article first.
In this article, I'll be showing you how to add your own photos and videos to those templates in a few simple steps.
Table of Contents:
- How to Add a Photo to a Gmail Professional Template
- How to Add a Video to a Gmail Professional Template
- How to Make a Click-Worthy Thumbnail for Your Video to Include in Your Email
How to Add a Photo to a Gmail Professional Template
Adding images to your marketing and promotional emails is a great way to make your email sends appear more polished, branded, and professional. Within the Layouts tool in Gmail, there are several templates to choose from that allow for embedded images inline with your email copy.
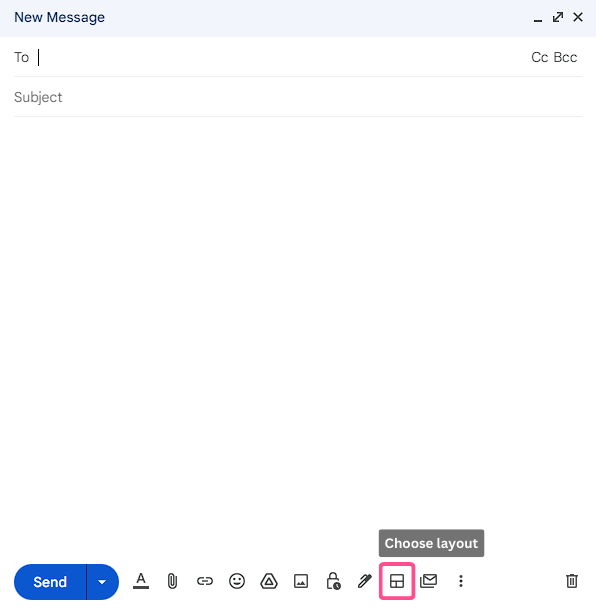
To customize a Gmail template with your own images, first open up the Layouts menu from the New Message window. If you haven't used it before, it's the icon in the bottom menu that looks like a collage.
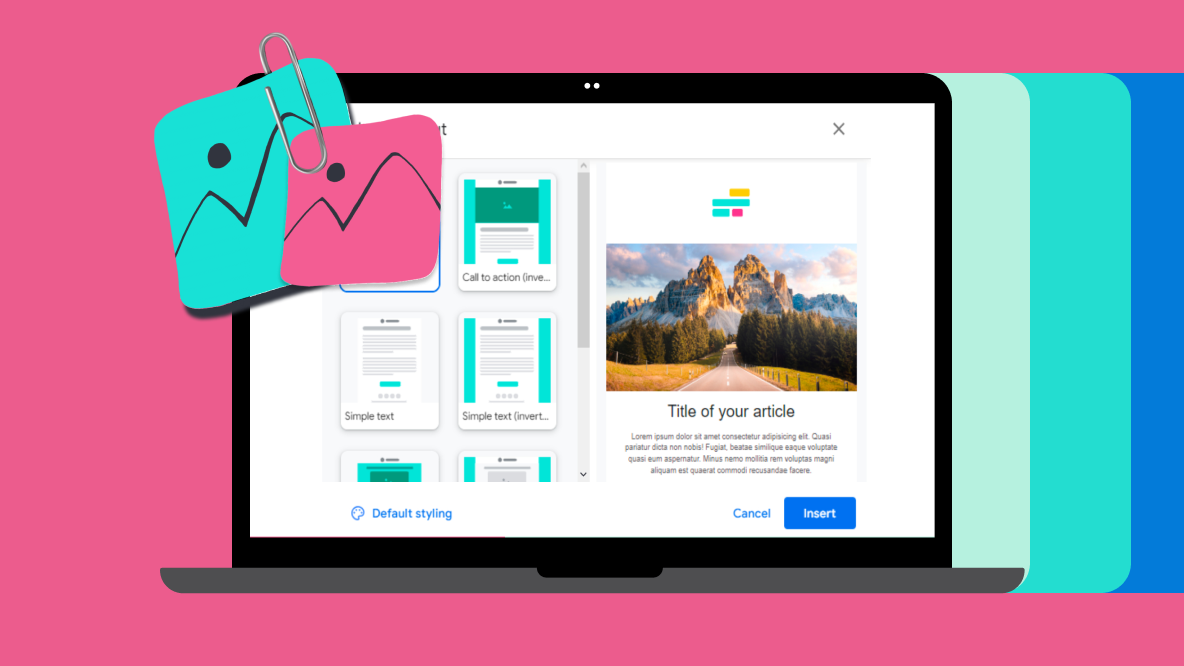
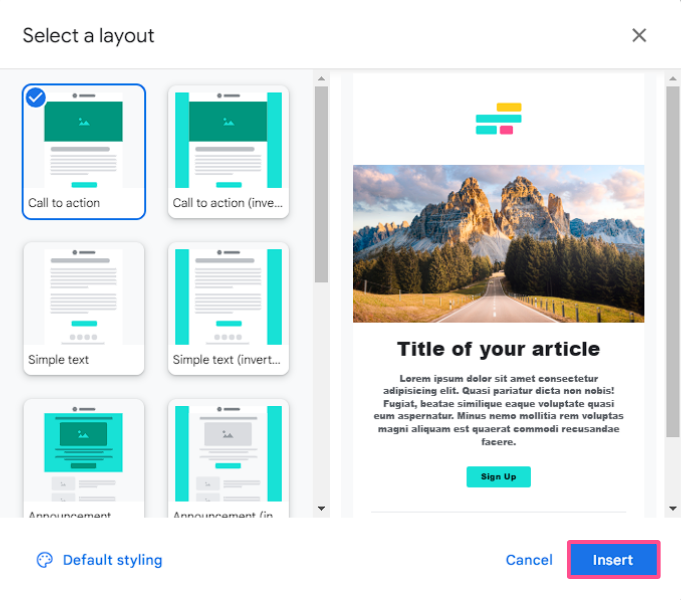
Once you're in the Layouts popup window, you'll be able to scroll through all ten of Google's current layout templates. Pick one of the templates with embedded images then click "Insert."
Your custom Layout should now appear within the New Message window. To change the image, simply click on the placeholder image and select "Change image" in the popup.
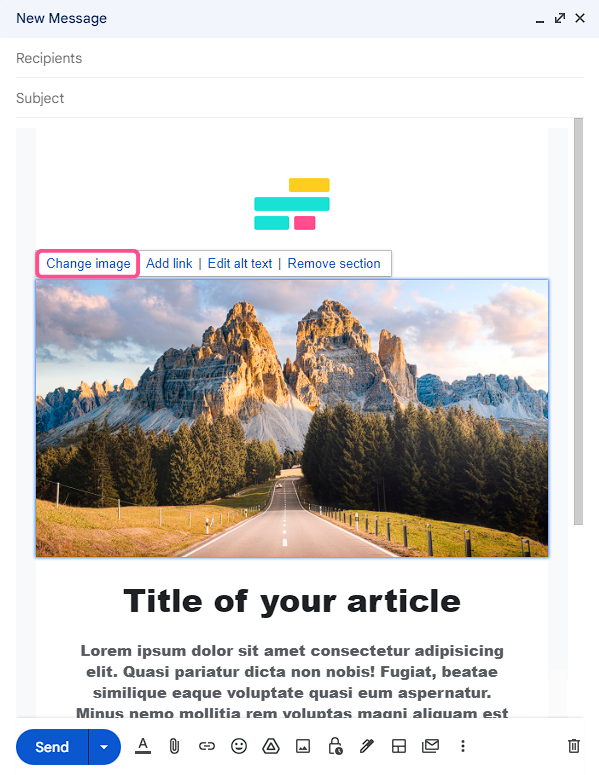
From here, choose your image to replace it.
Gmail gives the option to choose an image from your Google Drive, Google Photos, or upload from your device. If uploading from your device, you can click and drag the image into the upload box if you have it ready or click on the "Choose photos to upload" button.
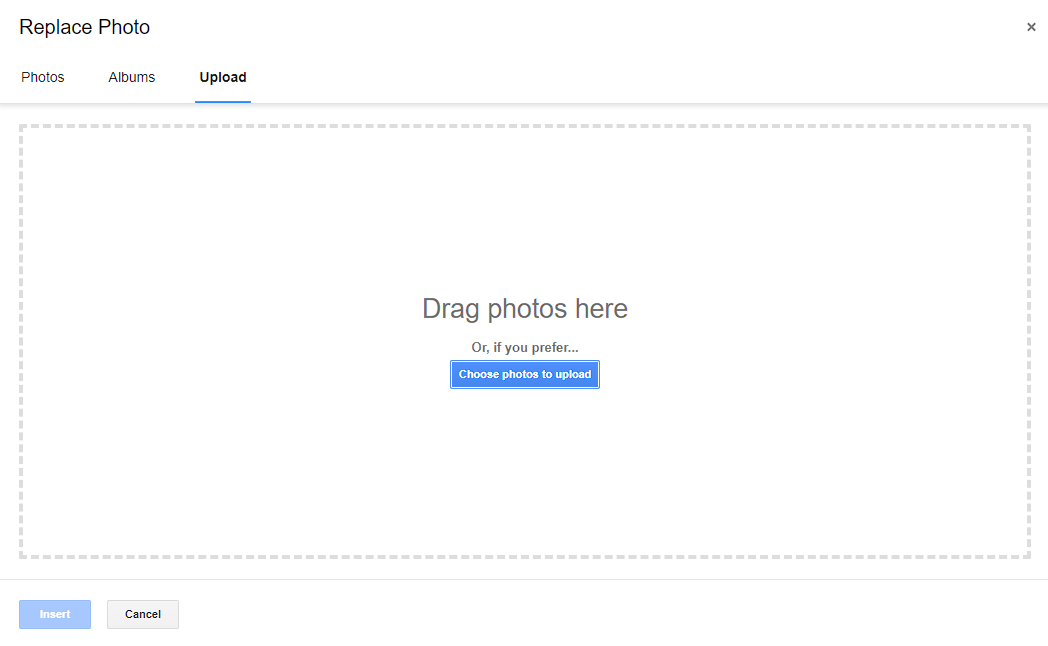
Keep in mind that the image must be 25MB or smaller. If it’s larger than 25MB, Gmail will send it as a Google Drive link instead of embedding the image in the body of the email. Use a resizing tool like this one to make your image smaller before uploading to Gmail, if necessary.
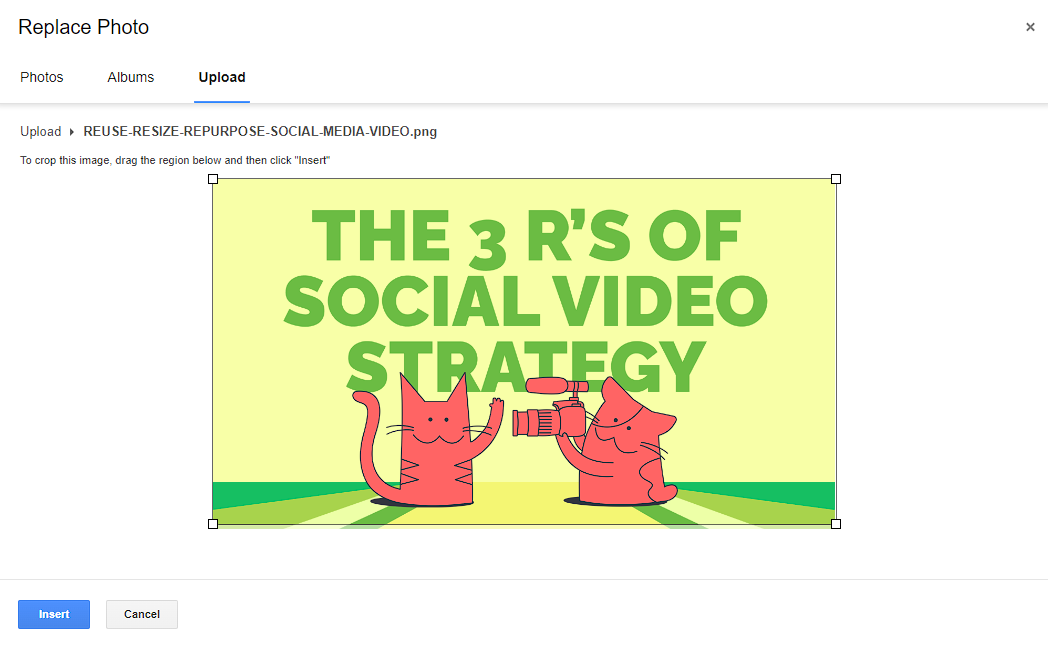
Once your image has been upload, adjust its cropping/sizing and click on Insert.
Voila! Your new image should replace the previous image within your Layout.
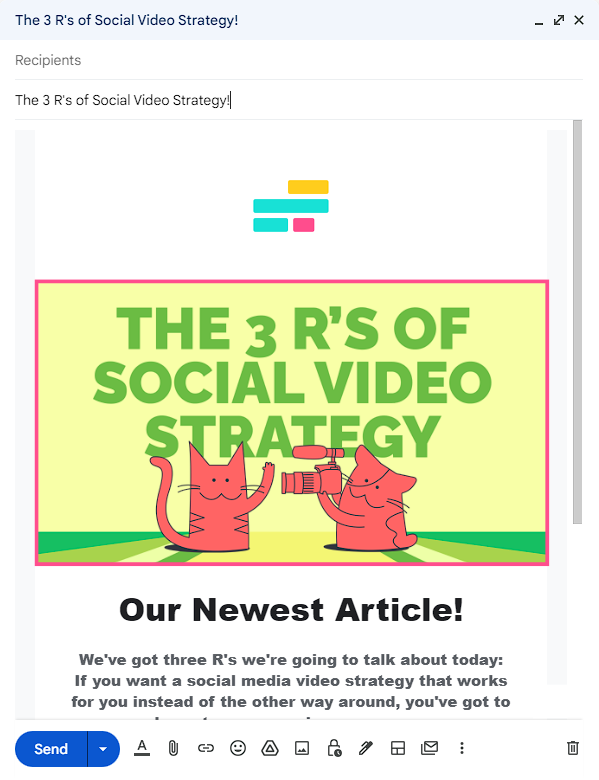
If you're using a Layout template with multiple images embedded, simply repeat this process for each image. Whether you're sending a weekly newsletter with the latest articles from your company blog or promoting a seasonal sale, you'll be able to include beautiful, branded images with your Gmail marketing sends now.
With your images in place, all that's left is to customize the body of the email, add an eye-catching subject line, and hit send!
How to Add a Video to a Gmail Professional Template
There are many reasons you might want to include a video in a professional email. Maybe you're sending a tutorial for customers to teach them how to better use your product. Maybe you're in sales and want to send a quick intro video to introduce yourself to prospects. Maybe video creation is your whole jam and you're just looking for another avenue to share your work with the people who find it interesting.
Unfortunately, Gmail's size restrictions for email attachments means that you can't embed a video directly into the body of a Gmail email. However, you can embed an image or a GIF thumbnail and link that image/GIF to the video. That way, when your reader clicks on the image or the in text link, they're taken to a webpage where they can watch your video.
While there are many places to host a video online, I'll go over one easy way to create a shareable link for your video using Kapwing:
Step 1: Upload video to Kapwing
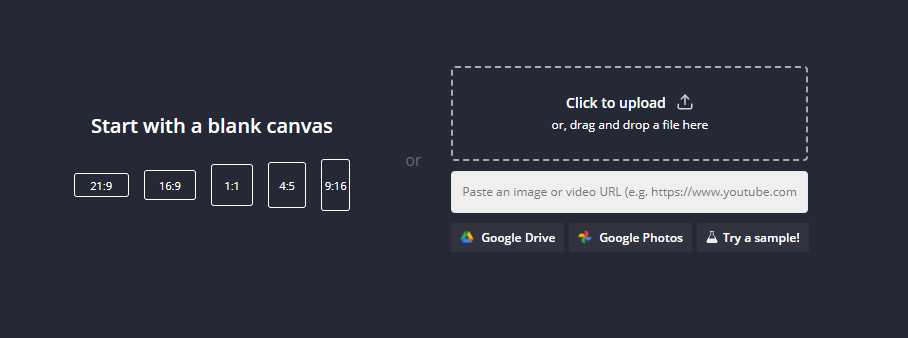
Similar to adding an image in Gmail, Kapwing also gives you the option to upload from Drive, a link, or your device.
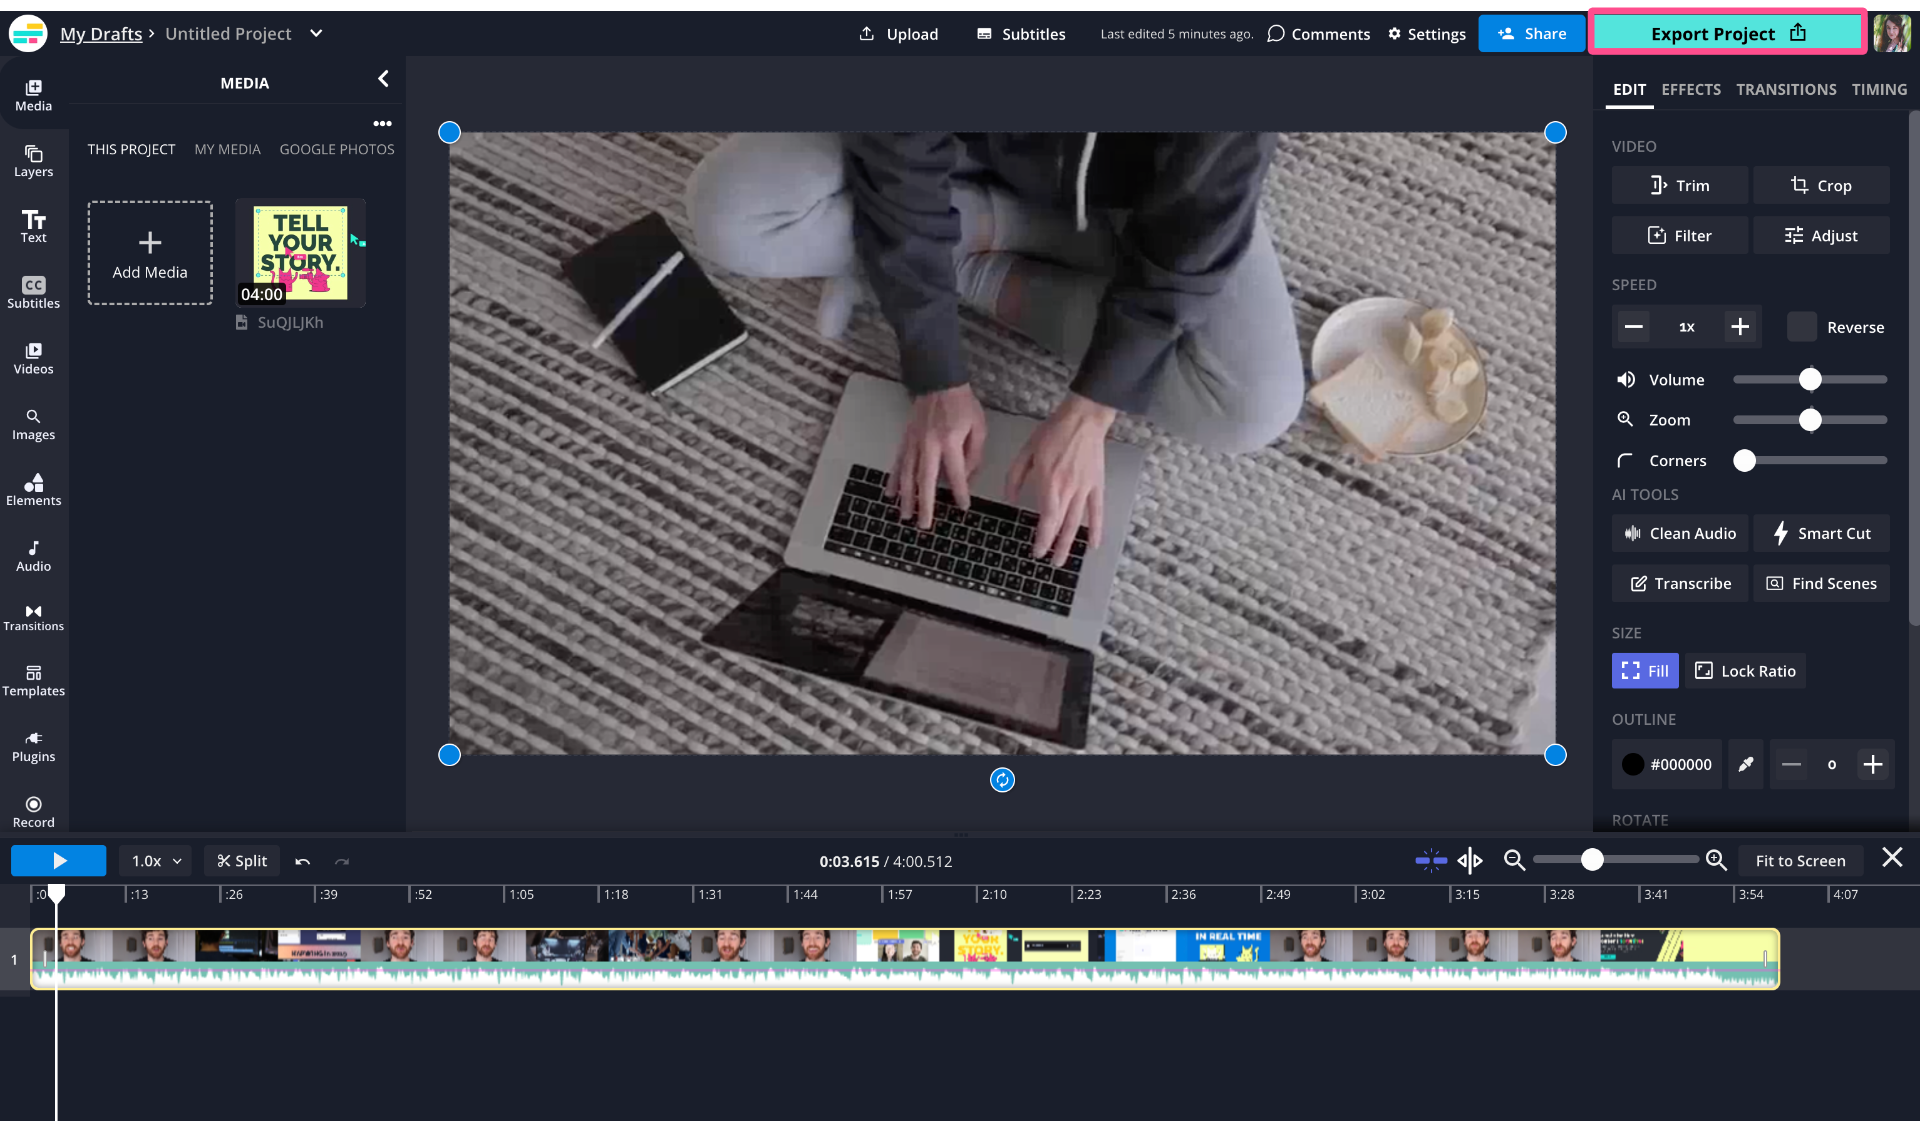
Step 2: Make any needed edits and Export the video
Take this time to check the video over for any edits you want to make — adding subtitles, trimming it, cleaning up the audio, etc. When you're satisfied, export the video to generate the shareable link.
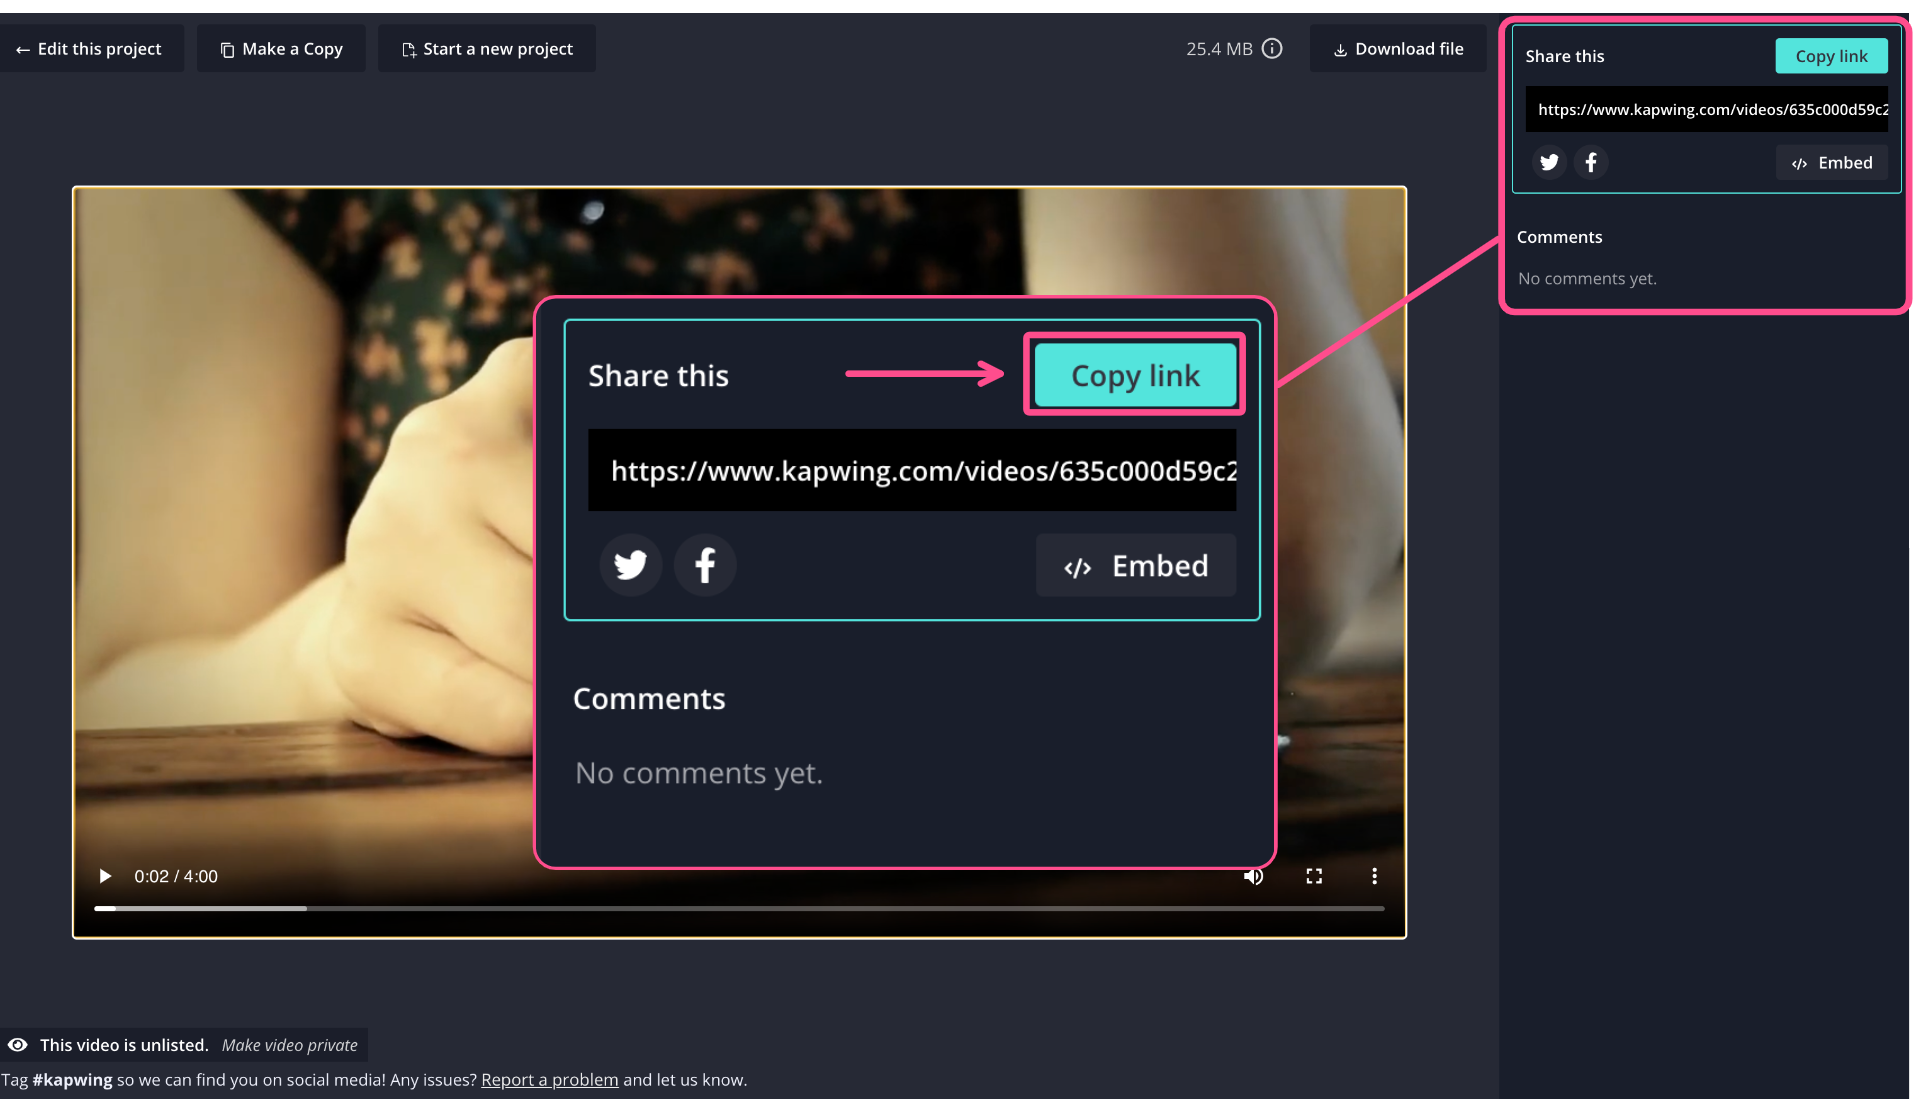
Step 3: Copy the shareable link
Once the video has exported, you'll see the option to "Copy link" on the download page. Click the button to save the link to your clipboard.
Step 4: Add the link to your thumbnail
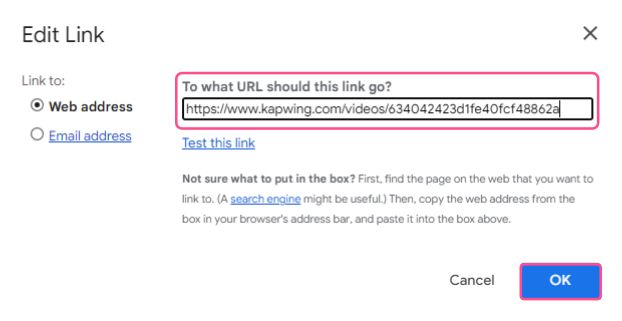
Back in Gmail, embed your thumbnail image into the body of your email the same way you would a regular image or GIF. Then click on the image and select "Add link."

Paste the link to your video then press OK.
Now, when you click on the thumbnail, it will show the option to "Go to link" with the video link you added.
Step 5 (Optional): Add the link to a CTA Button
I also recommend adding a CTA button in the body of your email that says "Watch the Video" or something similar. It should be clear to the reader how to view the video even if they don't click the image.
Many of the Gmail professional templates include CTA buttons, so make sure you've chosen one that has a button. Then edit the text to your chosen CTA and add the video link to your CTA button.
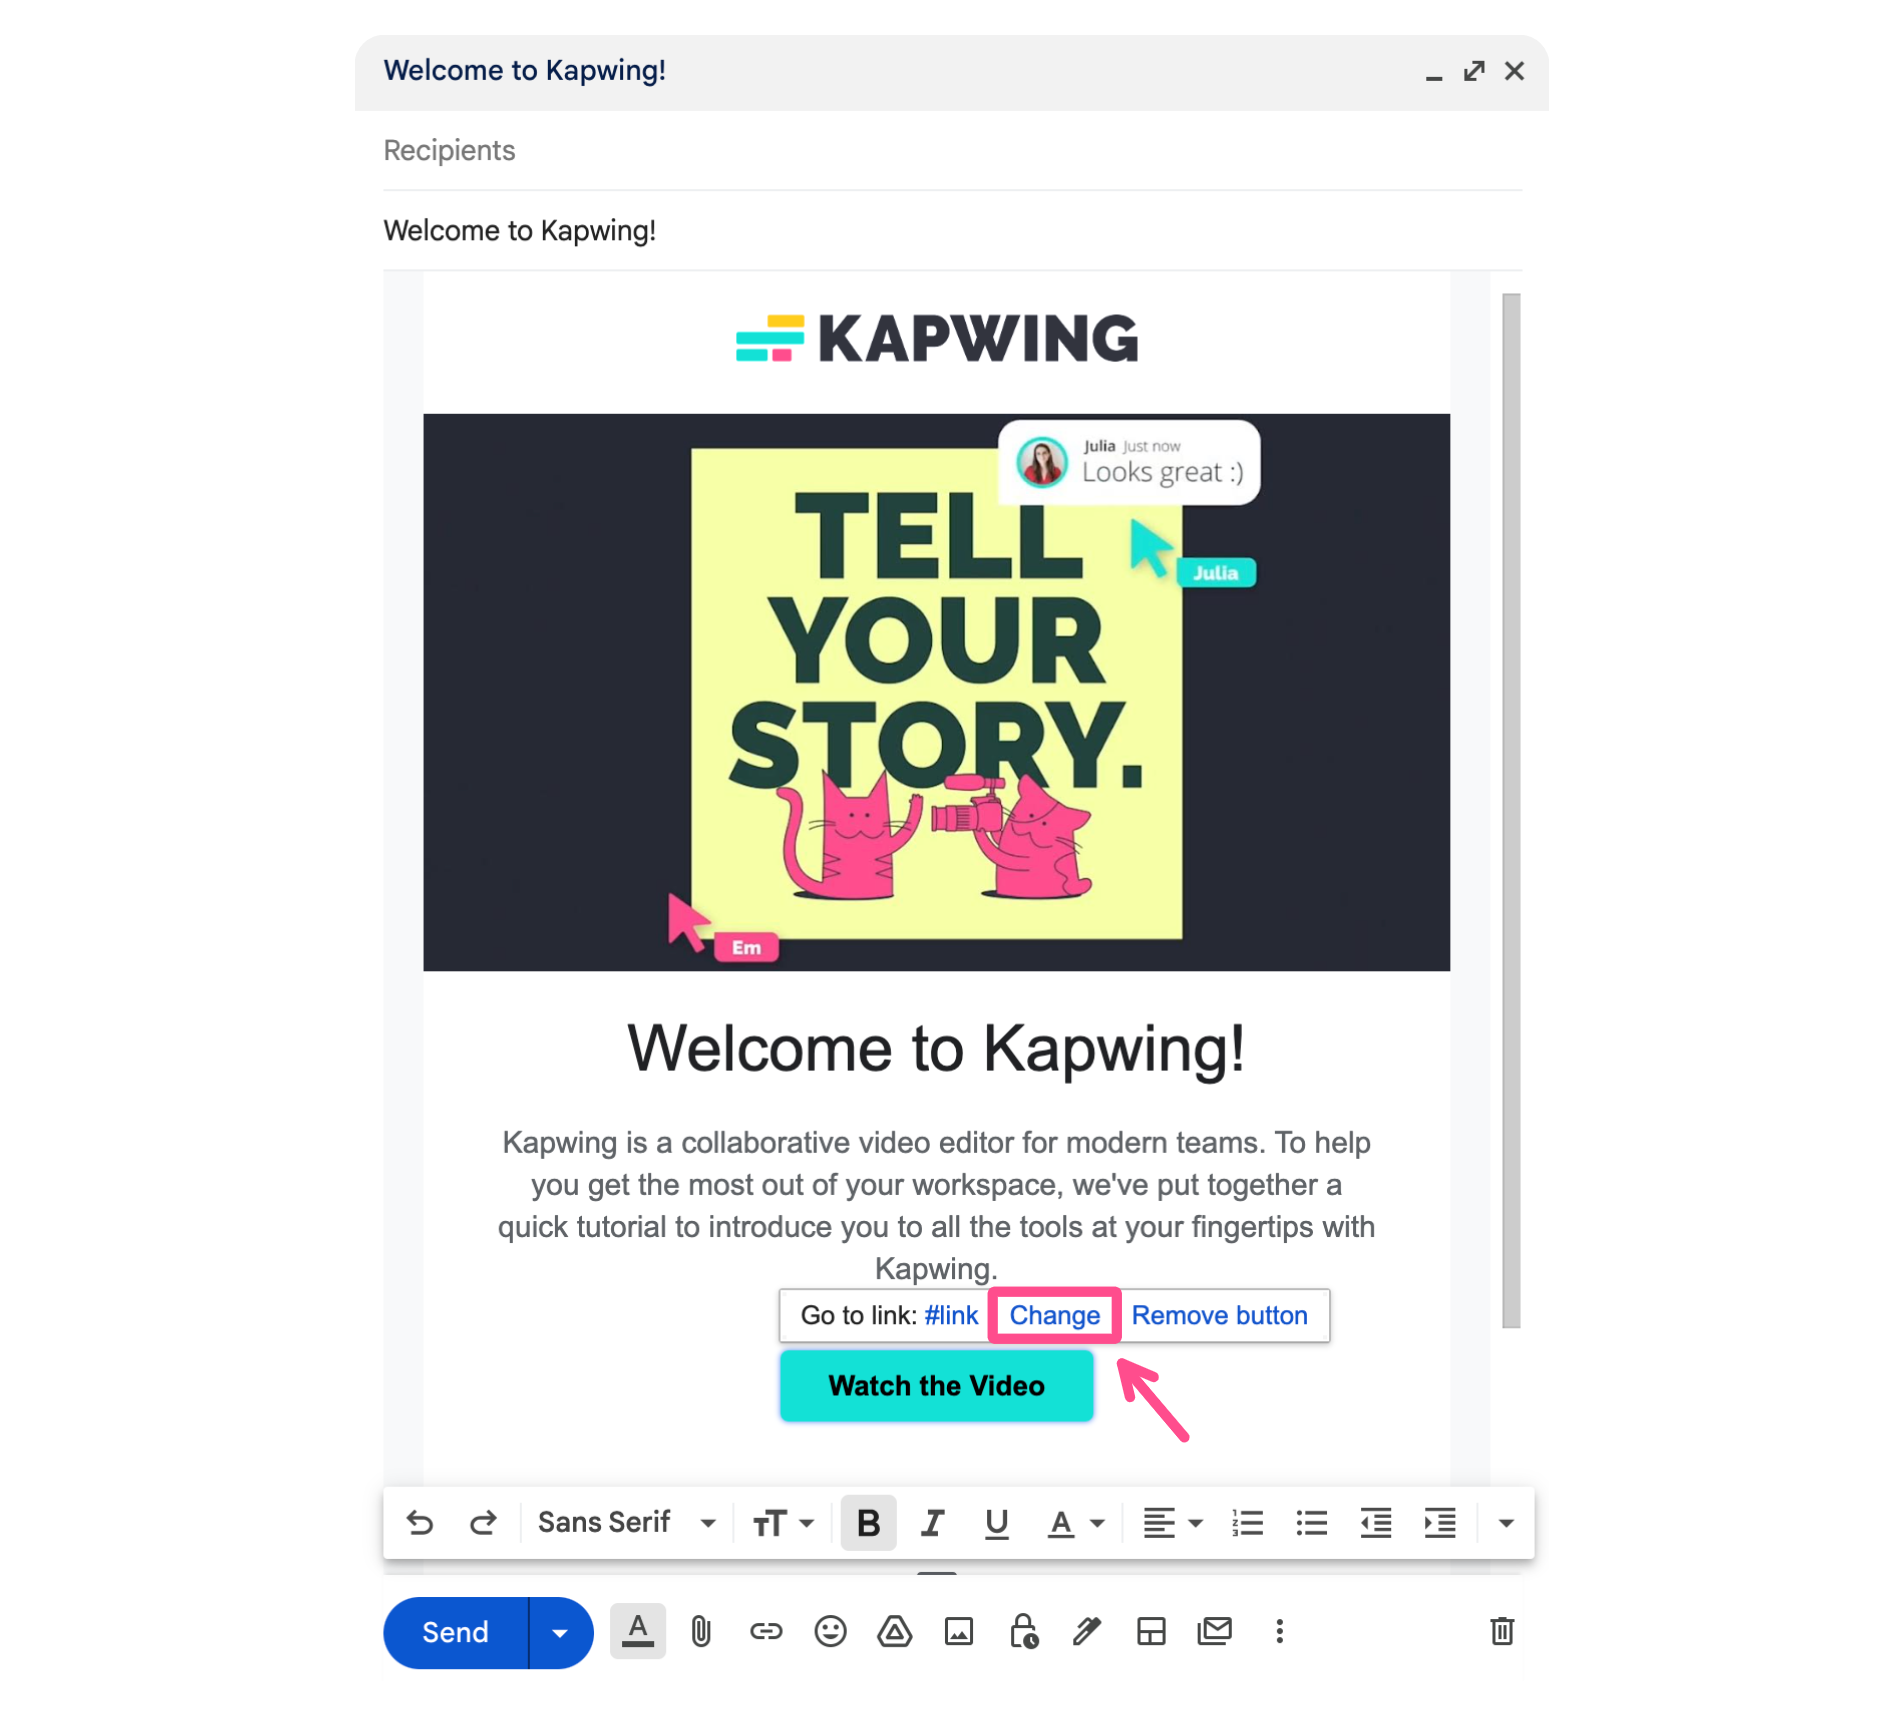
To do so, click on the button and choose the option "Change" to edit the link destination.
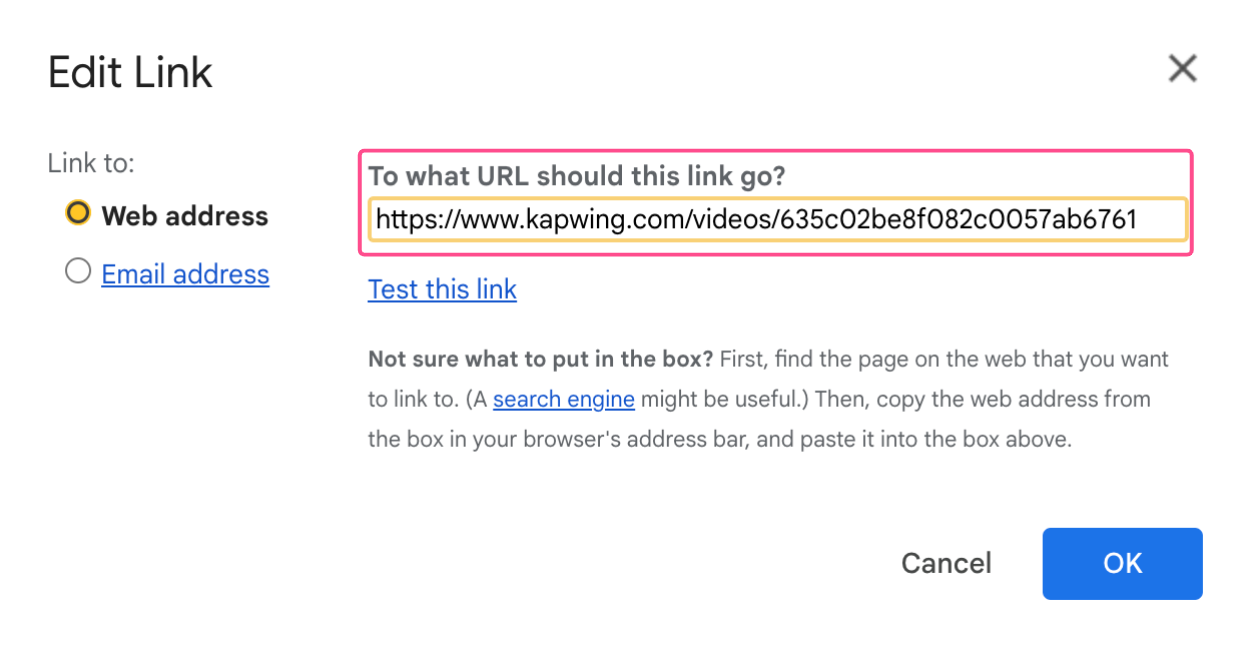
Then just paste your video link and hit OK. Now the CTA button will take readers directly to your video.
How to Make a Click-Worthy Thumbnail for Your Video to Include in Your Email
Whether you're using Kapwing to generate a shareable link to your video or you already have a link (from social media, YouTube, Google Drive, or a video hosting site), you'll need a thumbnail to embed. There are two types of thumbnails you can embed into a Gmail Layout template: a GIF thumbnail or a standard image thumbnail.
I'll show you how to make both in Kapwing:
For a GIF Thumbnail
Step 1: Trim the original video
Choose a few seconds from the video you'll be linking in the email to serve as your GIF. This clip should have some kind of movement in it that will be eye catching.
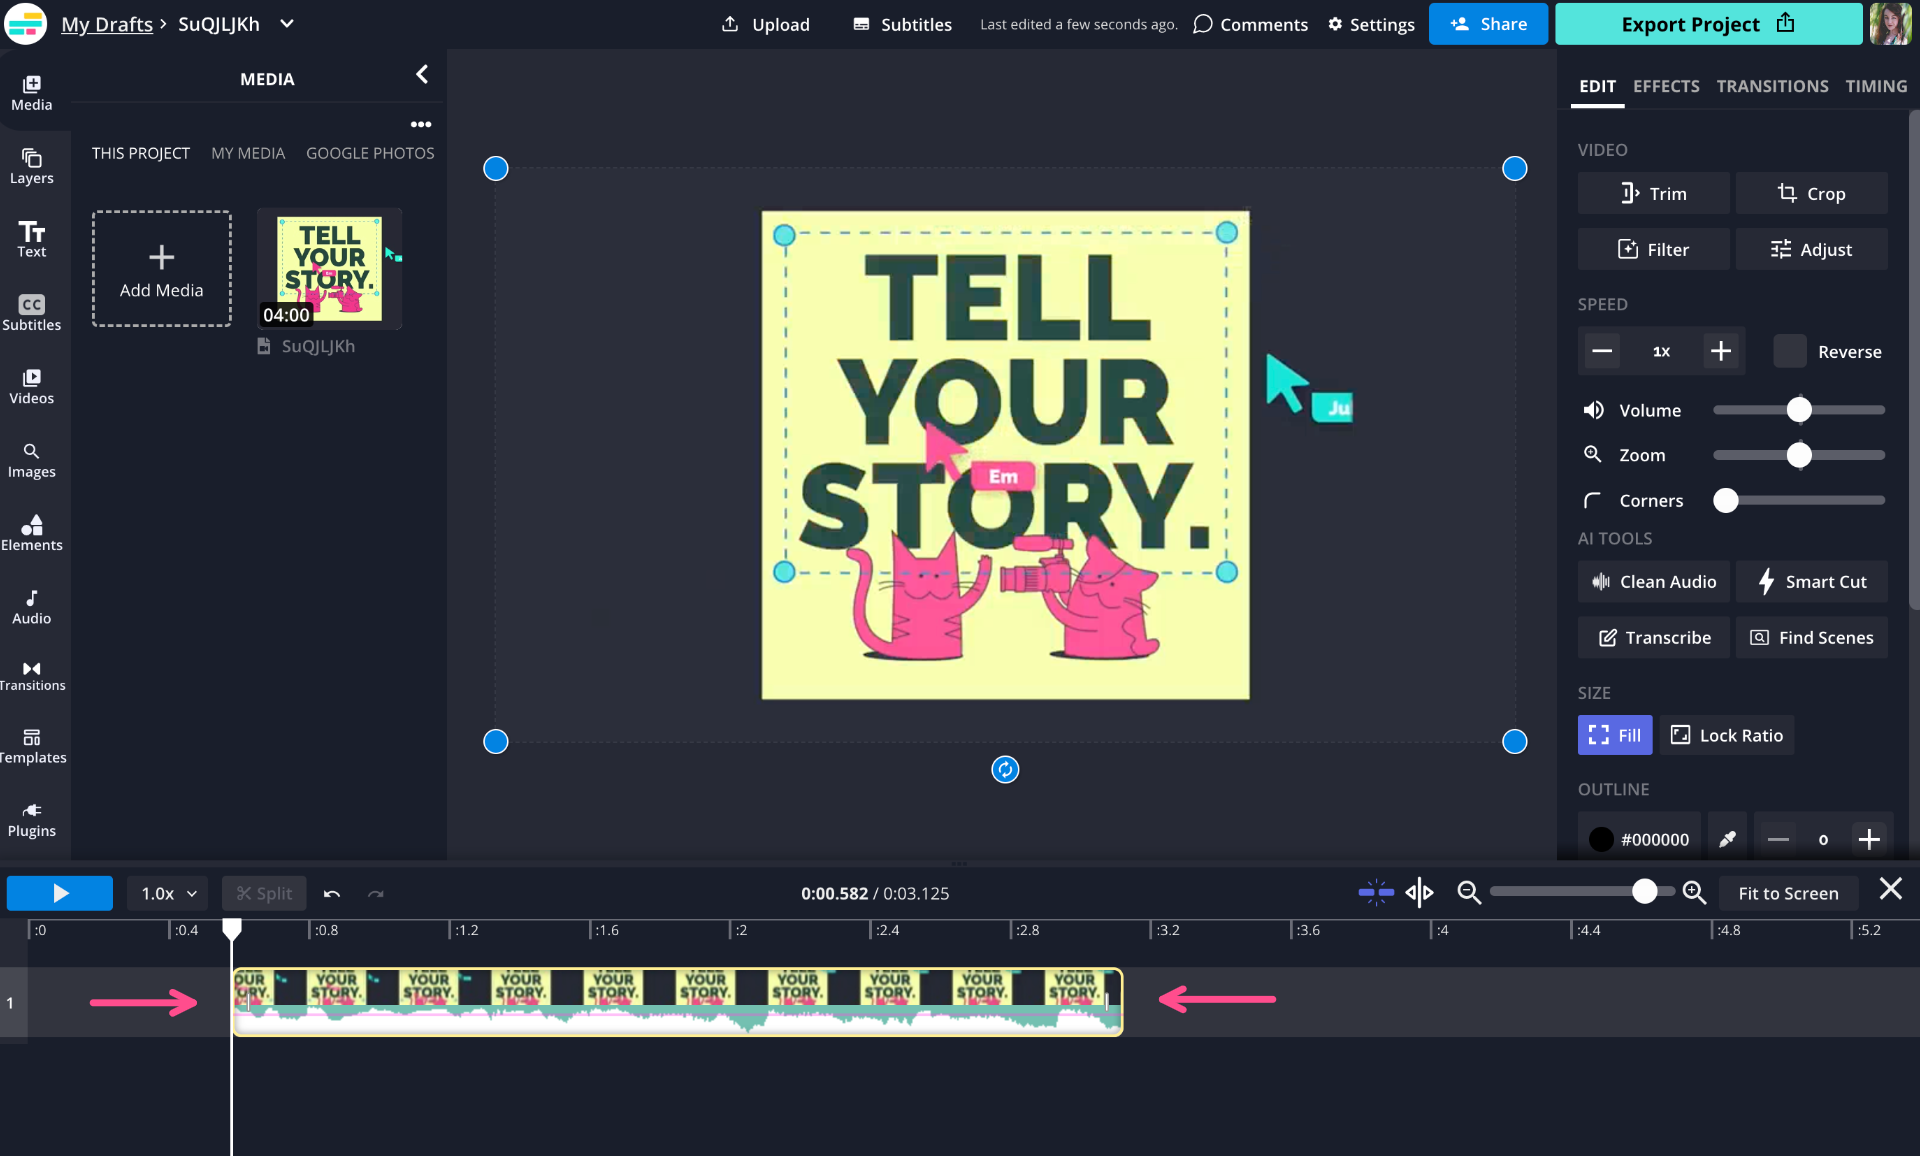
Once you've chosen your clip, trim the video down to just those few seconds in the Timeline below.
Step 2 (Optional): Add a Play Button
While marketing studies have shown that many people click on images in emails (which is why they should always be hyperlinked so you don't waste those clicks), there's no guarantee that someone will click on your GIF. Since you definitely want your readers to see the video you're making this thumbnail for, that's not ideal.
To solve for this problem, you can add a semi-transparent play button. Our brains recognize a play button and its function and therefore your readers will be more likely to click on your thumbnail.
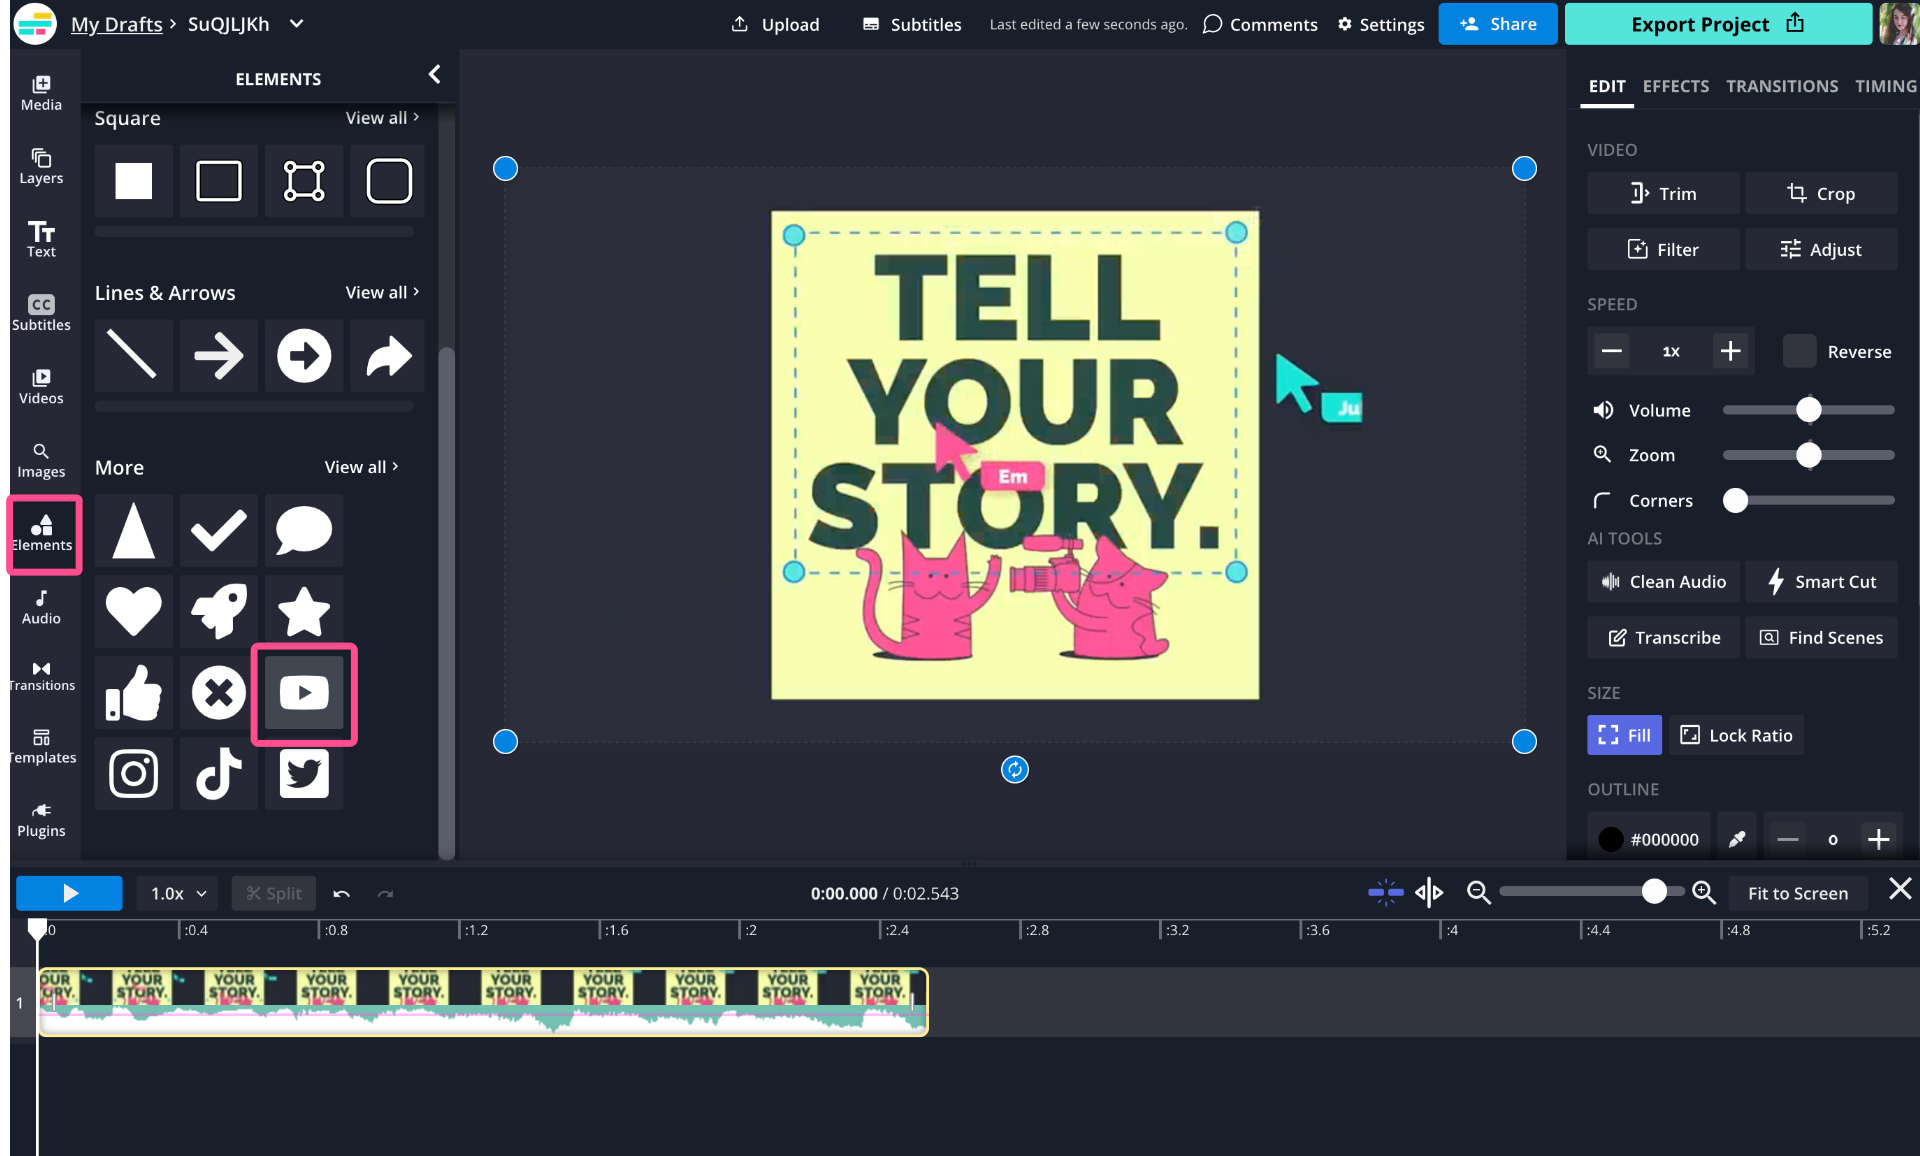
Open the elements tab in Kapwing and scroll down until you see the play button icon under "More." Add it to your canvas and center it on the screen.

Change the color and opacity of the play button using the editing tools in the right side menu. Finally, you want to make sure that your button appears for the entire GIF.
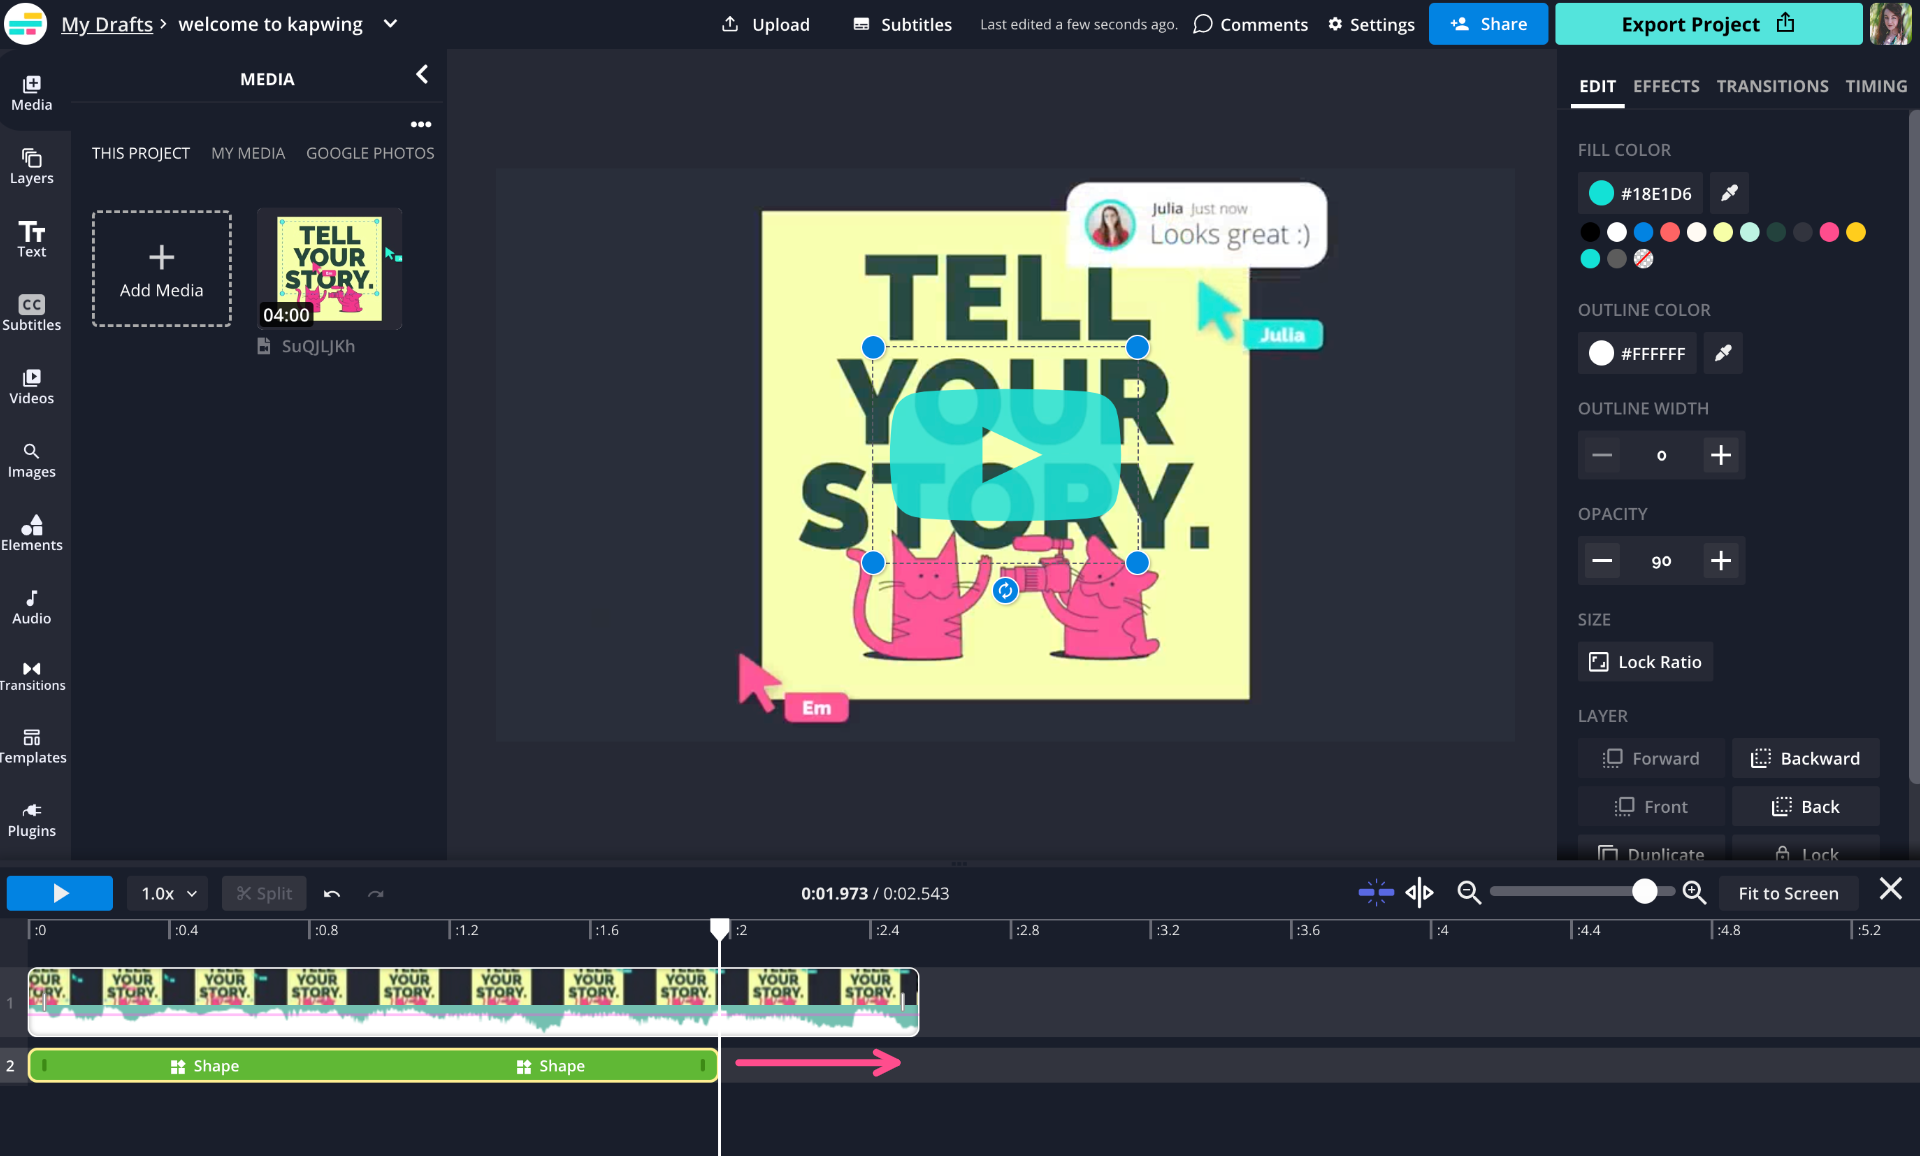
In the Timeline, grab the edge of the Shape layer and drag it until it lines up with both edges of the video layer.
Step 3: Select GIF under export settings
Now you're ready to save this video clip as a GIF. Click Export and then choose GIF from the Format options.
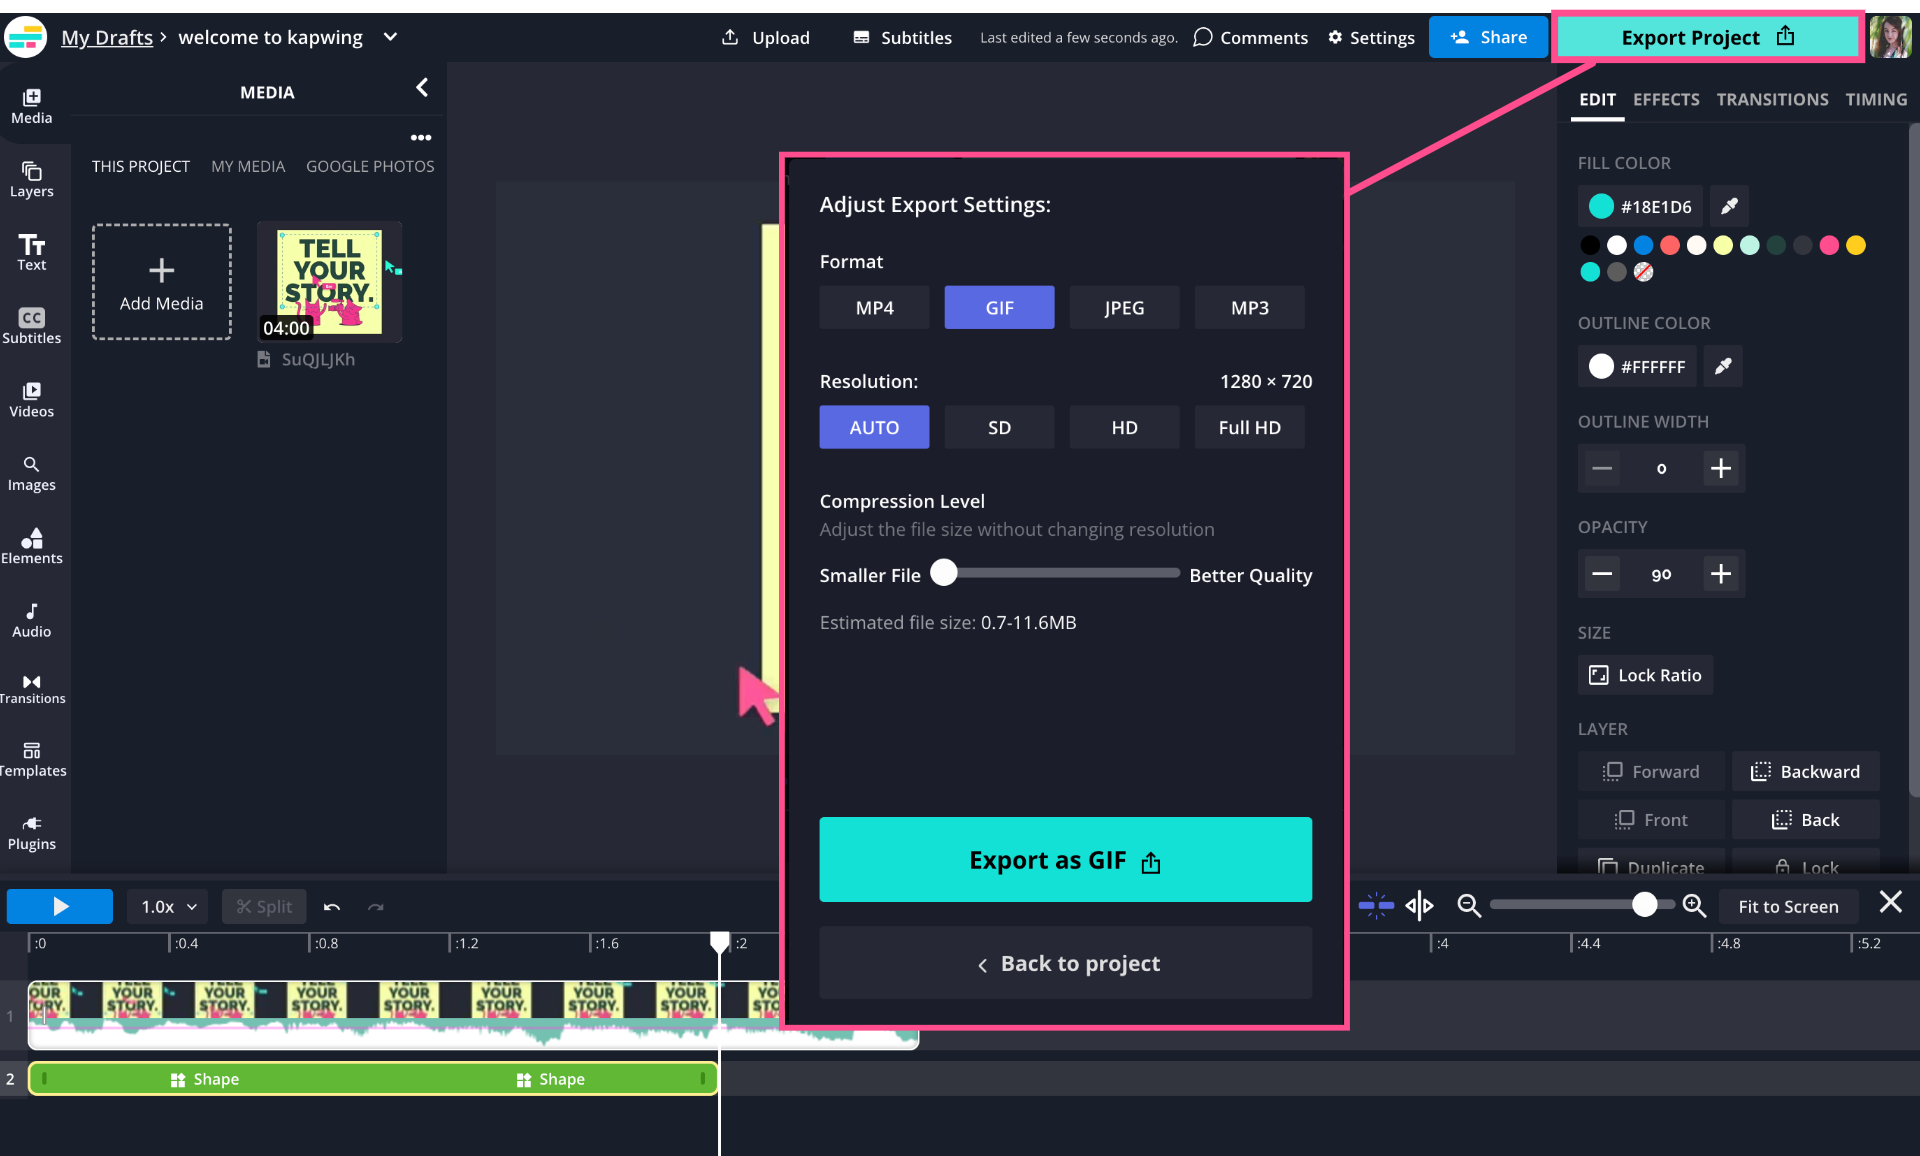
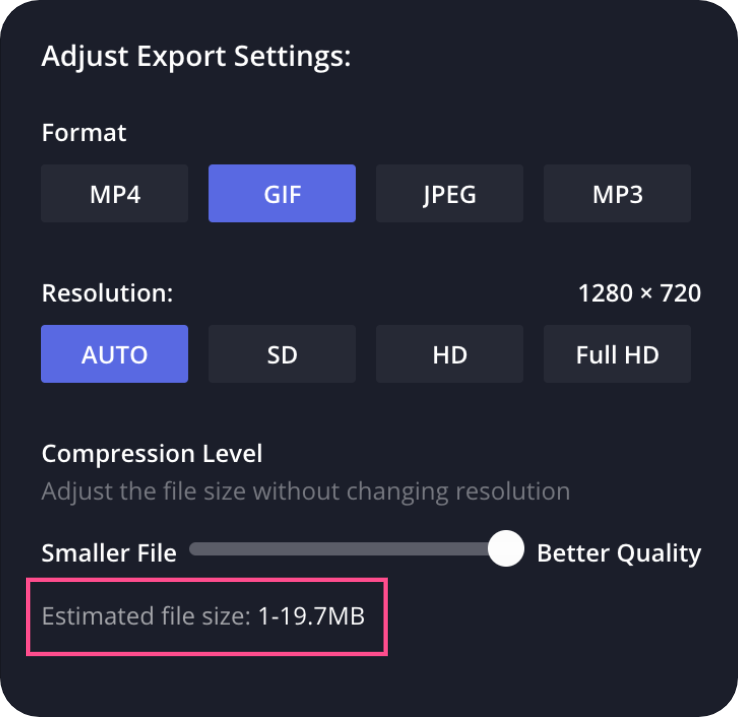
Remember, the file needs to be less than 25MB, so check the "Estimated file size" displayed in the export window and adjust the resolution and compression levels until it's small enough to meet Gmail's requirements.
Finish exporting and now you've got a great thumbnail GIF!
For an Image Thumbnail:
Step 1: Select JPG under export settings
The process for making a static thumbnail is more straightforward. First, find the frame in your video that you want to use as the thumbnail. If you want to include a play button, follow Step 2 from the GIF Thumbnail tutorial. Make sure you've lined up your play button with the frame you want to export as the thumbnail (a few seconds of padding on either side should do the trick).
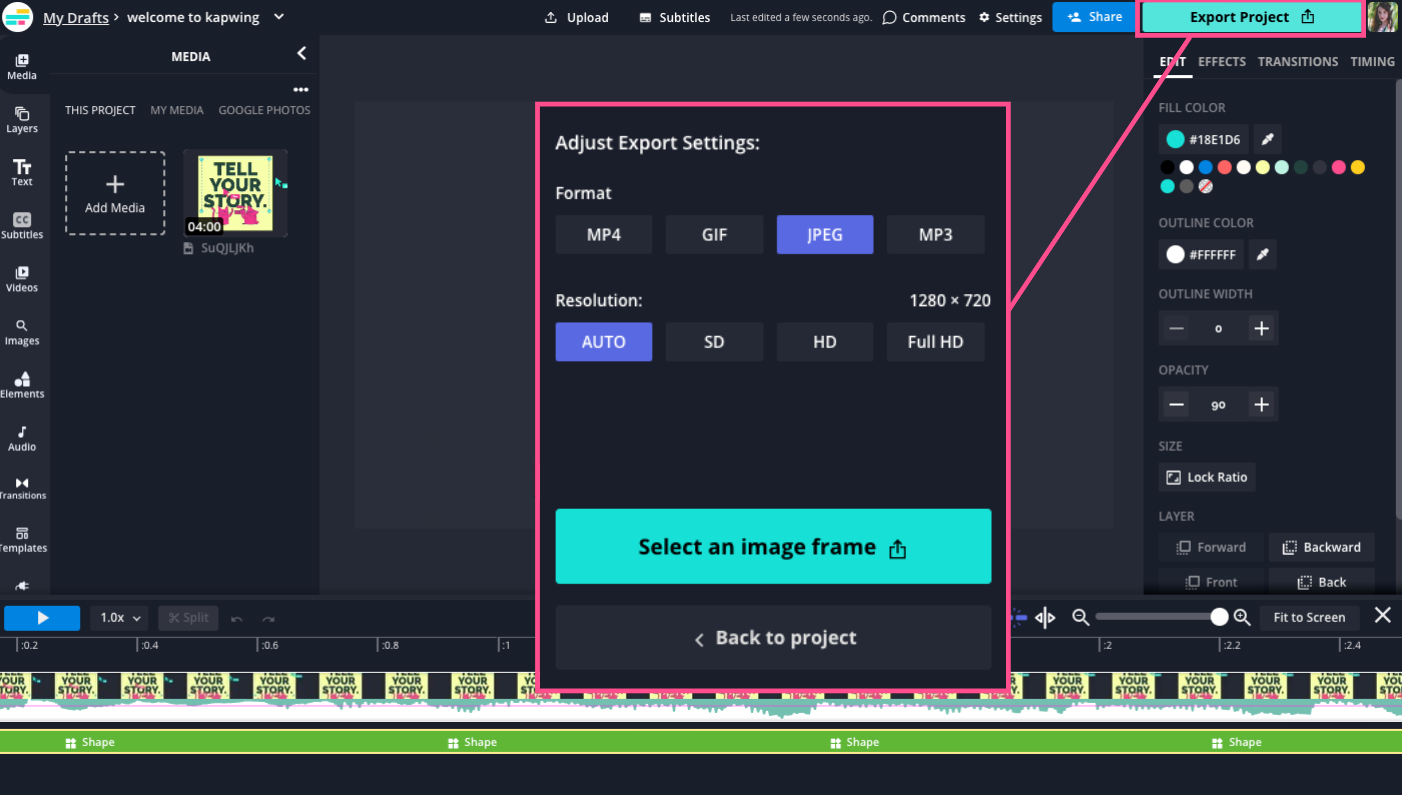
Then, click Export and select JPG under the Format options.
Step 2: Select an image frame
In the export window, you'll see the option to "Select an image frame." Click on this button.
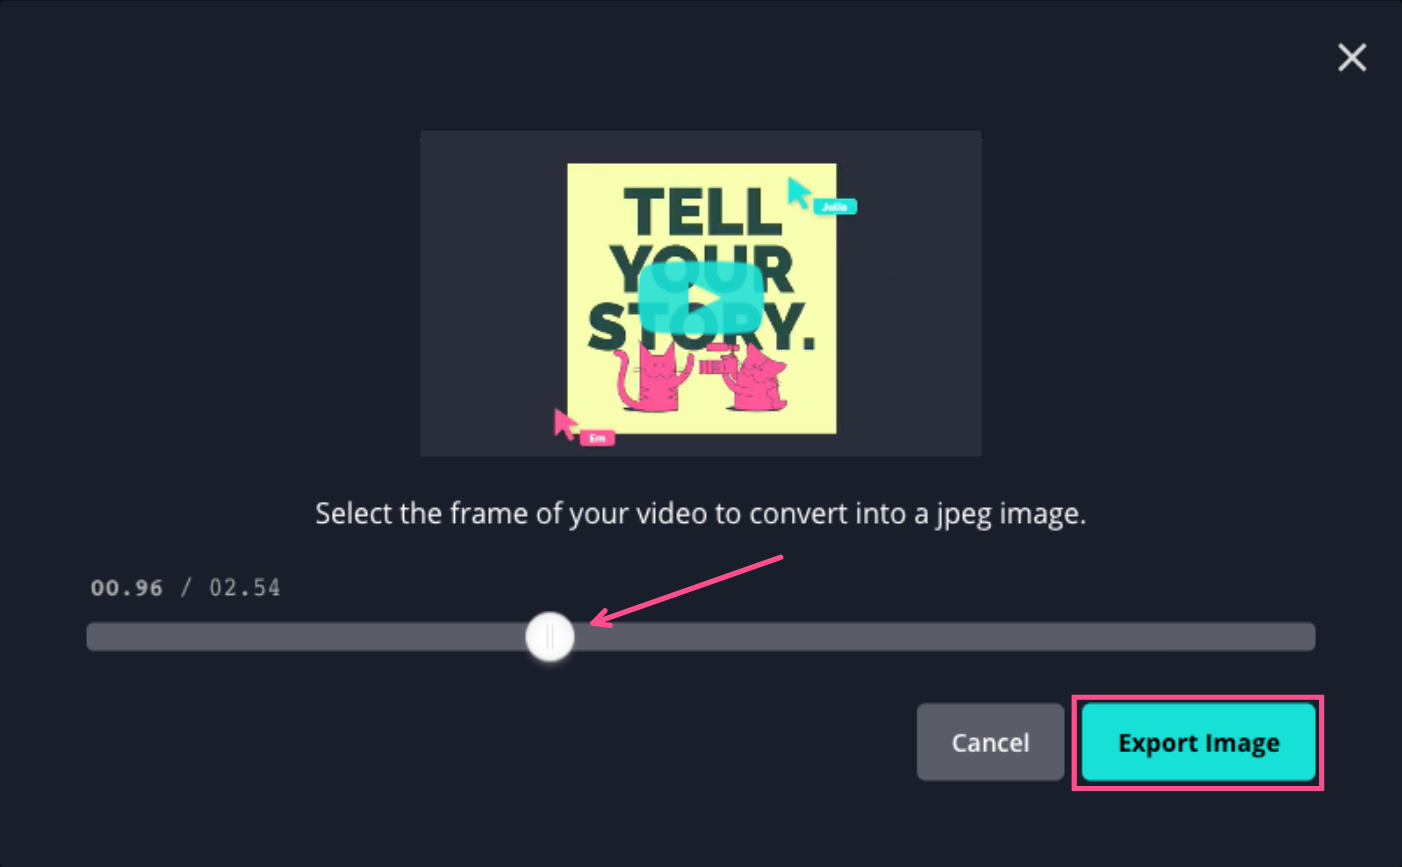
In the pop-up window, use the slider to select the exact frame you want to export as your thumbnail. Then click export image and download as usual.
For both a static thumbnail and a GIF thumbnail, follow these steps to replace the placeholder image in your email template and add your video link.
For more creator tips and tutorials, check out our Resource Library and subscribe to our YouTube channel! In the meantime, bookmark or read through some of our other resources for your small business or brand:
- How to Make Thumbnail Images for YouTube
- Compress GIF Tool
- Thumbnail Maker
- How Vannesia Darby Started Her Own Marketing Agency