How to Add a Border to Instagram Video
This post shows you how to add padding or border to their Instagram posts, stories, and IGTV videos to make the main content pop in the grid. Add a border or overlay to an Instagram post using a free editor called Kapwing.
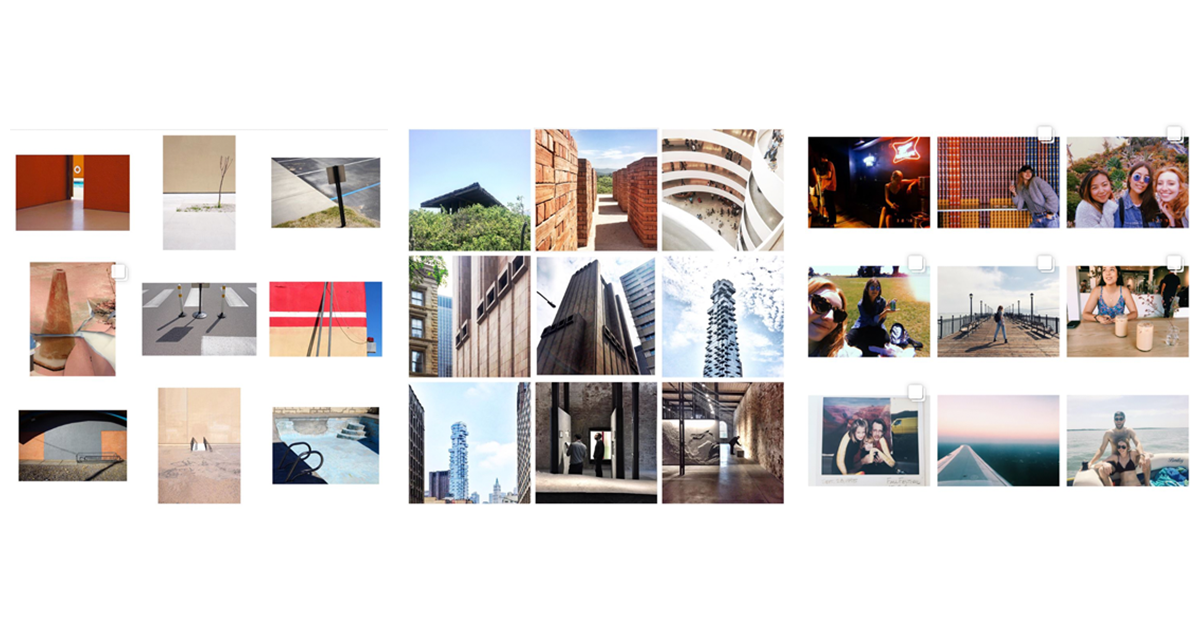
Many popular instagram accounts have a thin, white border around each post. A border creates visual consistency and make the posts stand out from others, especially in the Explore grid. Padding also allows you to post videos and photos with different aspect ratios in the same Instagram album, since the background is 1:1 for each post.
Creators also add padding or border to their Instagram Stories and IGTV videos to make the main content pop. In this post, I’ll explain how you can add a border to an Instagram post using a free, online editing tool called Kapwing.
How to Add Padding for Instagram
Step 1: Upload your Video or Image
Open the Kapwing Resizer and upload your video or image. You can import a video directly from YouTube, Vimeo, Google Drive, or Giphy by pasting a URL, or you can upload the video directly from your phone or computer. Kapwing is online, so it works from any device.
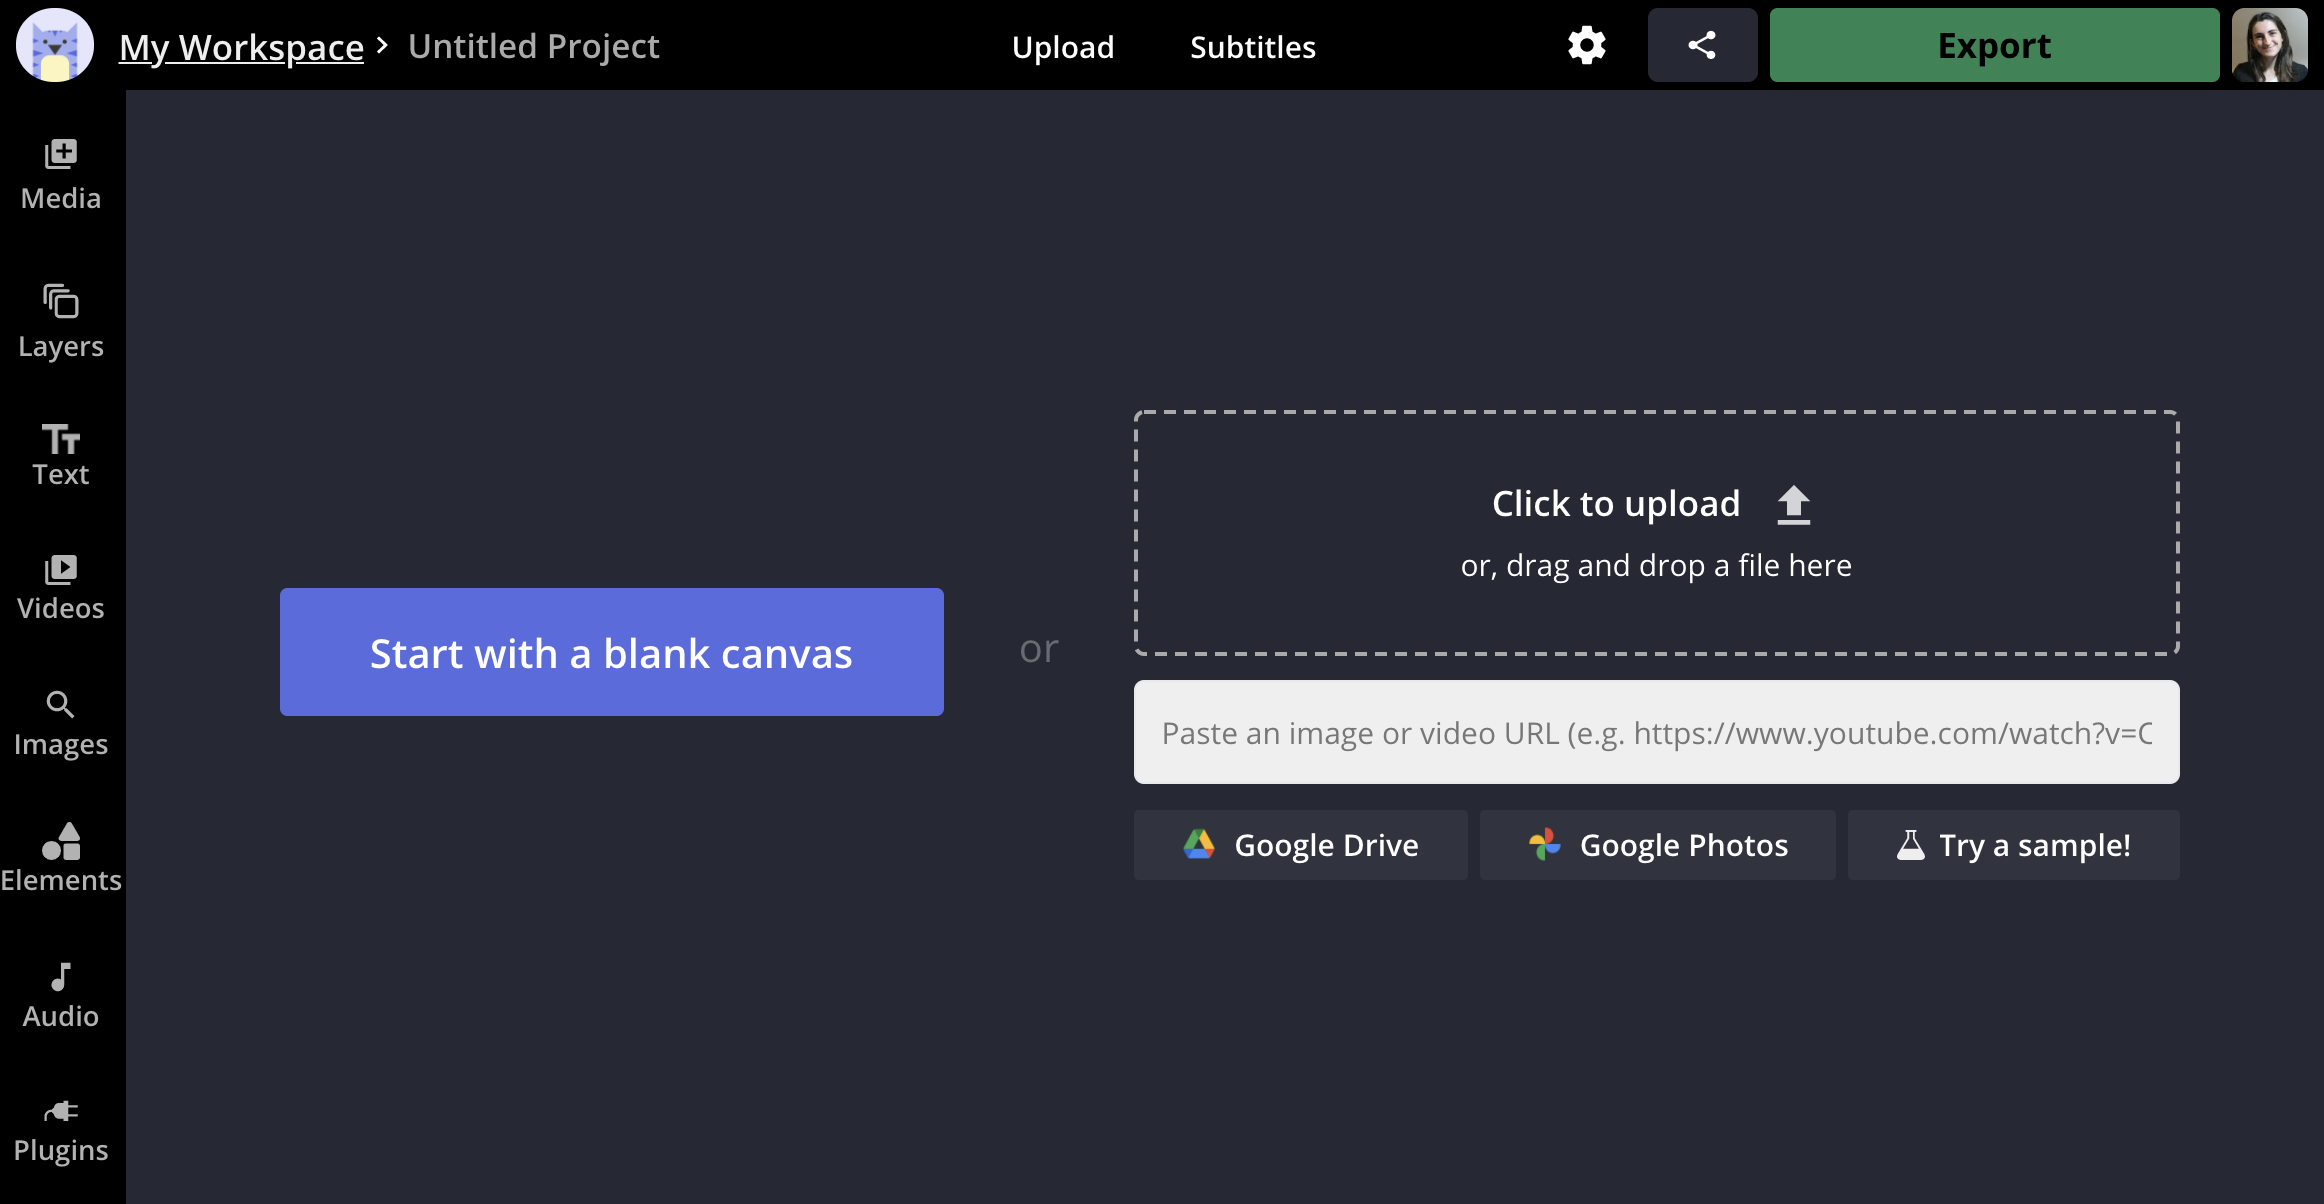
Kapwing’s online resizer helps you get the right aspect ratio. It supports video files (MP4, MOV, AVI, FLV), YouTube videos from a URL, images (JPG, PNG), and GIFs.
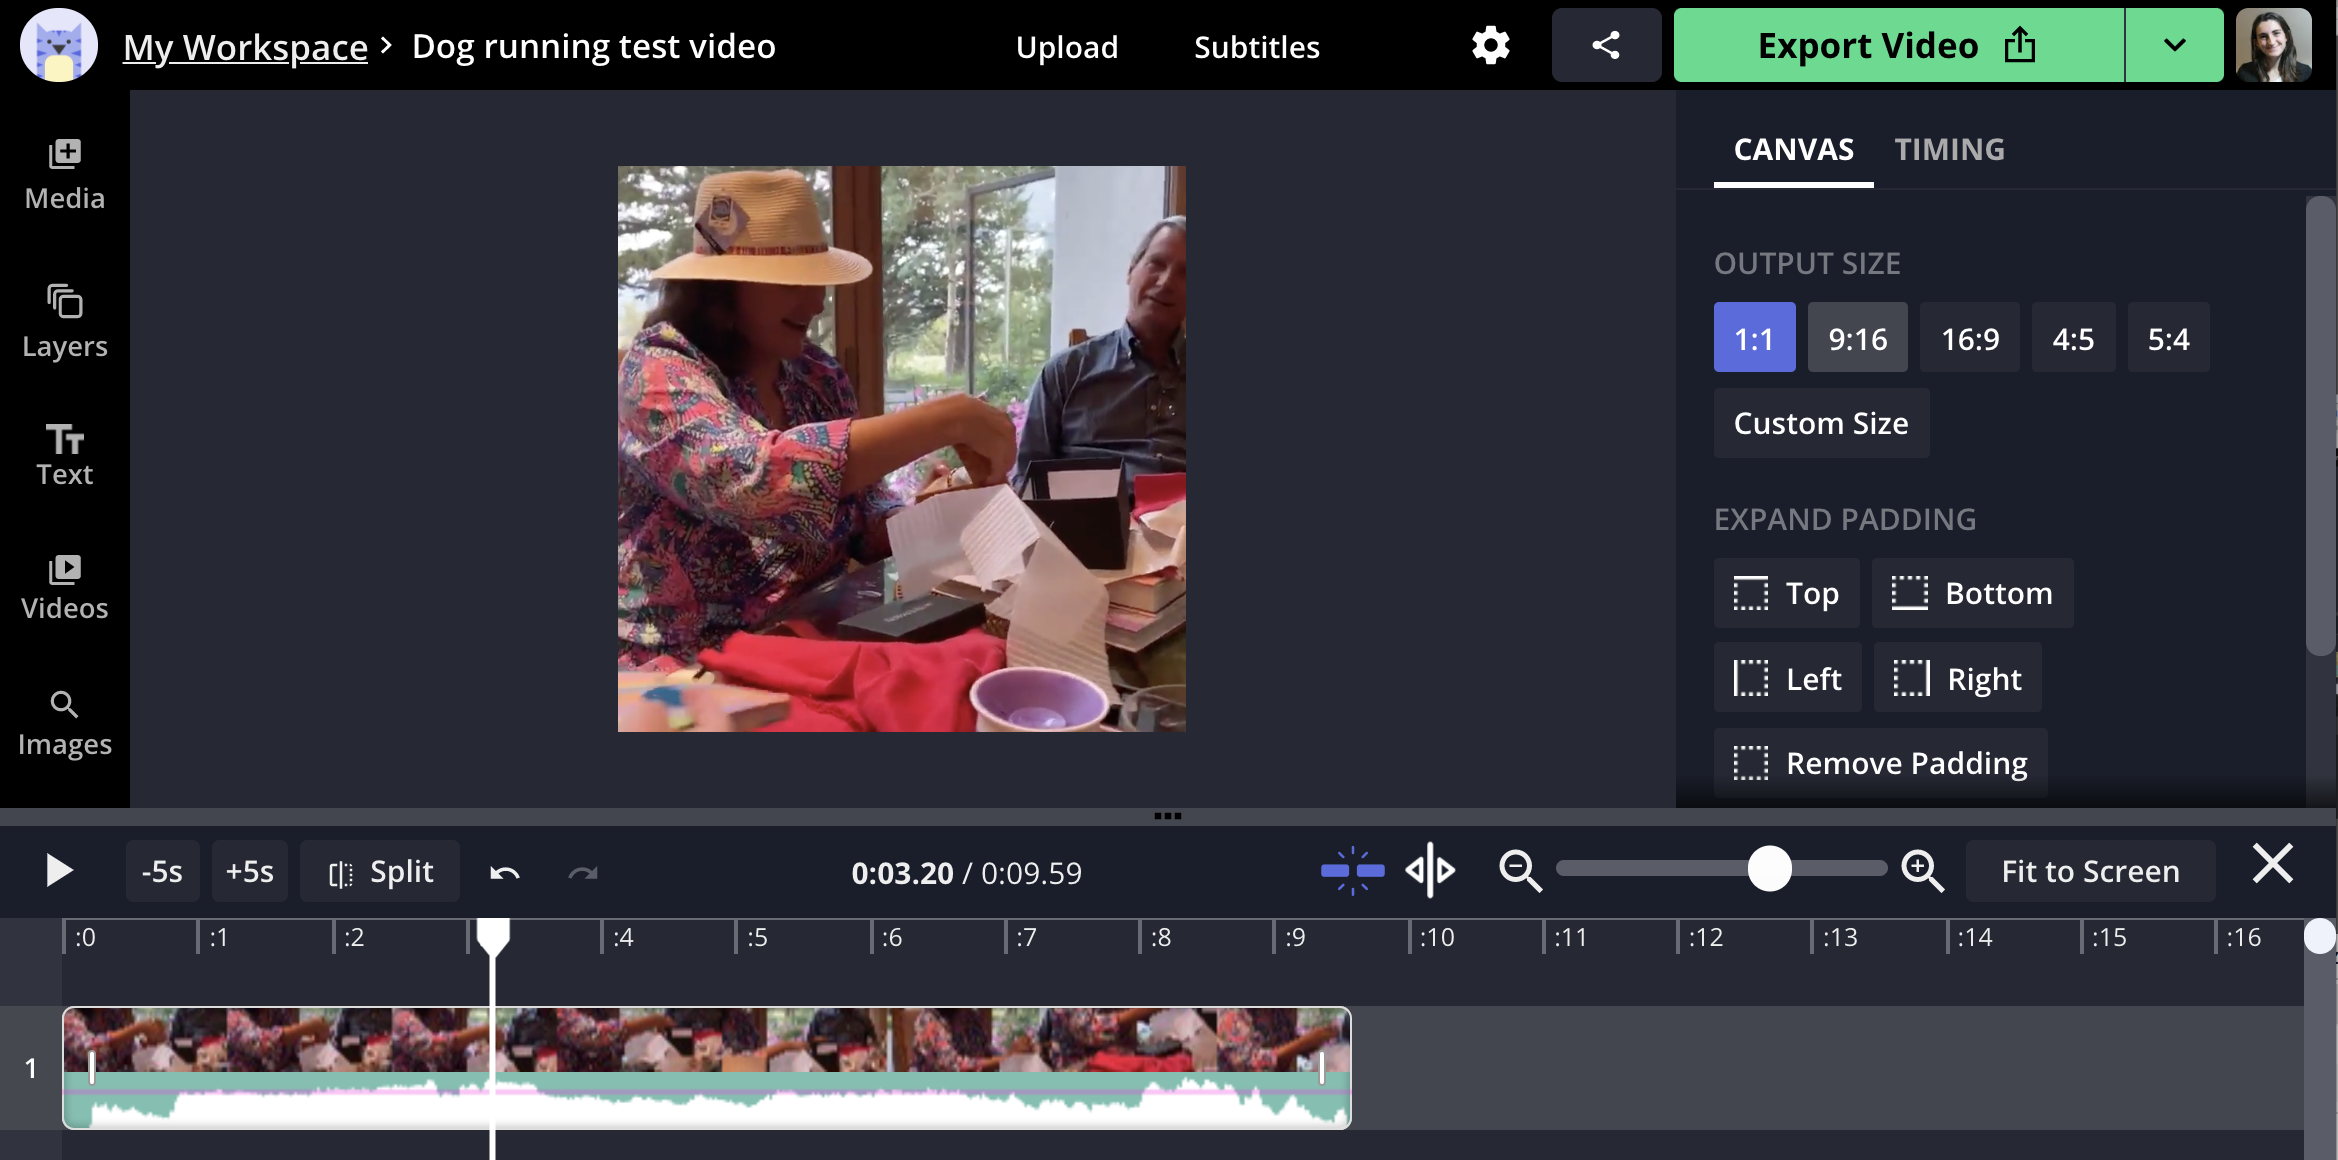
After you upload your video, it will show as a preview in the Studio editor.
Step 2: Use the Zoom Slider to Add a Border
Start by choosing the correct aspect ratio (1:1 for Instagram or 9:16 for IGTV). If your video is not square, use the "Output Size" buttons to change the aspect ratio to 1:1 (or another Instagram-friendly size).
Creators can also enter a custom size; 1080 x 1080 is recommended as the best size for an Instagram post. If you're using Kapwing on your phone, click "Edit Background" to select the aspect ratio that you want.
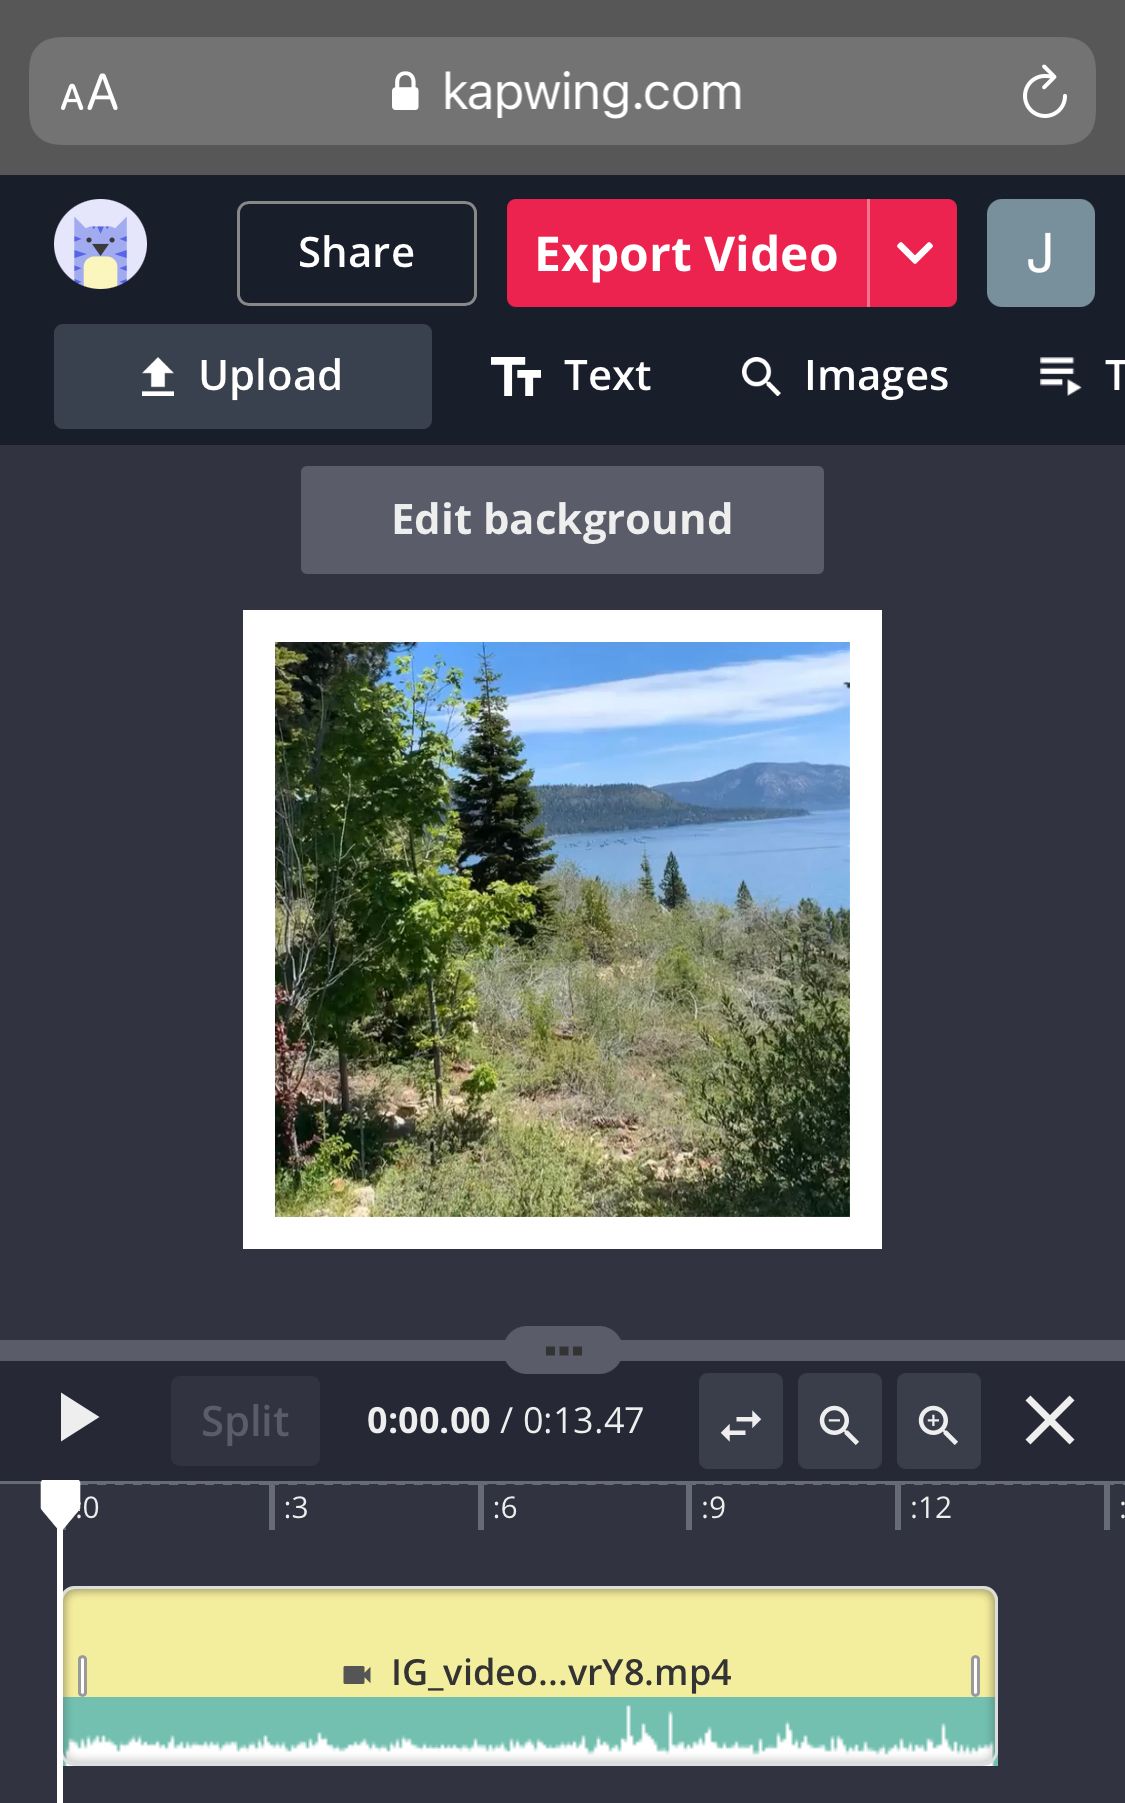
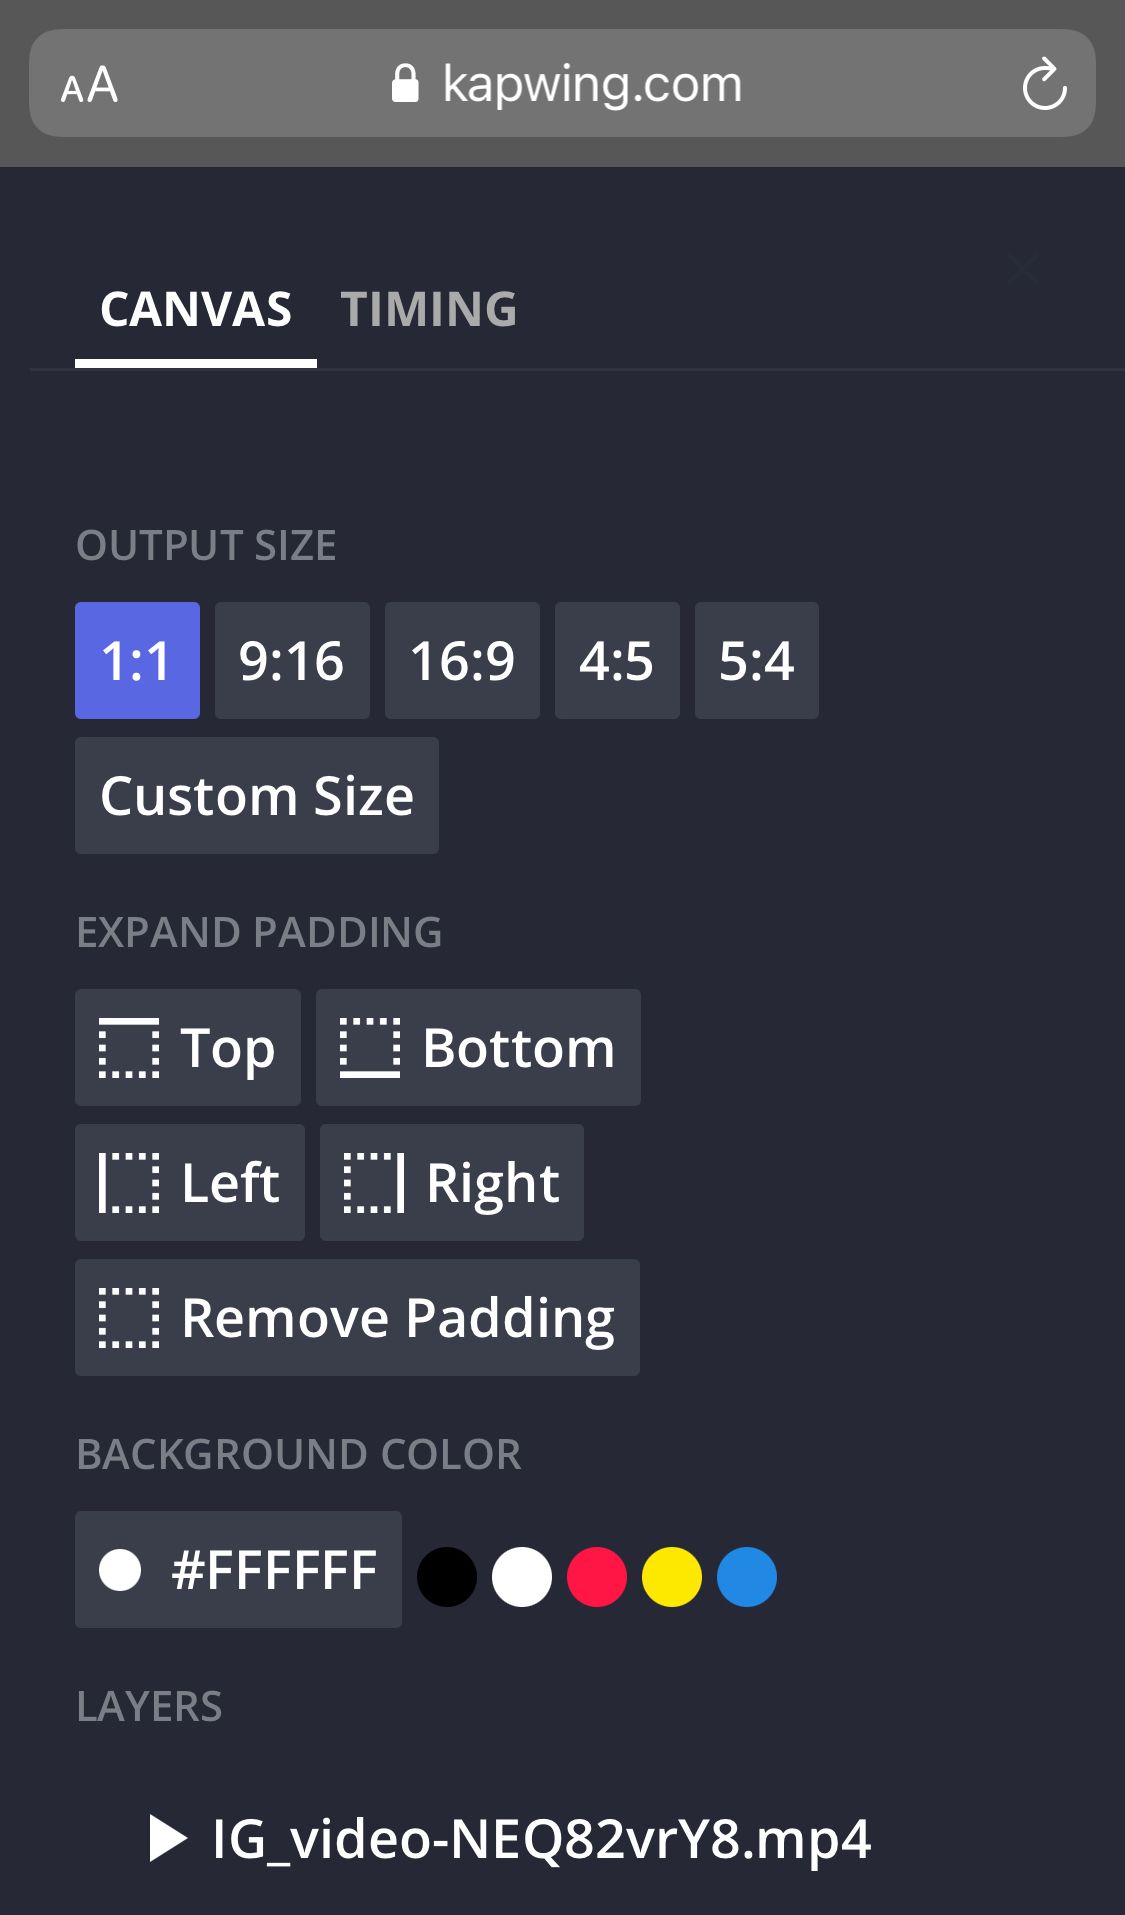
Resize background on mobile studio
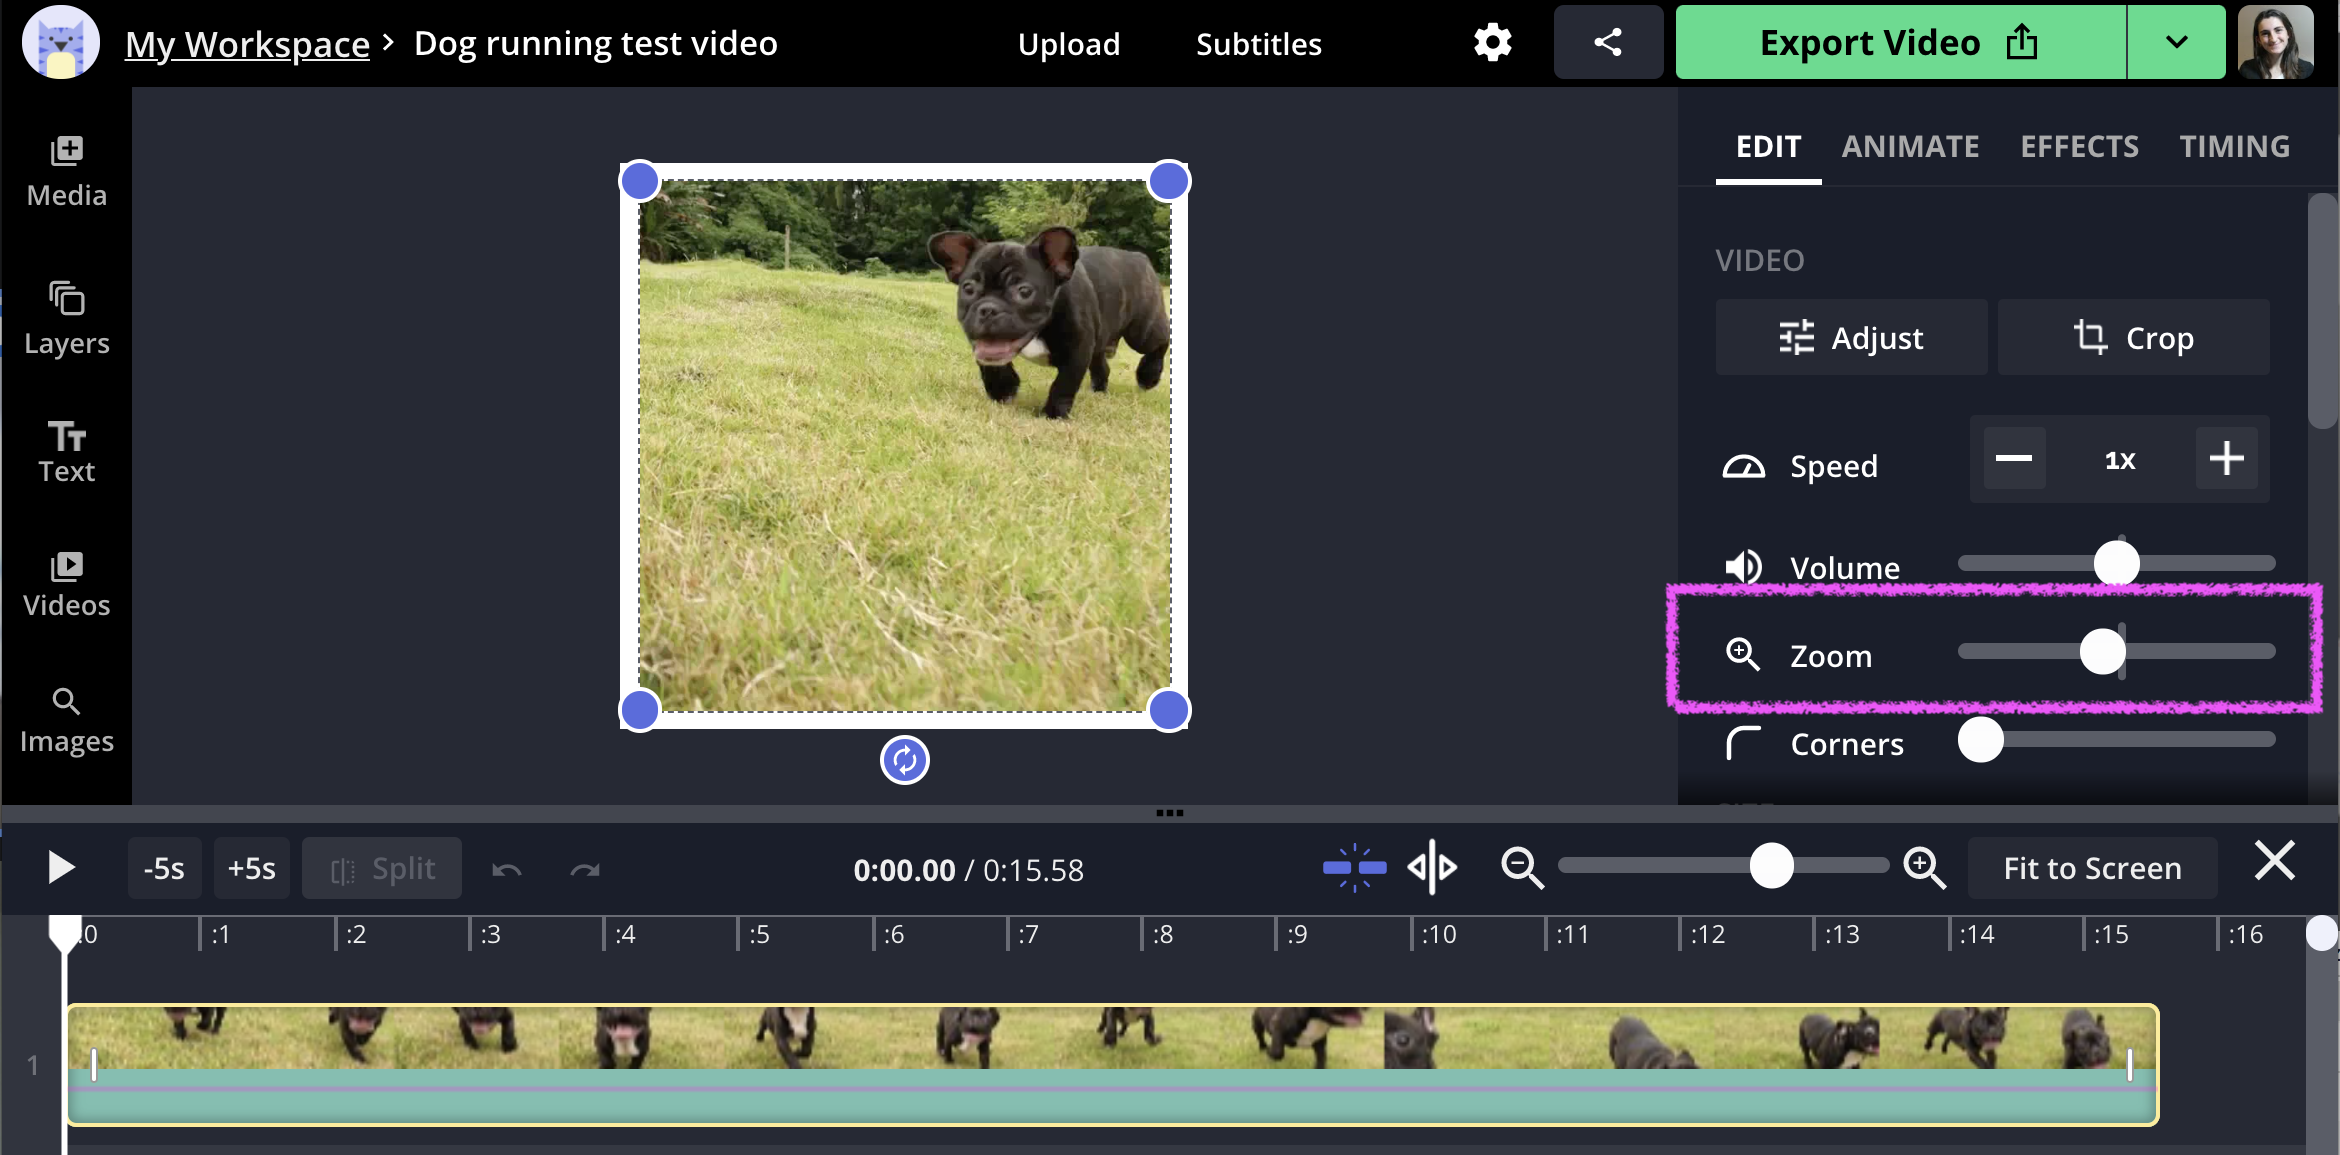
Now it's time to resize the video to make it have an outline. Use the drag-and-drop sliders on the corners to change the aspect ratio of the inner video or use the zoom slider to make the video smaller. Kapwing will show the exact percentage of the zoom so that you can make your border consistent across posts.
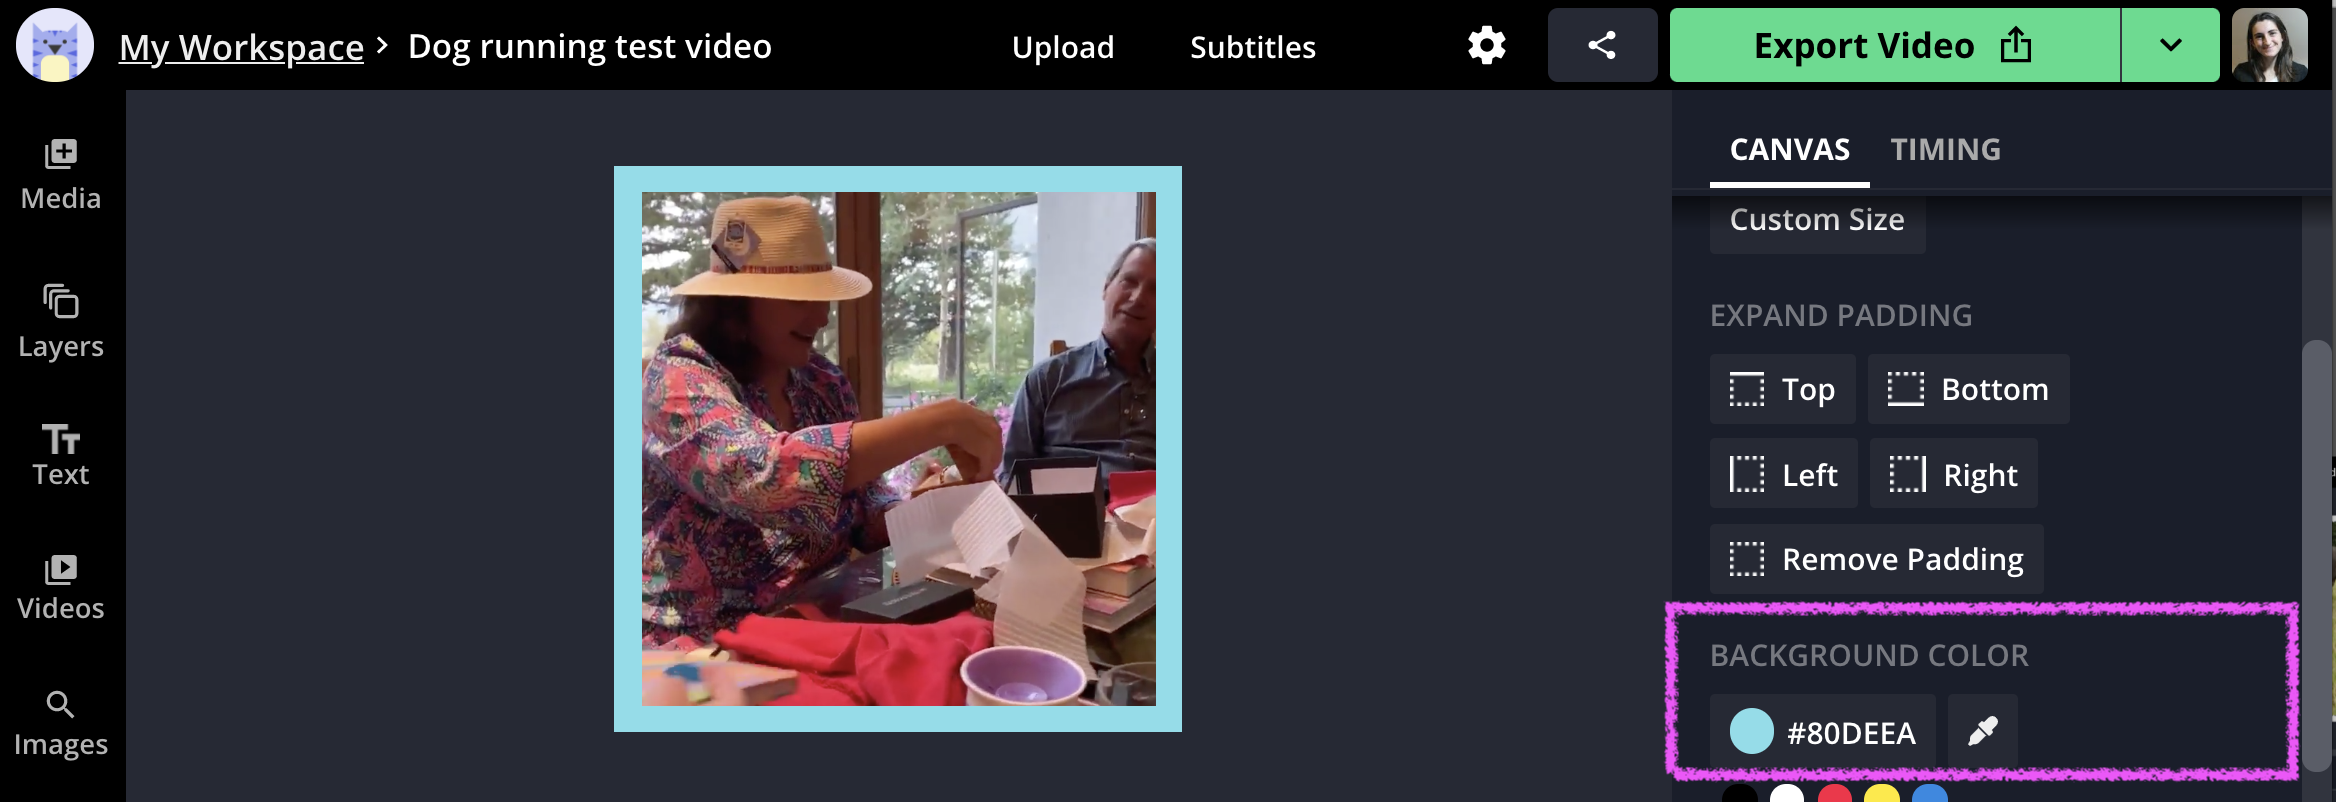
Once you've added padding, you can use the buttons on the right side of the editor to increase or decrease the padding around the video, using the preview as a guide. Position your video or image within the canvas frame. Then, use the "Background Color" selector in the right-hand menu to change the color of the background.
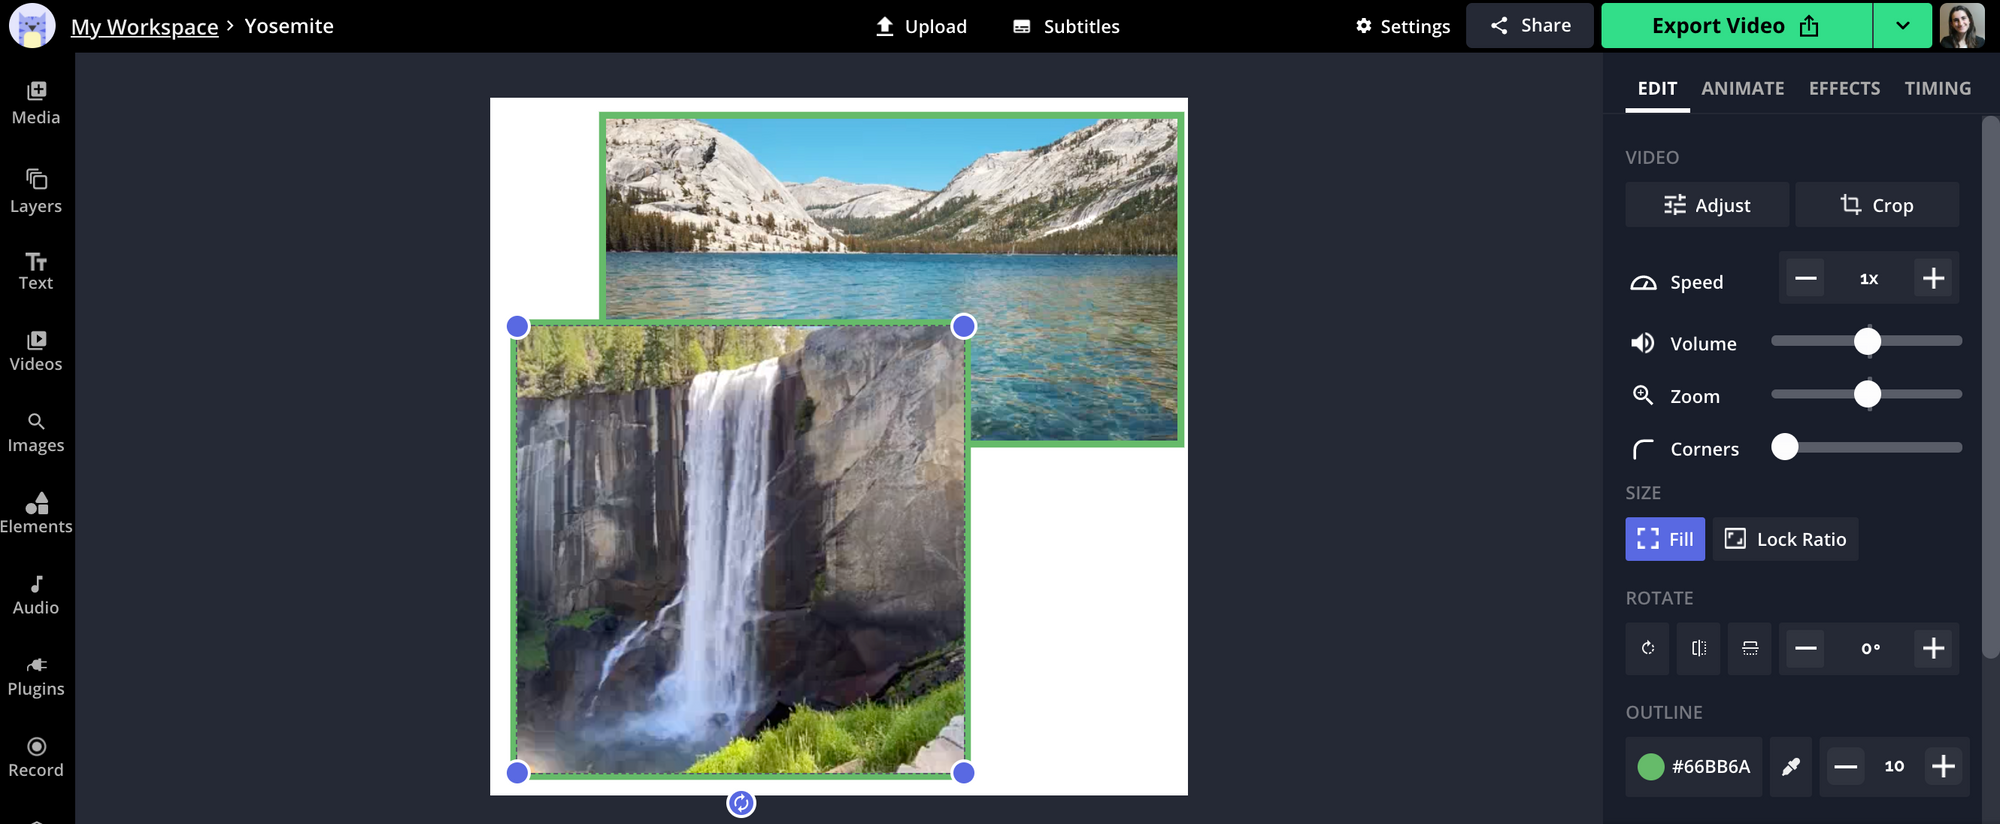
Creators can also add an outline around the video layer itself. Select the layer and use the "Outline Color" selector to select the hex color of the outline. Then, use the plus (+) and minus (-) buttons to increase or decrease the width of the video outline. Similar outlines can be added for image and GIF layers also.
Kapwing supports image and GIF overlays, so you can also upload a custom frame or outline over the video. Use the "Images" tab to search for transparent PNGs and GIFs that can be used as unique outlines. Make sure to change the duration of the image overlay in the Timeline so that it appears for the whole video.
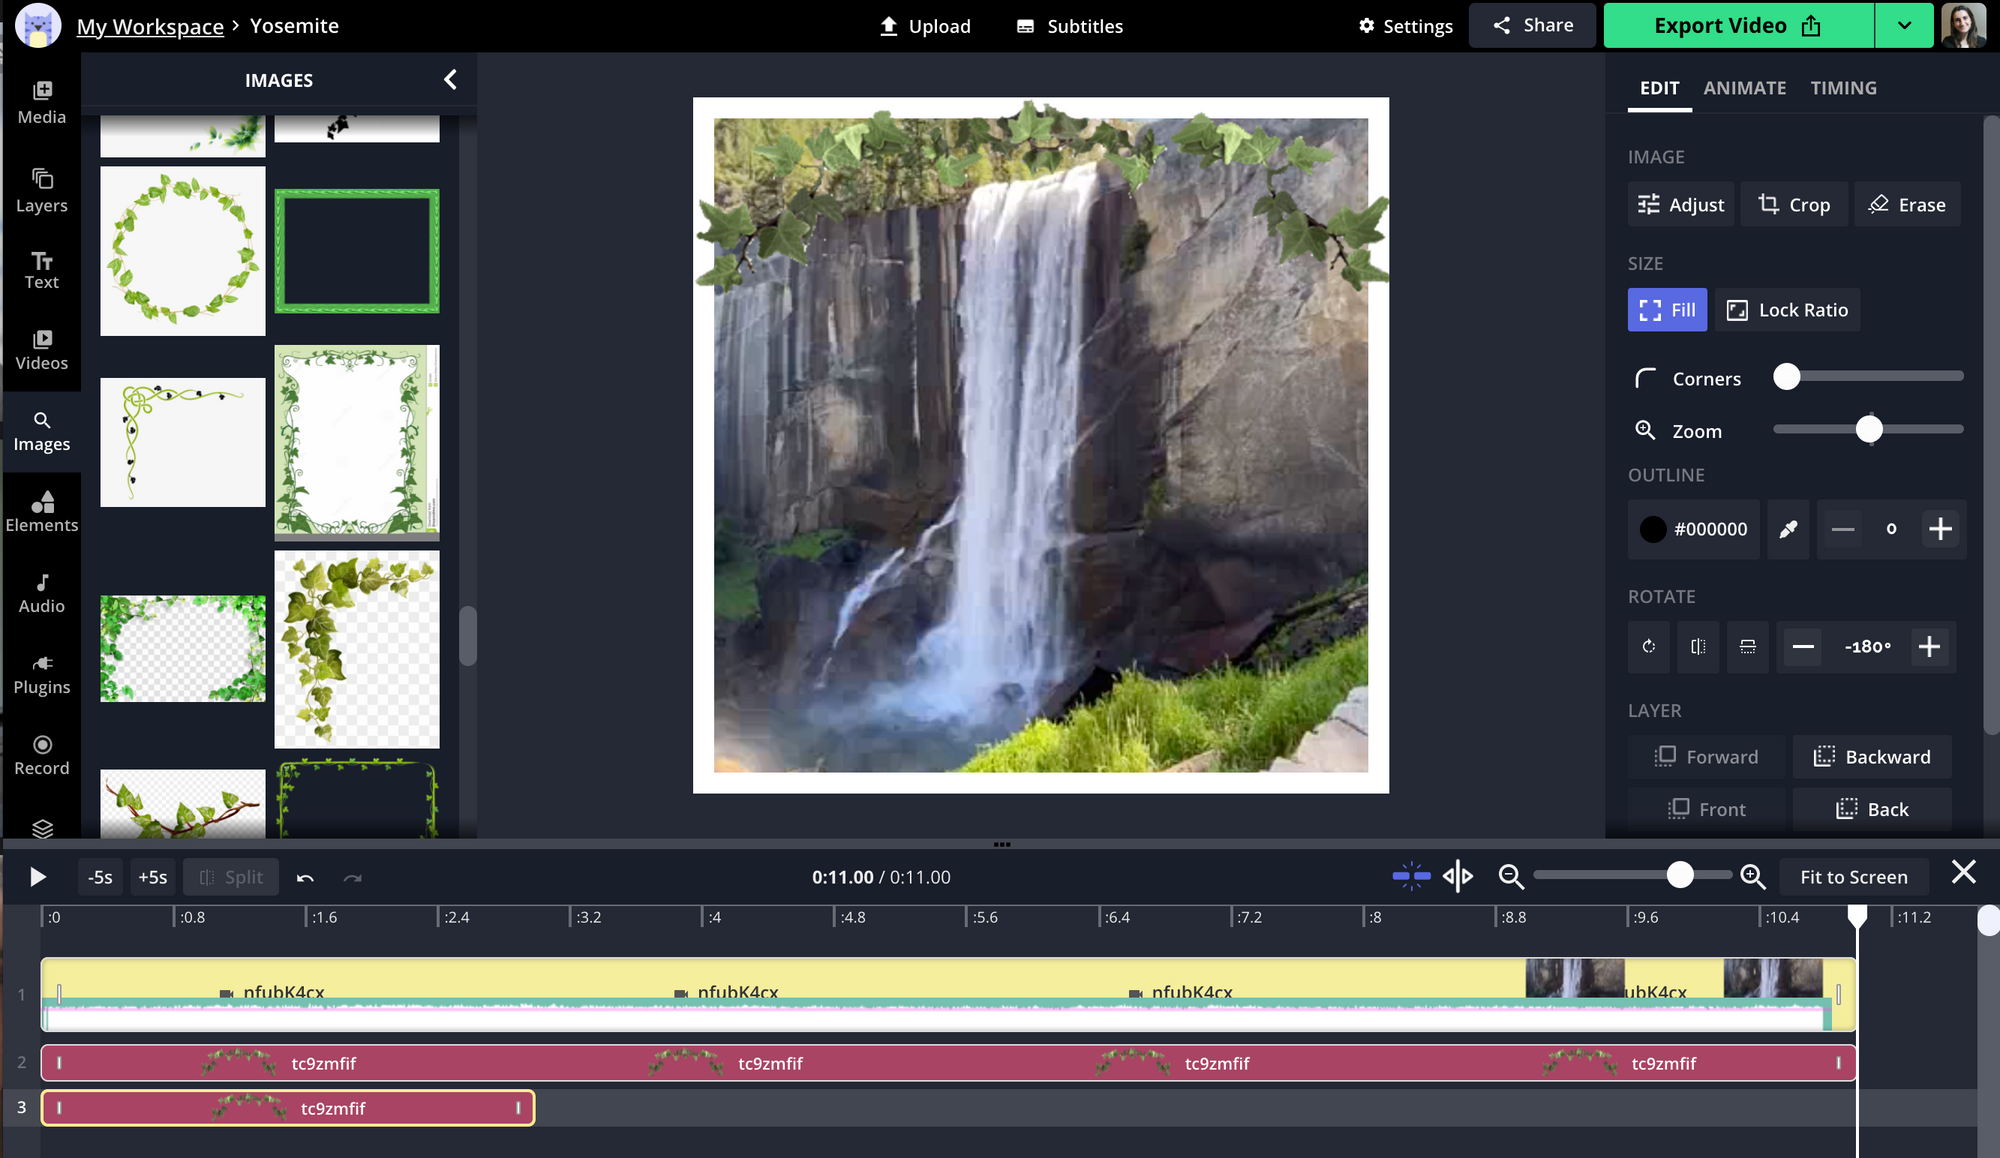
Since the Studio is an online video editor, creators can apply other edits within their bordered video, like trimming or cropping it inline, combining clips, or adding a watermark before posting to Instagram. Add text, style, and position it using the "Text" layer in the left-side actions.
Step 3: Export and Share
Once the preview looks good, click the “Export” button to process your video. Then, download the MP4 and upload it directly to Instagram.
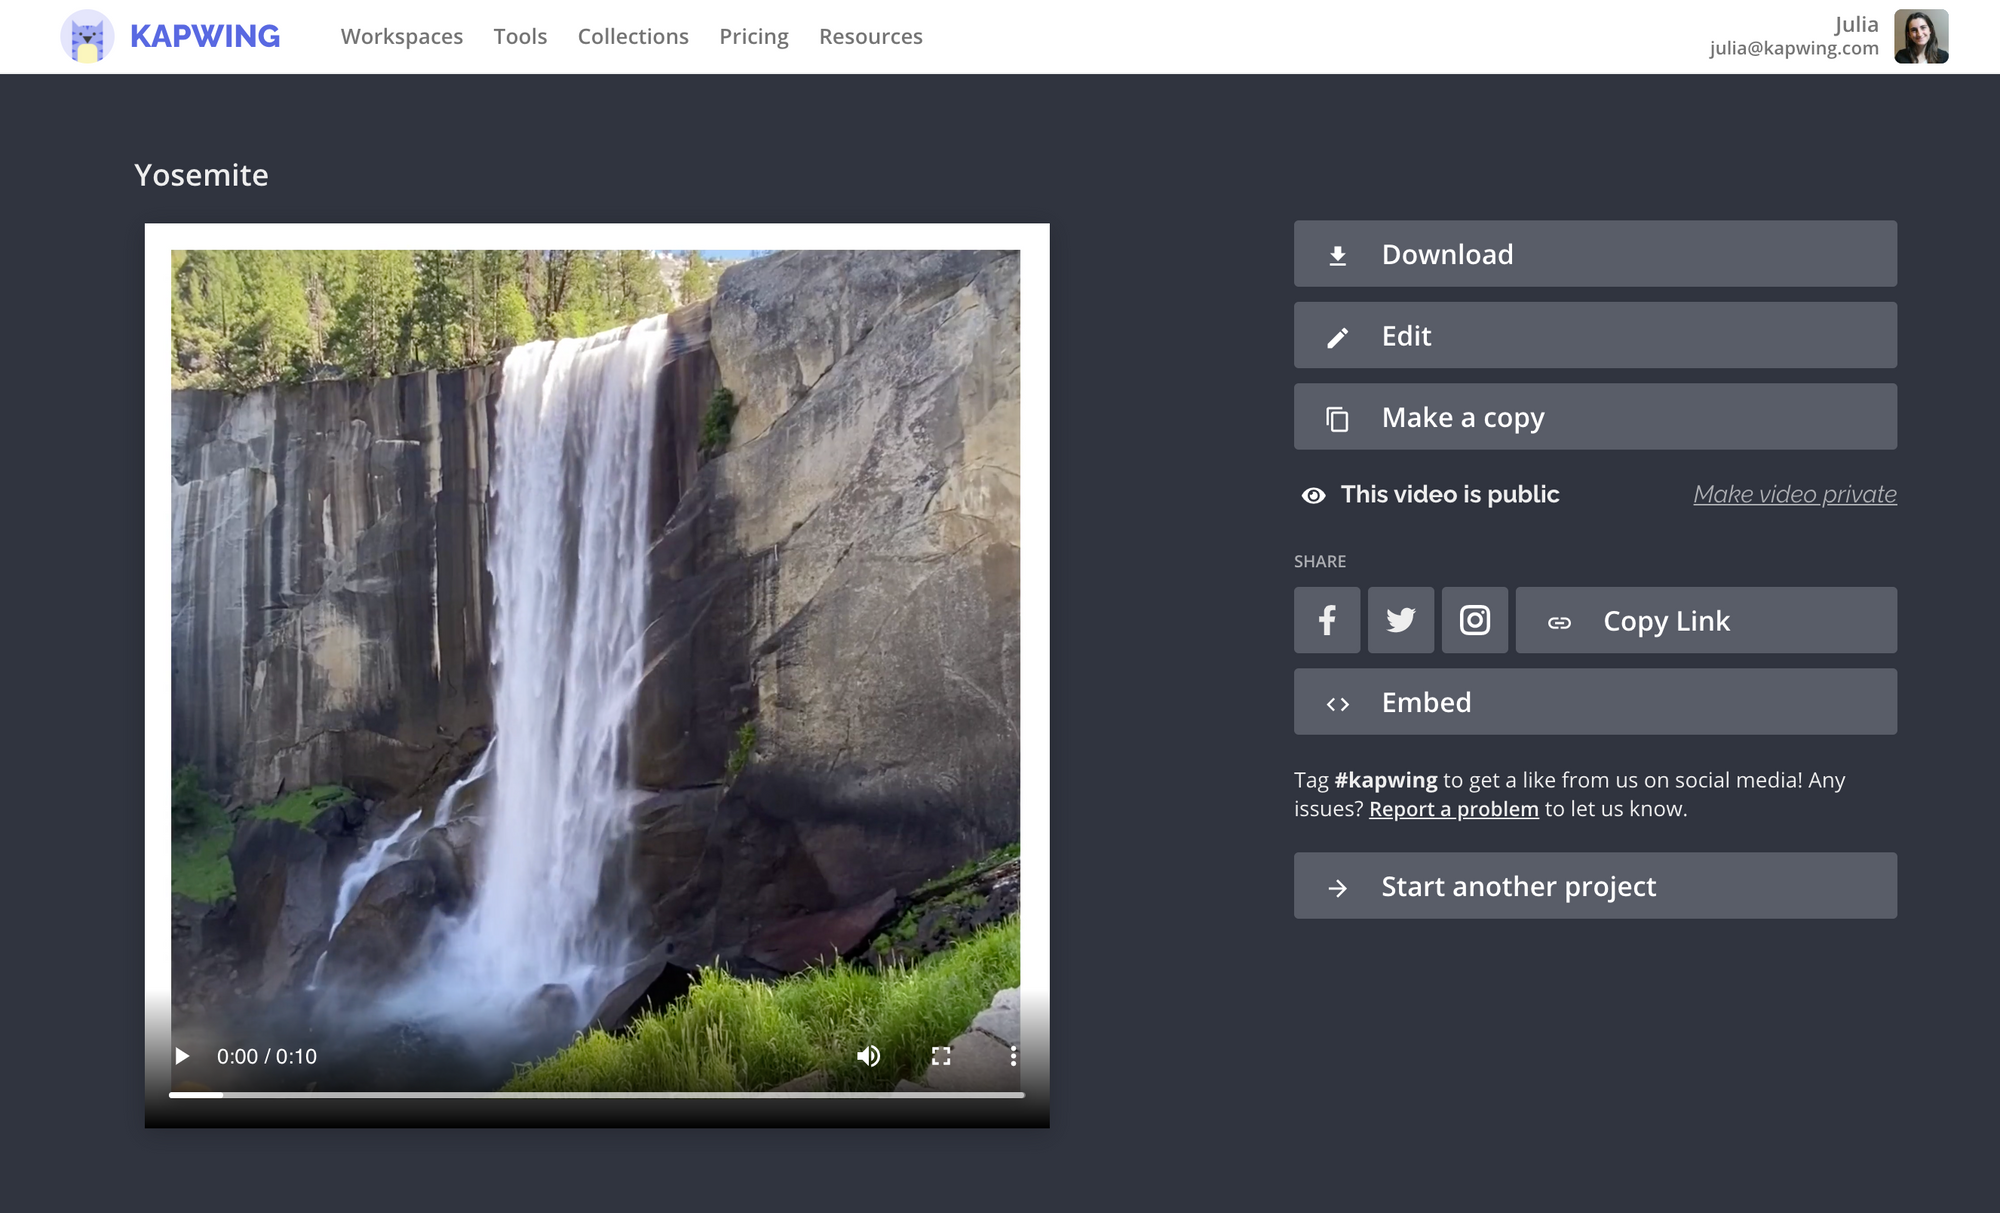
When you're signed out, Kapwing adds a small watermark in the corner. You can remove for free by logging in with a Google or Facebook account. Once you're signed in, all of your content will be saved in the Kapwing Workspace.
Conclusion
Thanks for reading! I hope that this post helps you add artistic framing, borders, and outlines to your Instagram posts. For more content creation tips, subscribe to the Kapwing YouTube channel and follow us on Twitter @KapwingApp.


