How to Make a Custom Discord Video Background
On November 20, 2021, Discord released video backgrounds. Learn how to make a custom video background in this step-by-step tutorial.
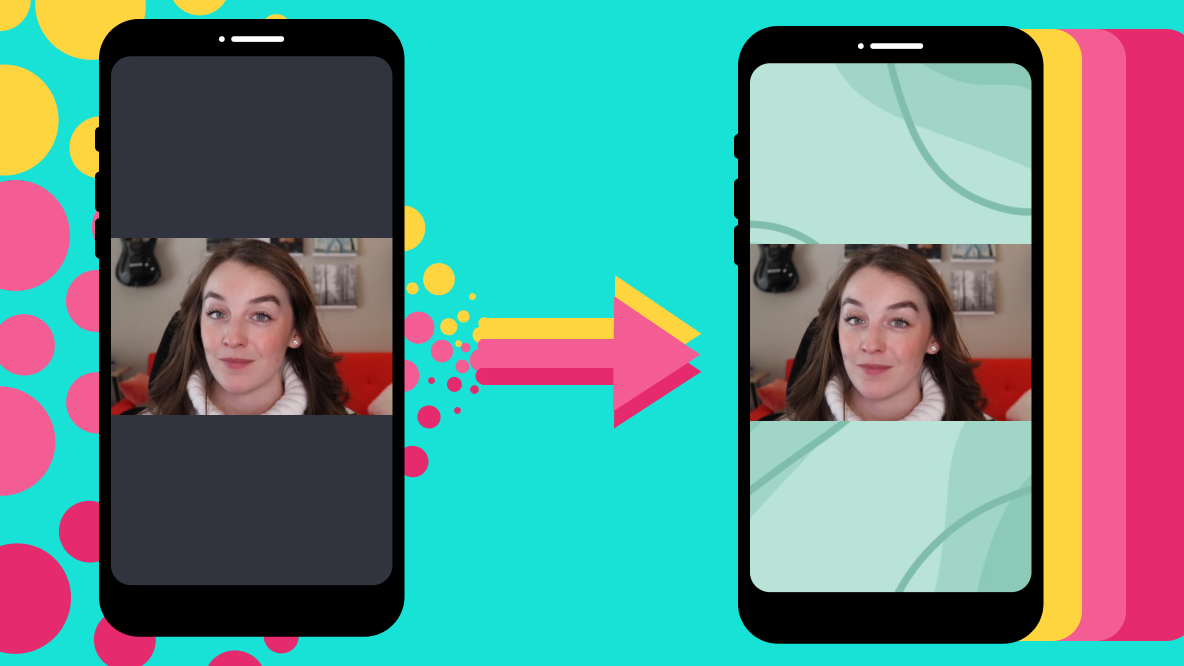
On November 20, 2021, Discord released video backgrounds. Less time spent tidying rooms before virtual chats means extra screen-time with friends.
While Discord provides six unique backgrounds and a blur effect for every user, a Nitro subscription unlocks custom backgrounds for more creative control. Ordinary rooms can become iconic scenes from movies and more with a few clicks. Learn how to create a custom Discord video background to unleash your creativity by following the steps below.
- Upload and resize background in Kapwing Studio
- Edit video background
- Export and download
- Upload to Discord video call
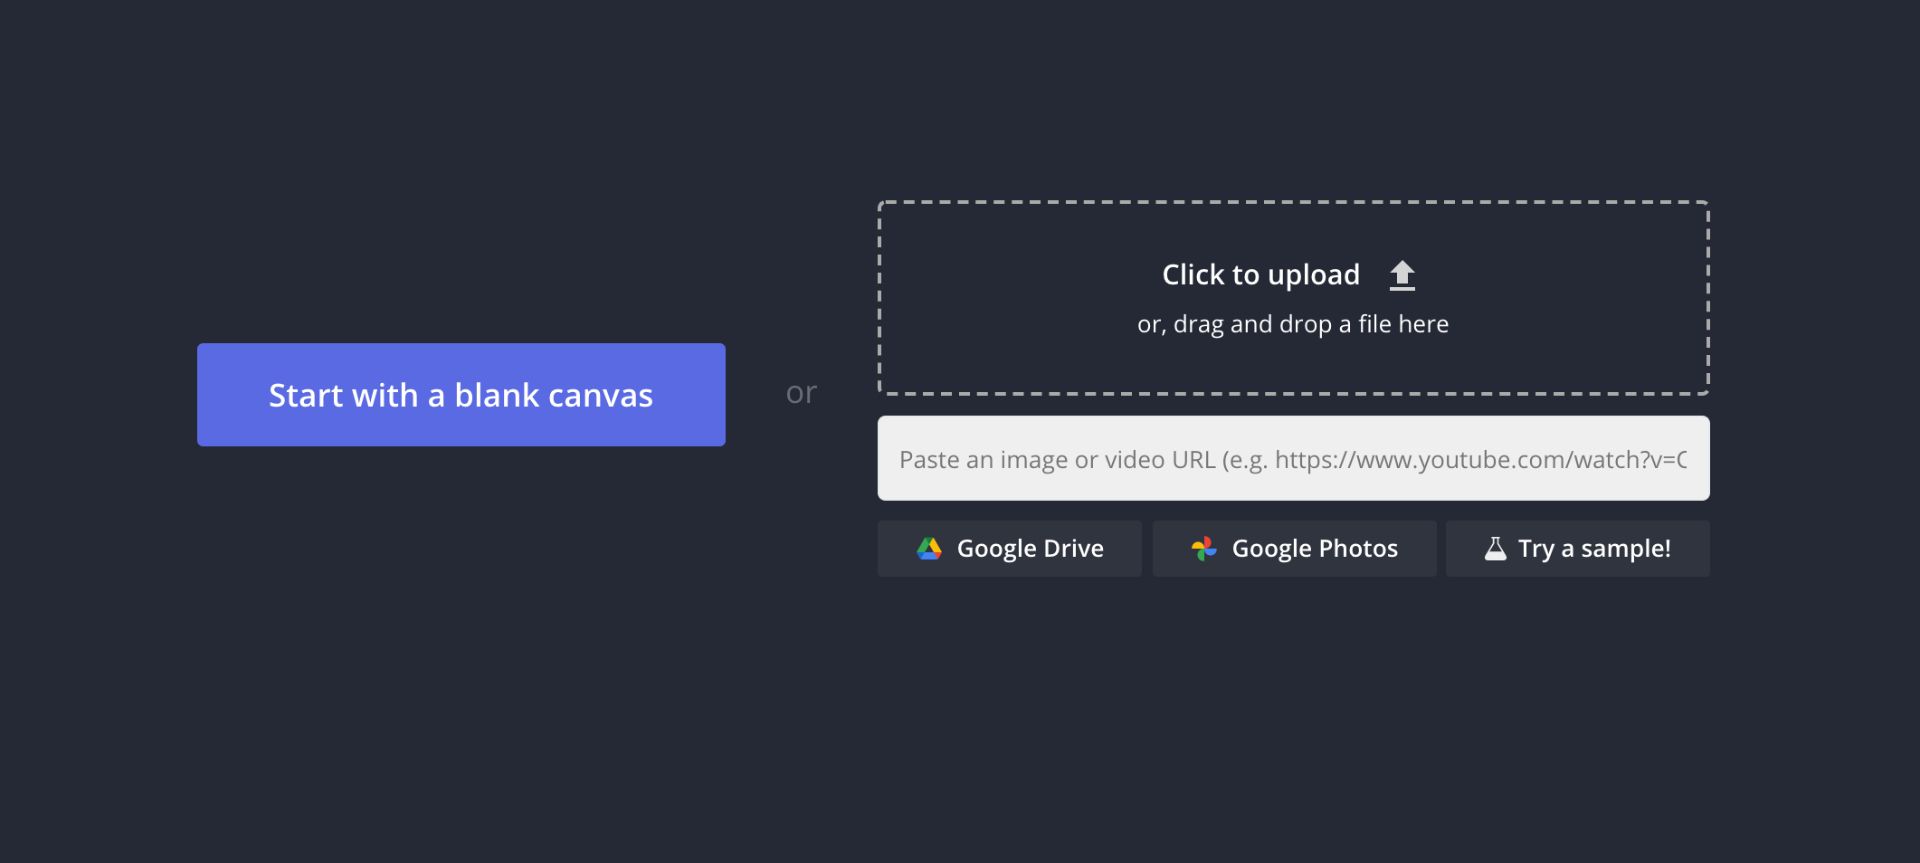
Step One: Upload and Resize Background in Kapwing Studio
With the Kapwing Studio open, you can drag and drop an image, paste an image link, or click to upload your background into the Studio. You can also click, Start with a Blank Canvas to begin without an image or sign in to Google Drive or Google Photos to upload a background from your account. The maximum file size for a Discord video background is 10 MB, and the accepted file types are PNG and JPG.
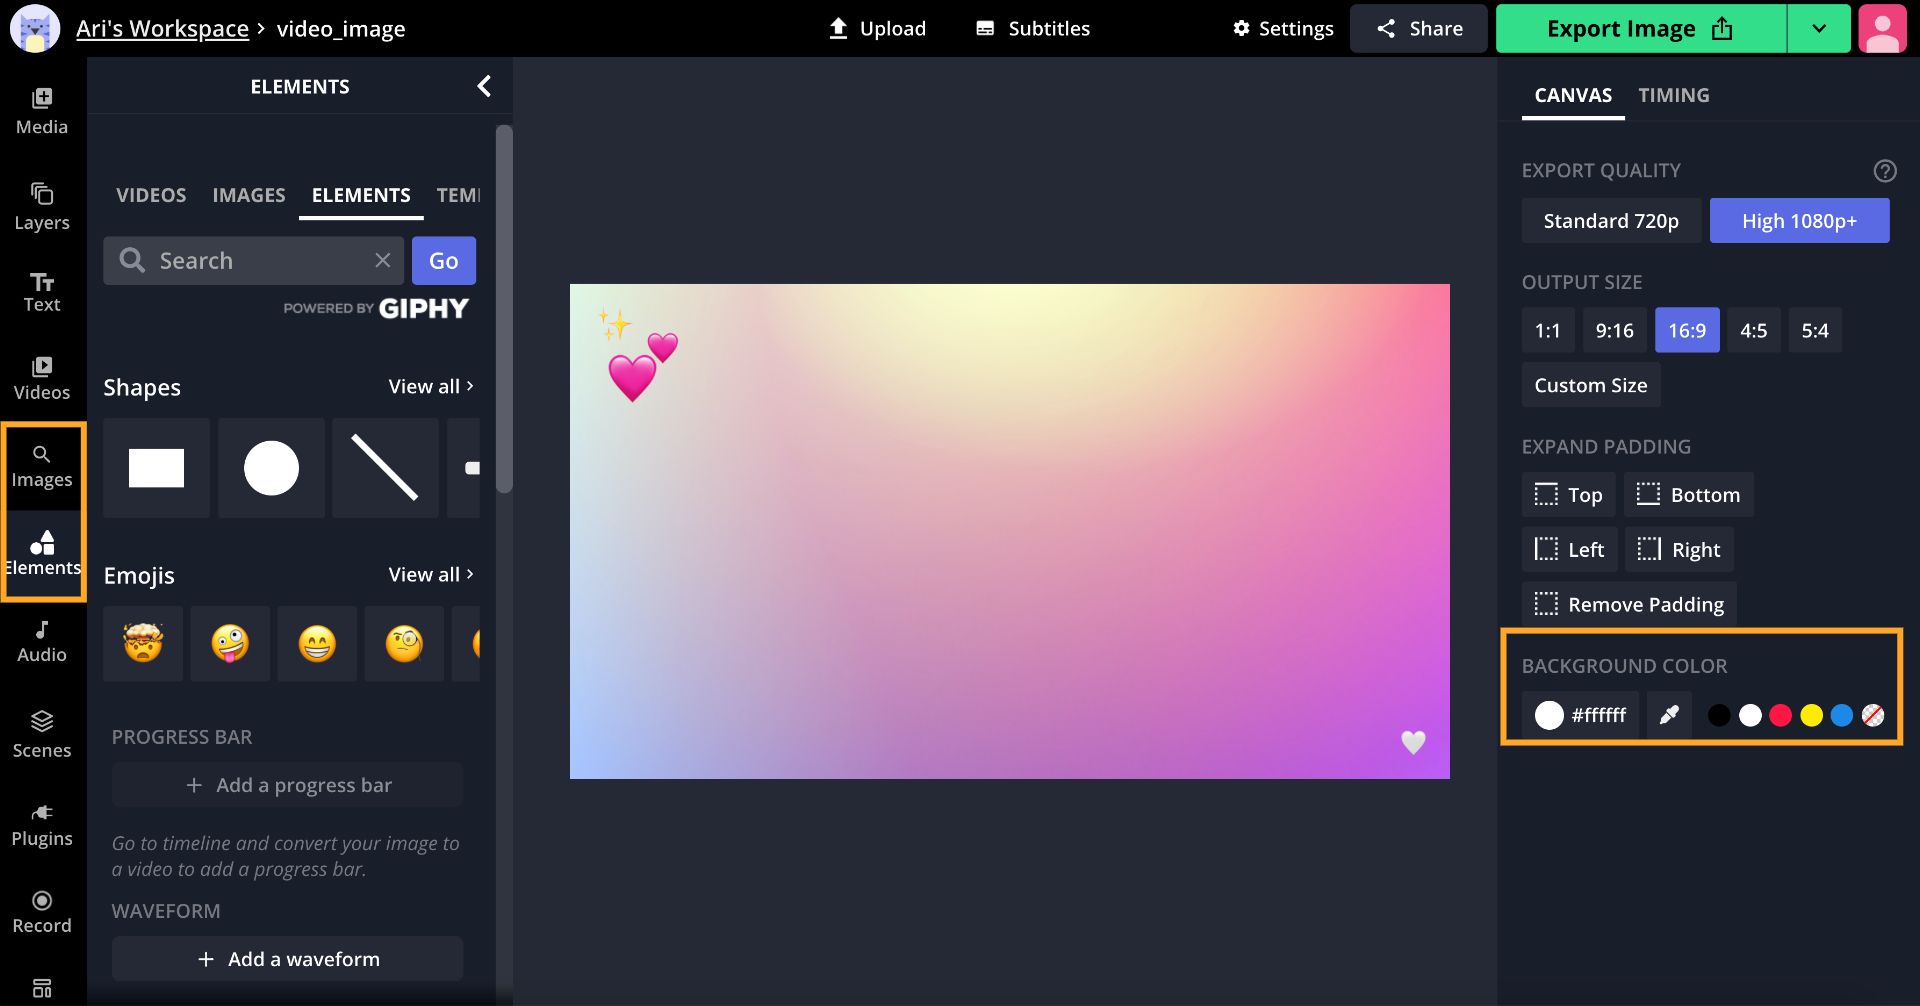
In this example, I'm using a free gradient background from Unsplash. You can access free stock photos from Unsplash, Pexels, and Pixabay by clicking Plugins located on the toolbar on the left side of the Studio. Under Output Size on the right side of the Studio, change the aspect ratio to 16:9. This ensures the video background is properly sized for video calls.

Try these free Discord tools:
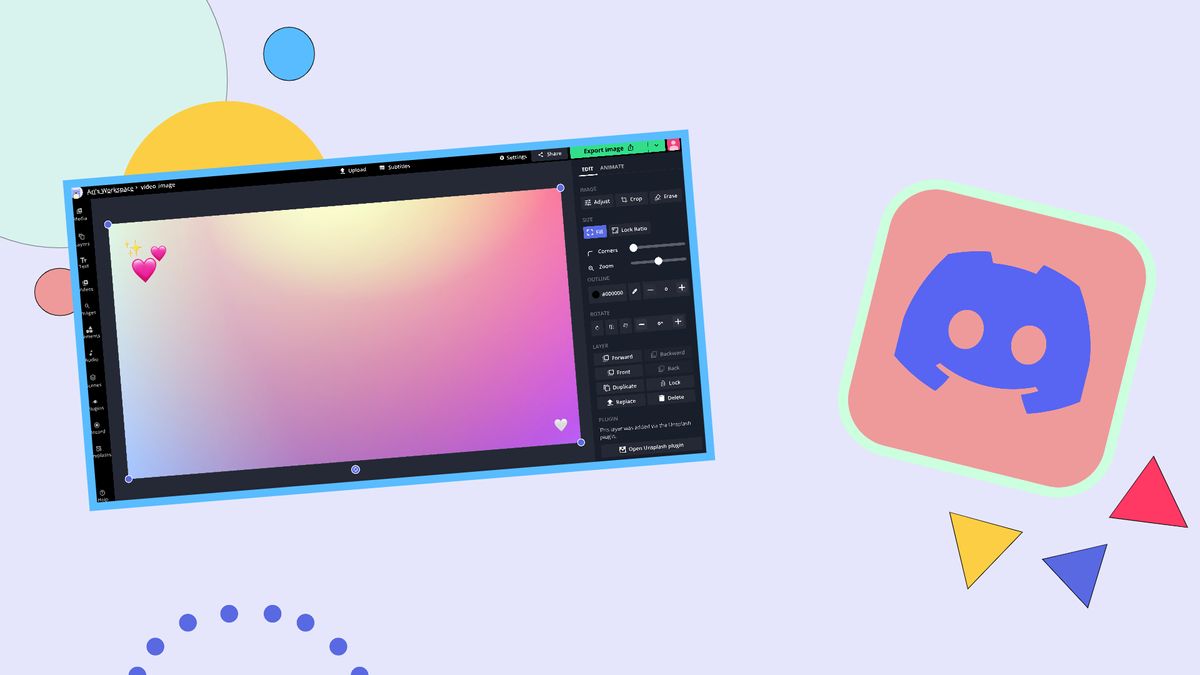
Step Two: Edit Video Background
The Kapwing Studio provides intuitive tools to customize the video background to your liking. Upload logos and watermarks to add branding, add eye-catching stickers, create colorful borders, and more without previous editing or design experience.
If you're starting with a black canvas, you can change the background color by clicking a preset color or by typing a hex color code. Click Elements to add shapes and emojis and click Images to browse thousands of images from Unsplash and the internet. You can also click Upload or drag and drop images onto the canvas from your computer. Drag the corners to change the size and use the crop tool to remove unwanted sections.
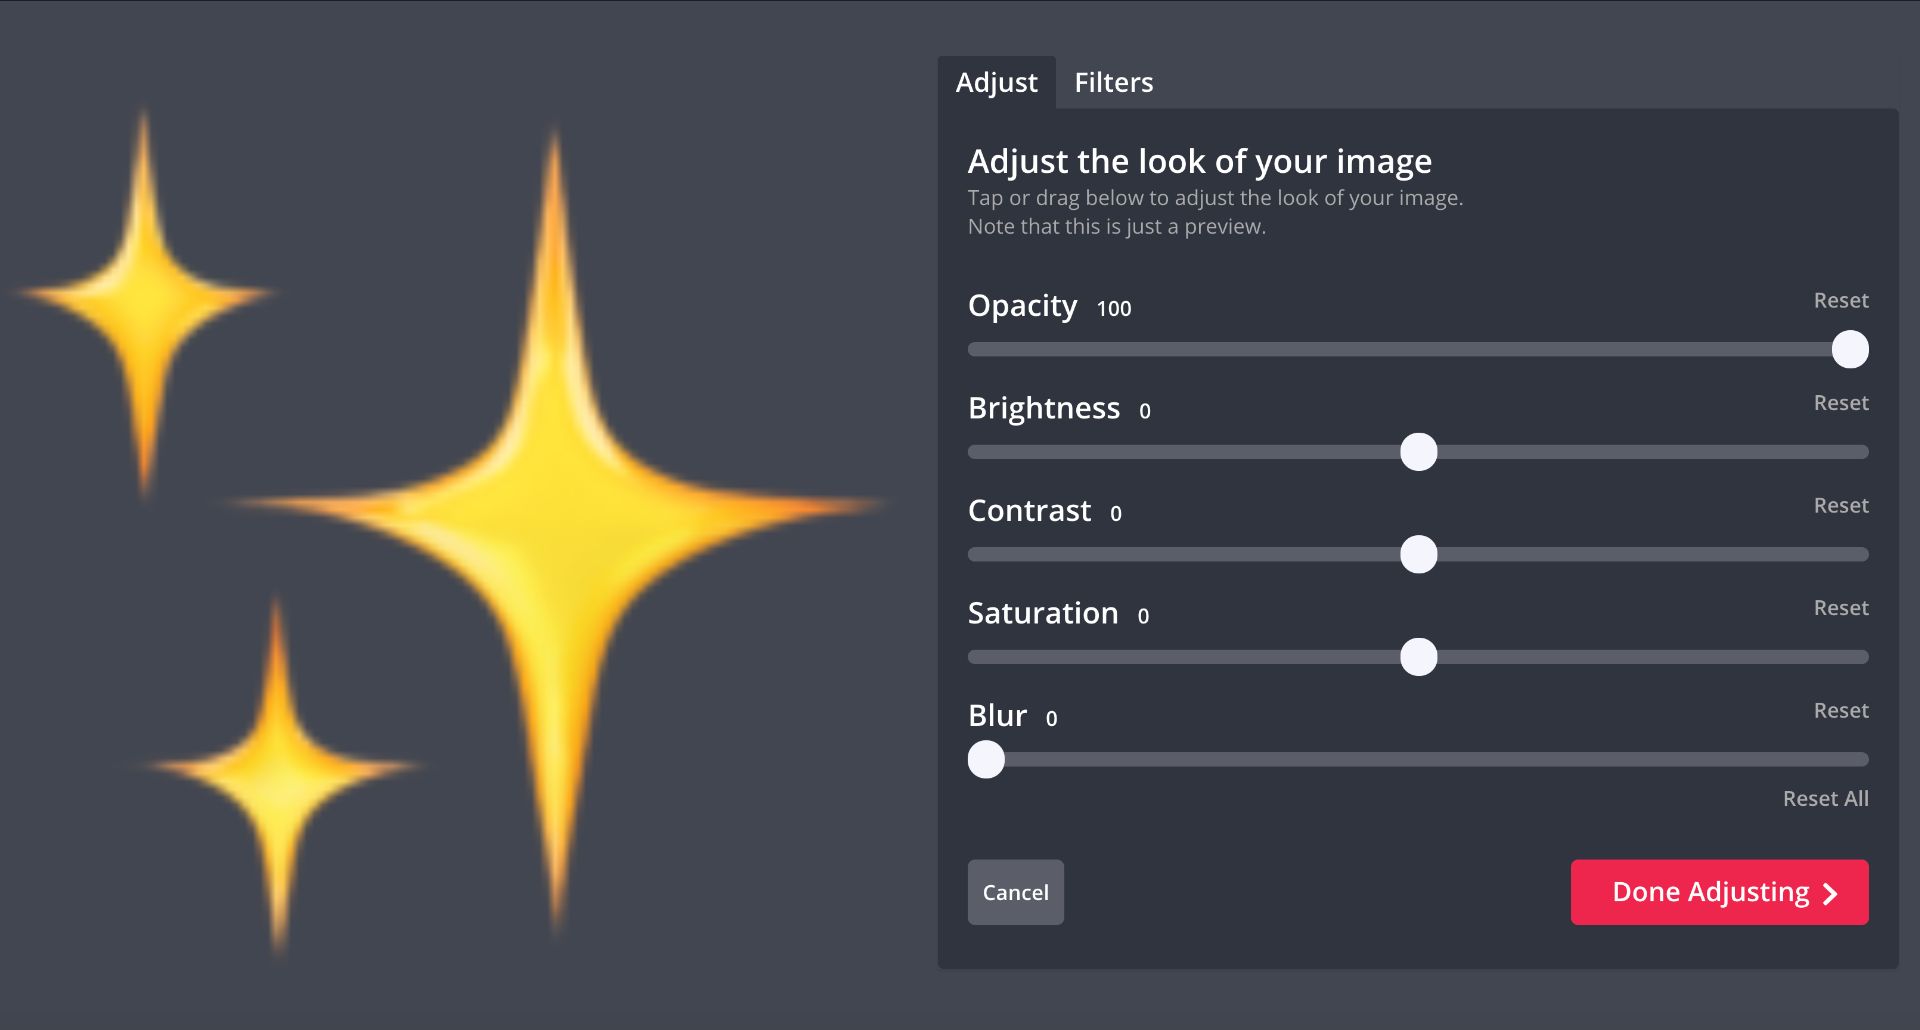
You can create a collage, combine emojis, and alter the appearance by clicking Adjust on the right side of the Studio. Drag the circle to change the intensity of each setting and click Filters to explore the collection of filters. For example, you can create a black and white image with grayscale or use Sepia to add a warm tone to an image or element.
Step Three: Export and Download
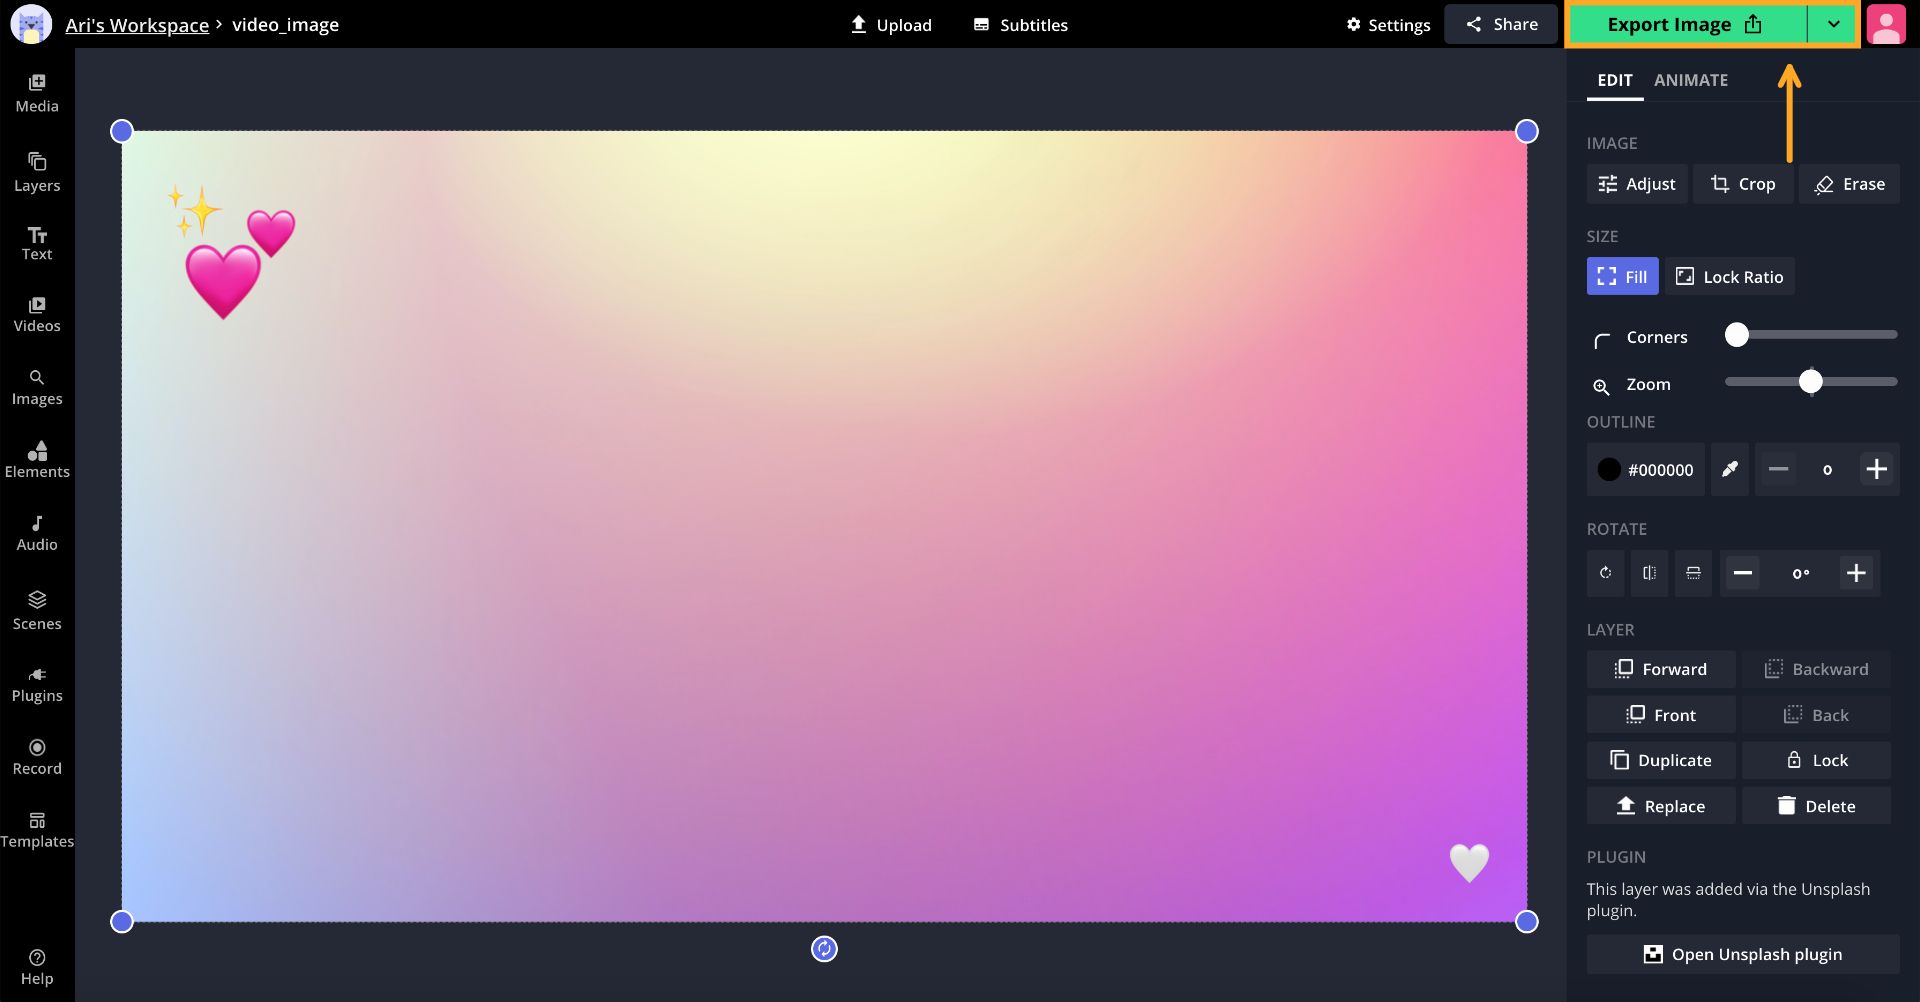
When your video background is ready to make its debut, click Export Image at the top of the Studio, then click Download to save it to your computer.
Step Four: Upload to Discord Video Call
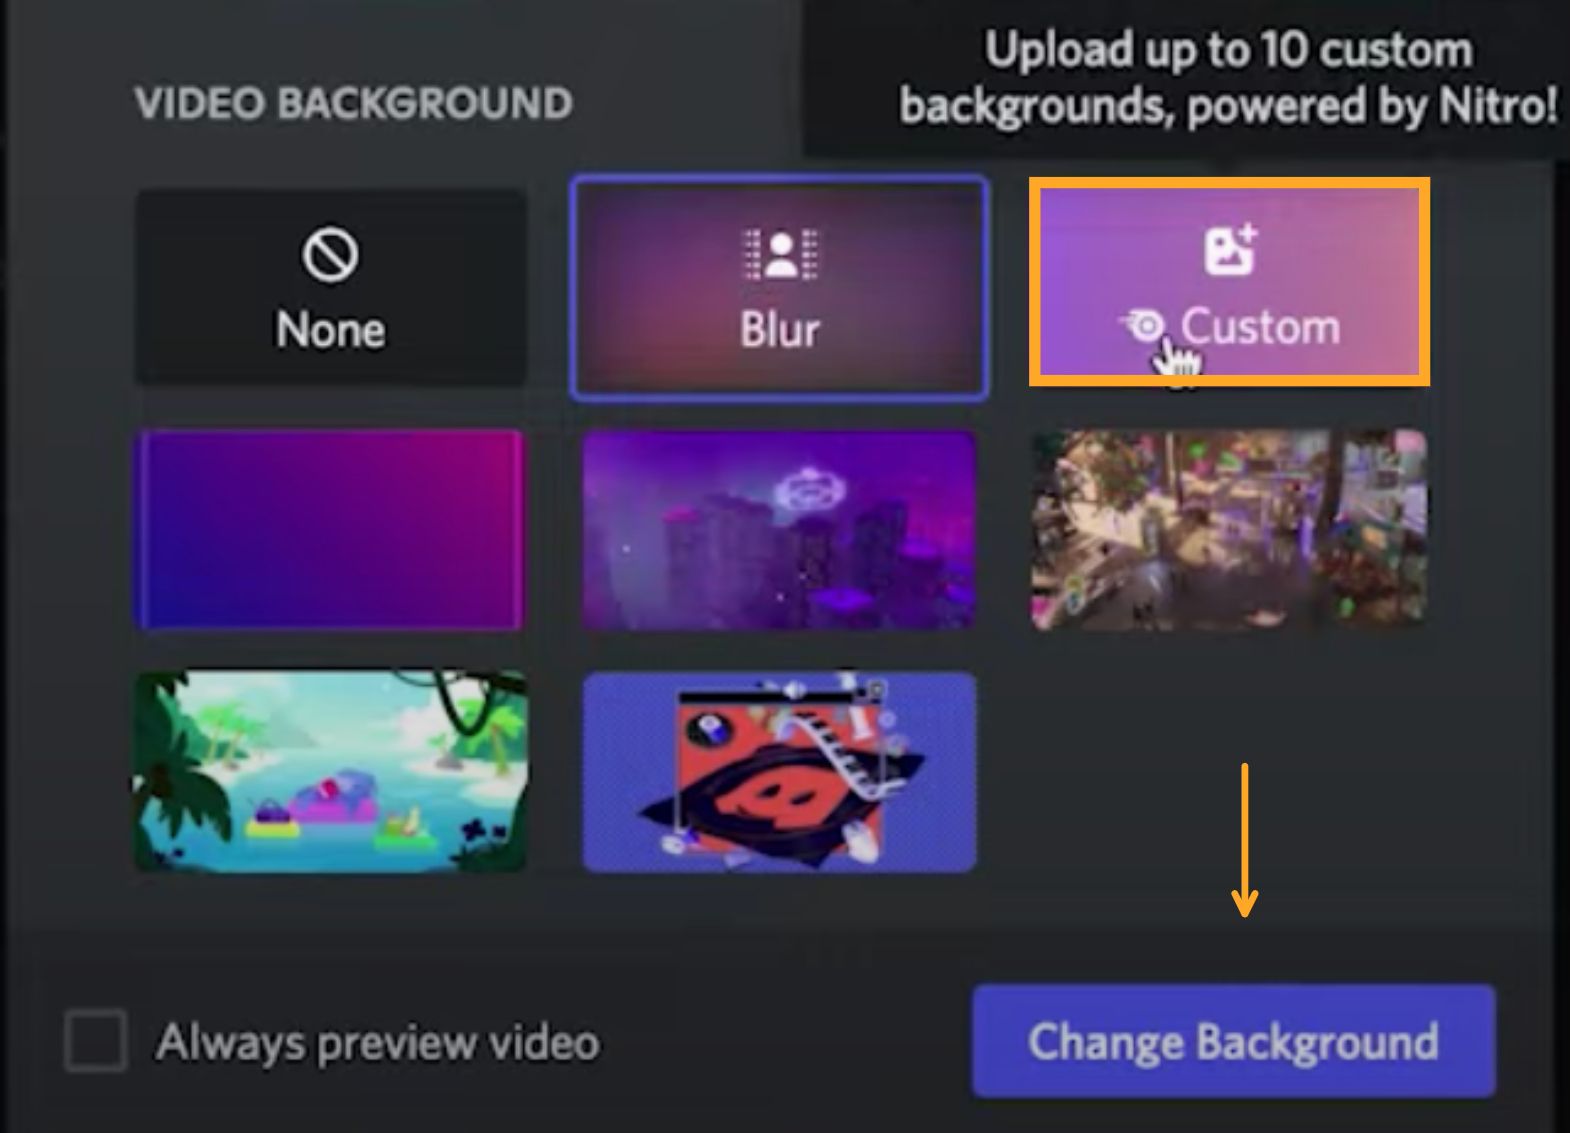
With Discord open on your desktop, click the gear icon next to your username then scroll down to Voice & Video under App Settings. Under Video Background, click Custom and upload the background from your file browser. You can save up to ten backgrounds on an account. Click Change Background to finalize the changes and your new background is ready for the next video call.
Watch our video tutorial below to see Jack create a custom Discord video background.
Your video background isn't the only feature worth customizing. Read the related articles below to personalize role icons, banners, and backgrounds, then subscribe to our YouTube channel to watch related tutorials. If you have suggestions for future tutorials or want to leave feedback on the product, connect with us on Twitter. We can't wait to hear from you!
Related Articles
- How to Make Custom Discord Role Icons
- How to Make a Discord Rules Banner
- How to Turn Off Christmas Discord Sounds
- How to Make an Animated Discord Server Icon
- How to Make a Discord Server Invite Background