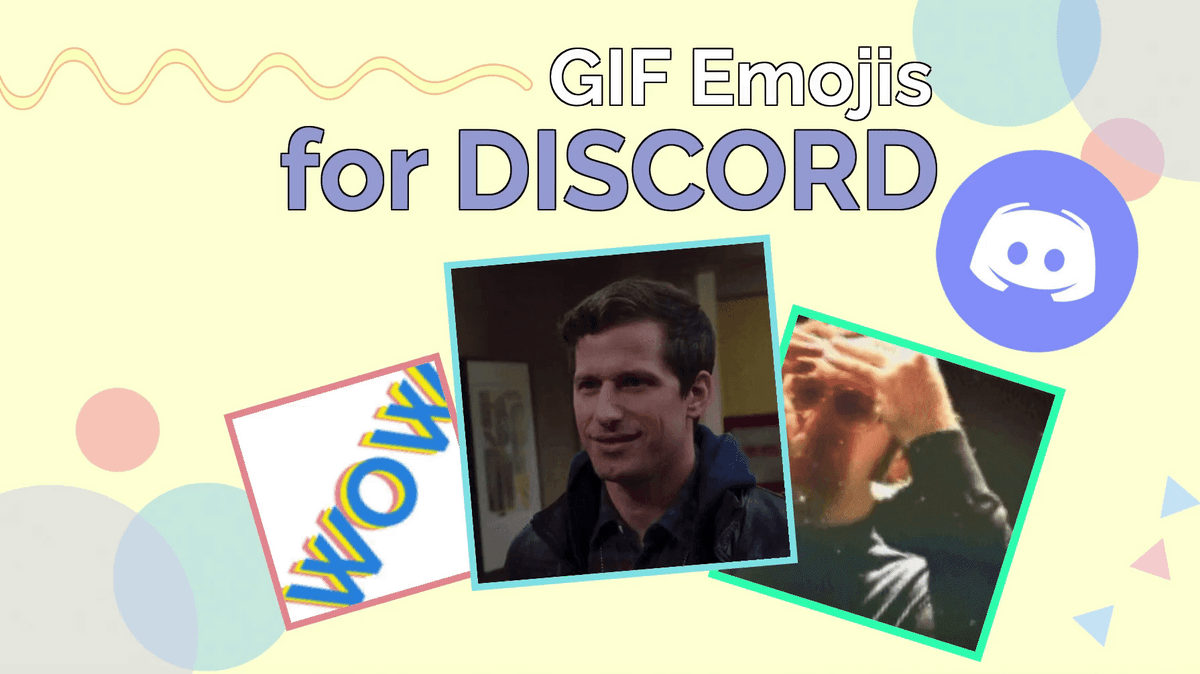
How to Create Animated Emojis for Discord
Custom emojis let Discord servers use their favorite jokes and memories. I'll show you how to make GIF emojis for Discord using videos, photos, or text.
Discord has taken off over the past few years as the go-to social platform for communities of people with common interests. Whether you’re into bird-watching, anime, screenwriting, or even legal practice, you can get involved in a Discord server that serves your community.
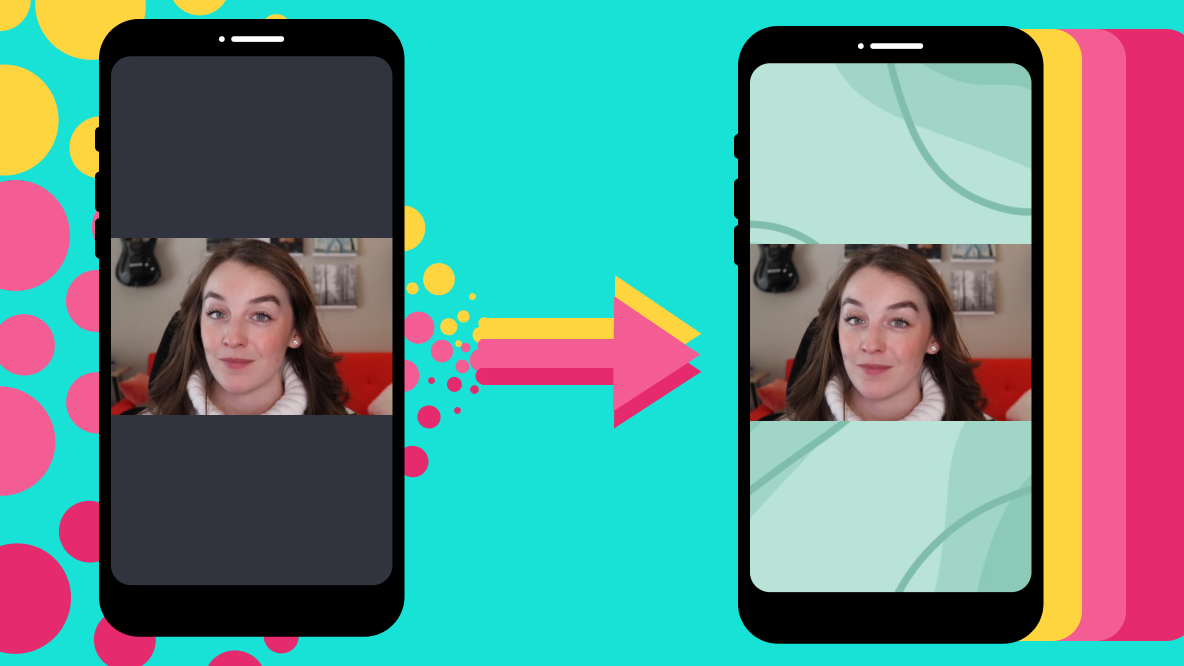
One of the ways Discord provides so much value for all types of communities is its intuitive and robust server customization options. Custom emojis are especially useful, since communities can use inside jokes, prominent members, and favorite images or GIFs to share with the whole server. In this article, I’ll show you how to make your own animated Discord emotes using videos, GIFs, images, or text.
How to Make Animated Discord Emojis:
- Upload your video, GIF, or images to Kapwing
- Trim, crop, add text, speed up, or animate
- Export as a GIF
- Add to your Discord server
NOTE: Animated GIF Discord Emojis can only be used by Discord Nitro users. If you don’t have Discord Nitro, you can only use full GIFs and static image emojis. To get Discord Nitro, click the gear button near the bottom left to go to your user settings, then click Discord Nitro from the menu.
Step 1: Upload Your Video, GIF, or Images to Kapwing
To make your animated Discord emoji, you’ll probably want to start with an existing video clip or GIF. You can find these anywhere – YouTube, Giphy, Instagram, TikTok, Twitter, or nearly any location on the web – all you need to do is copy the link. Alternatively, you can use any photo, video, or GIF files you have saved on your phone.
When you’ve copied your link or located your files, head to Kapwing.com in your browser and select “Start Editing” to enter the Kapwing Studio. Here, either paste your link in the URL bar or click “Upload” and find the file you want to use in your file browser or camera roll.
Try these trending Discord tools:
- Free Custom Emoji Maker
- Video Compressor for Discord Uploads
- Free Online Video Compressor
- Custom Discord Banner Maker
- Free Online GIF Maker
Step 2: Trim, Crop, Add Text, Speed Up, or Animate
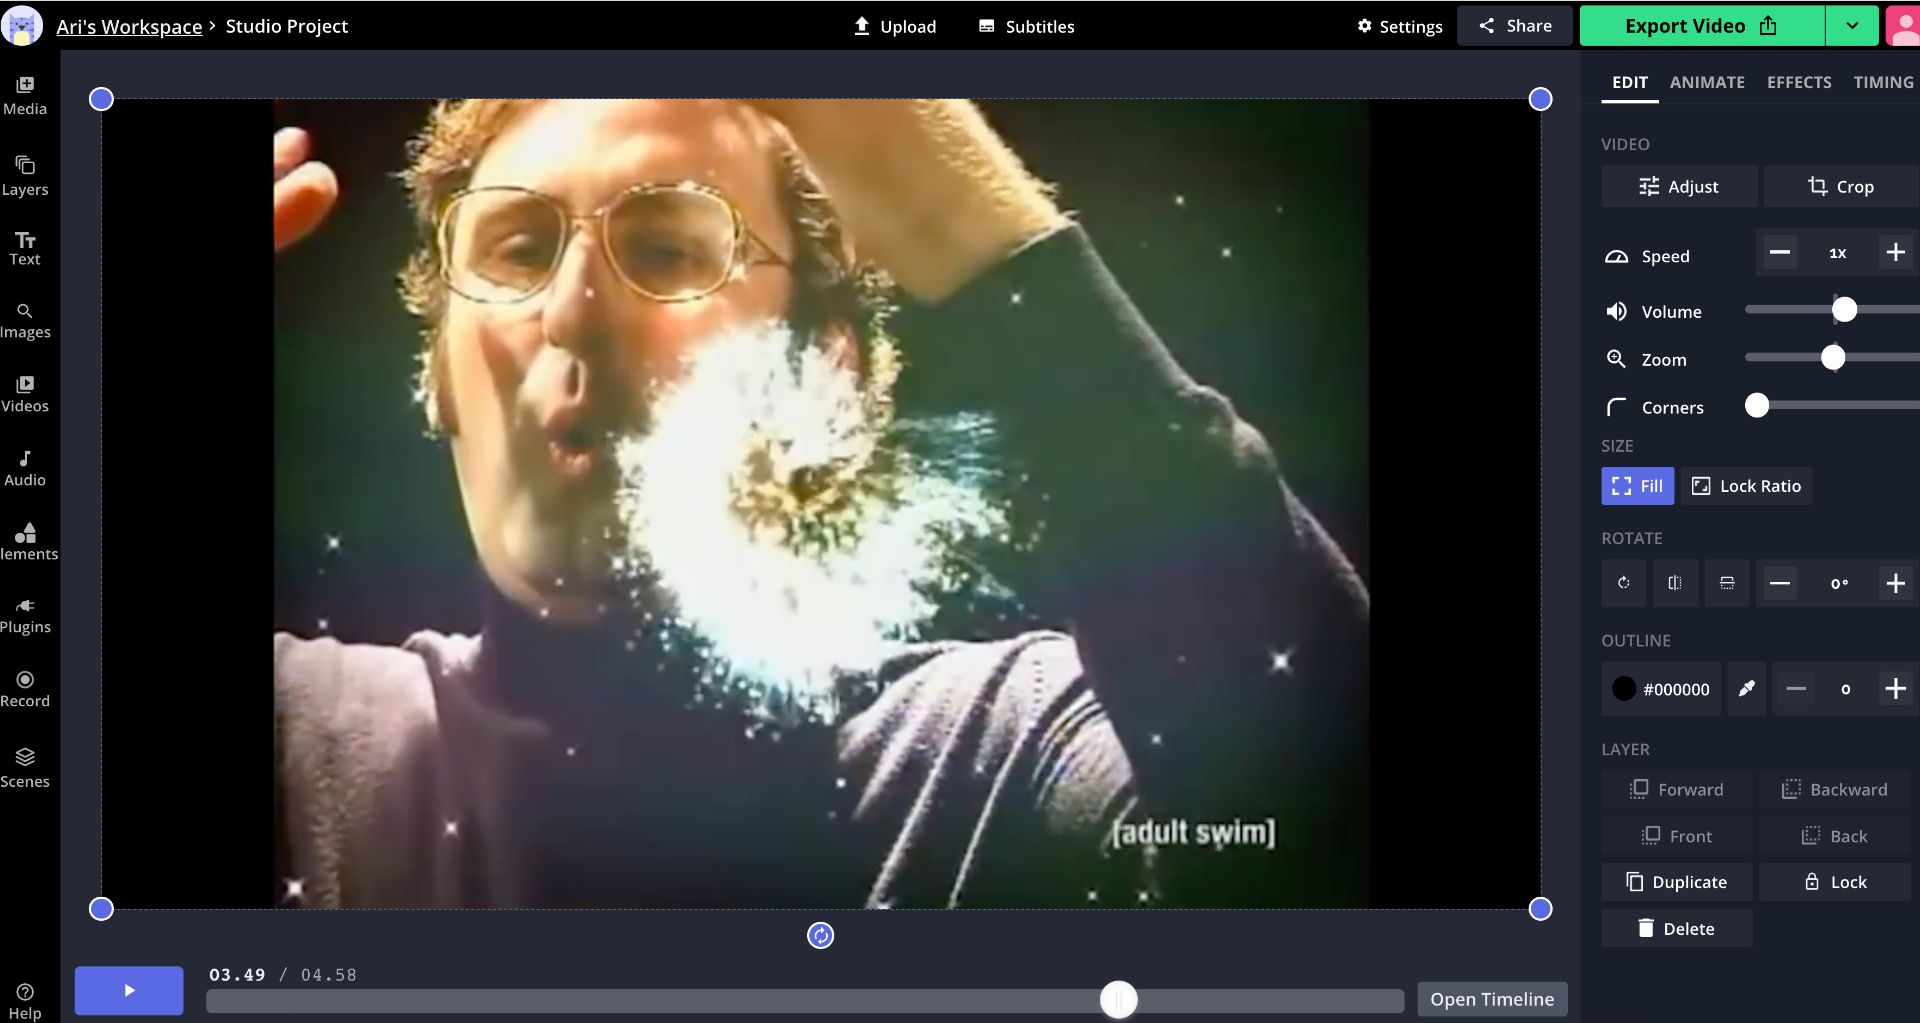
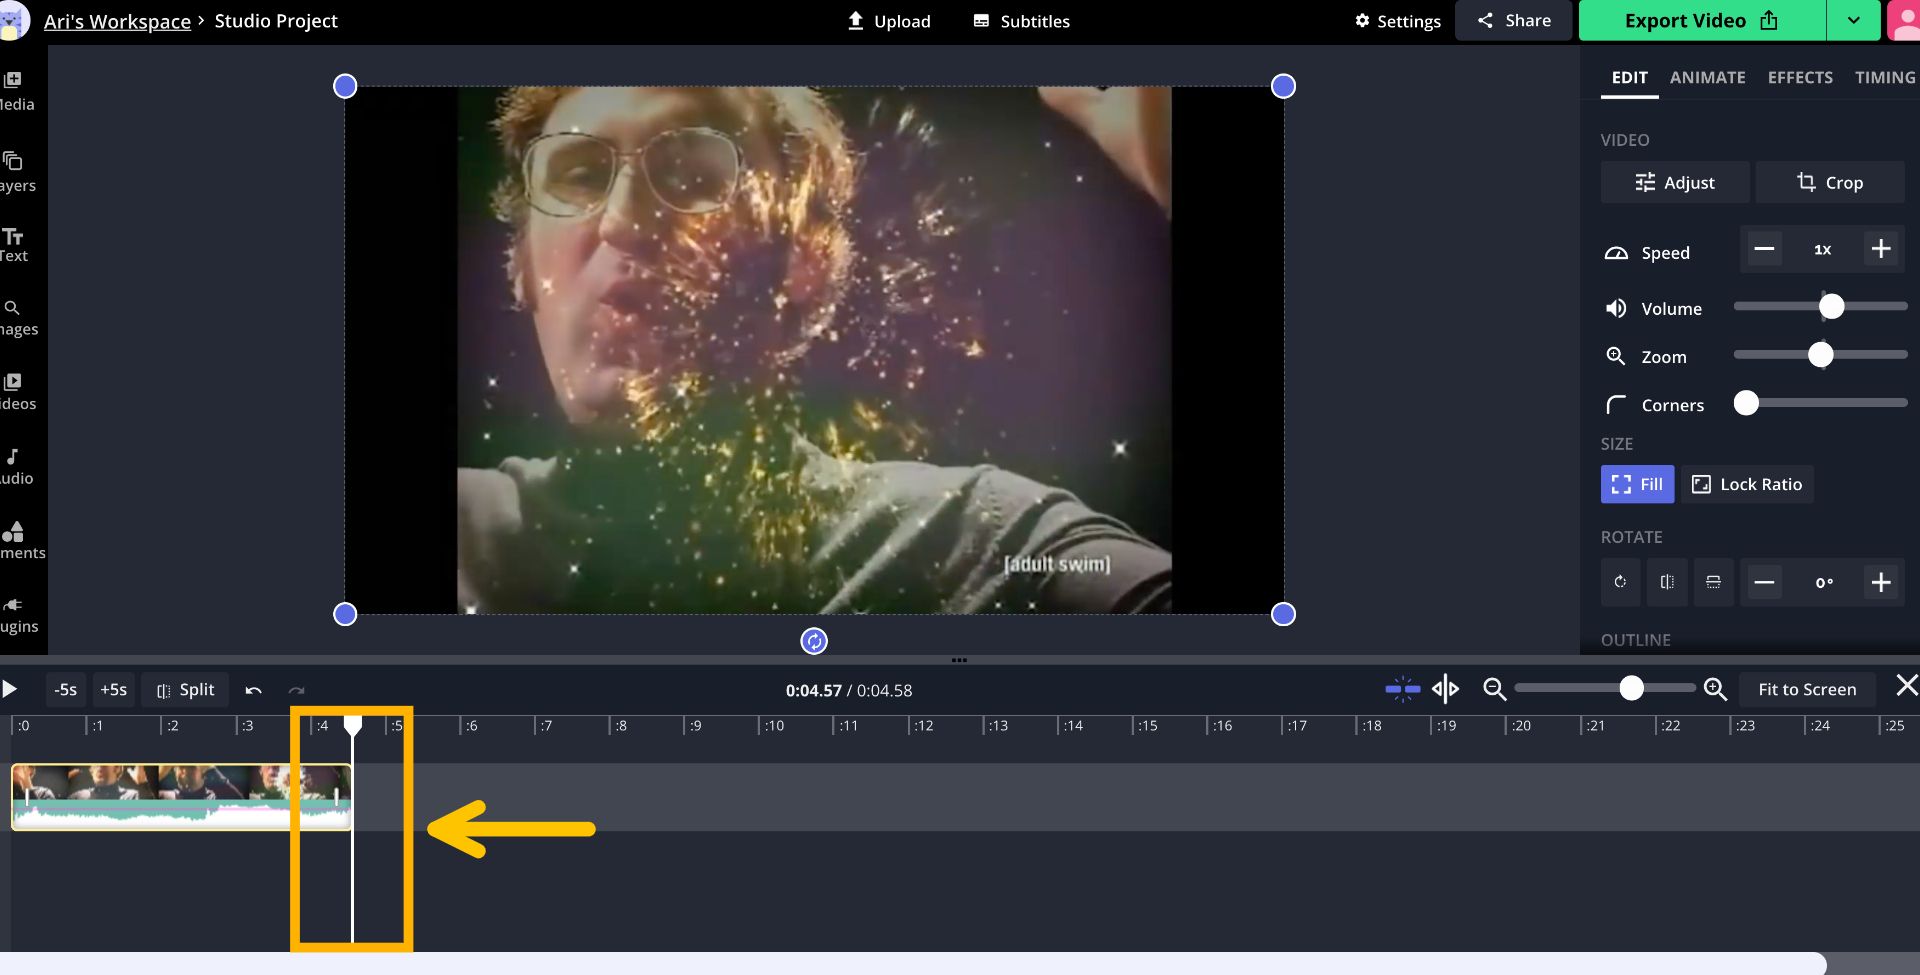
Once your content is fully uploaded to the Kapwing Studio, you can edit it in any way you need. If you’re using a video or GIF file to make your GIF emoji, you’ll probably want to trim & crop it, and maybe speed it up a bit, as well.
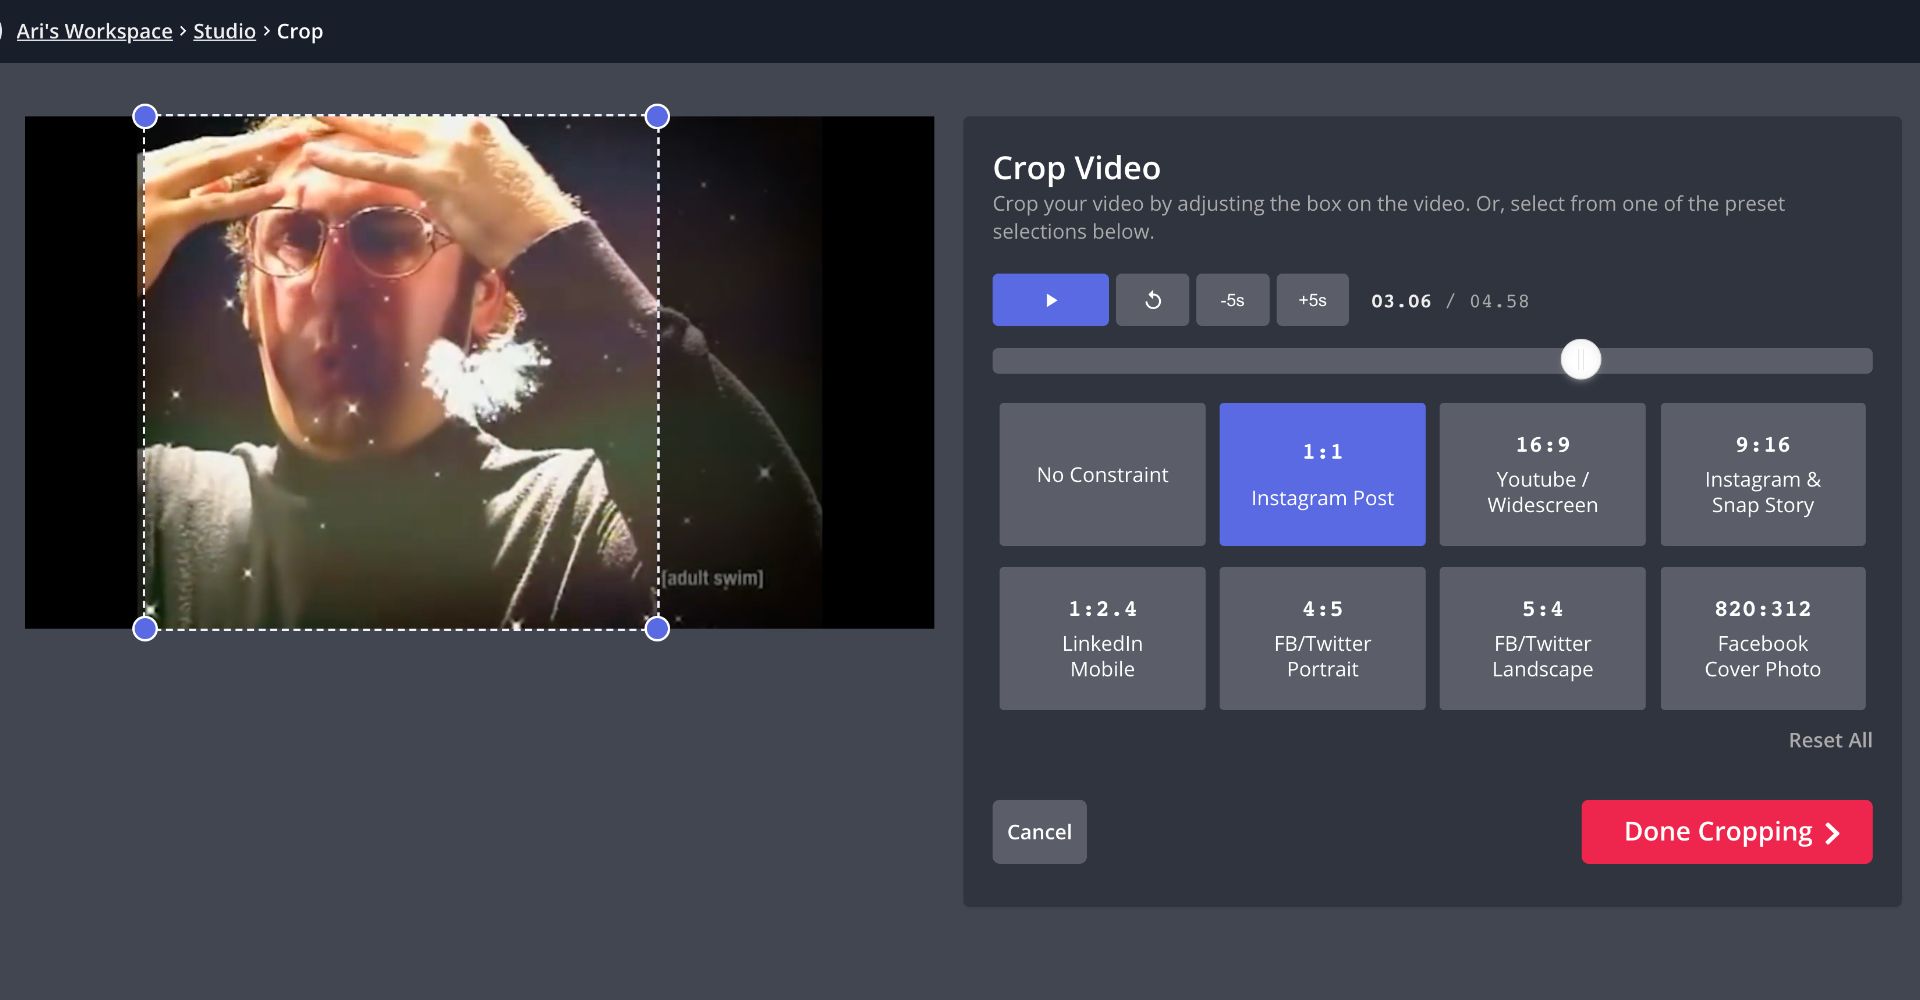
To trim your video, click & drag one of its ends in the Timeline on the bottom of the screen. You’ll also need to crop it to a square in order for it to work as an emoji in Discord – just select the Crop tool in the right-side menu and choose the square aspect ratio. To speed up your video, all you need to do is select the video layer and click the “+” button under Speed on the right side of the Studio.
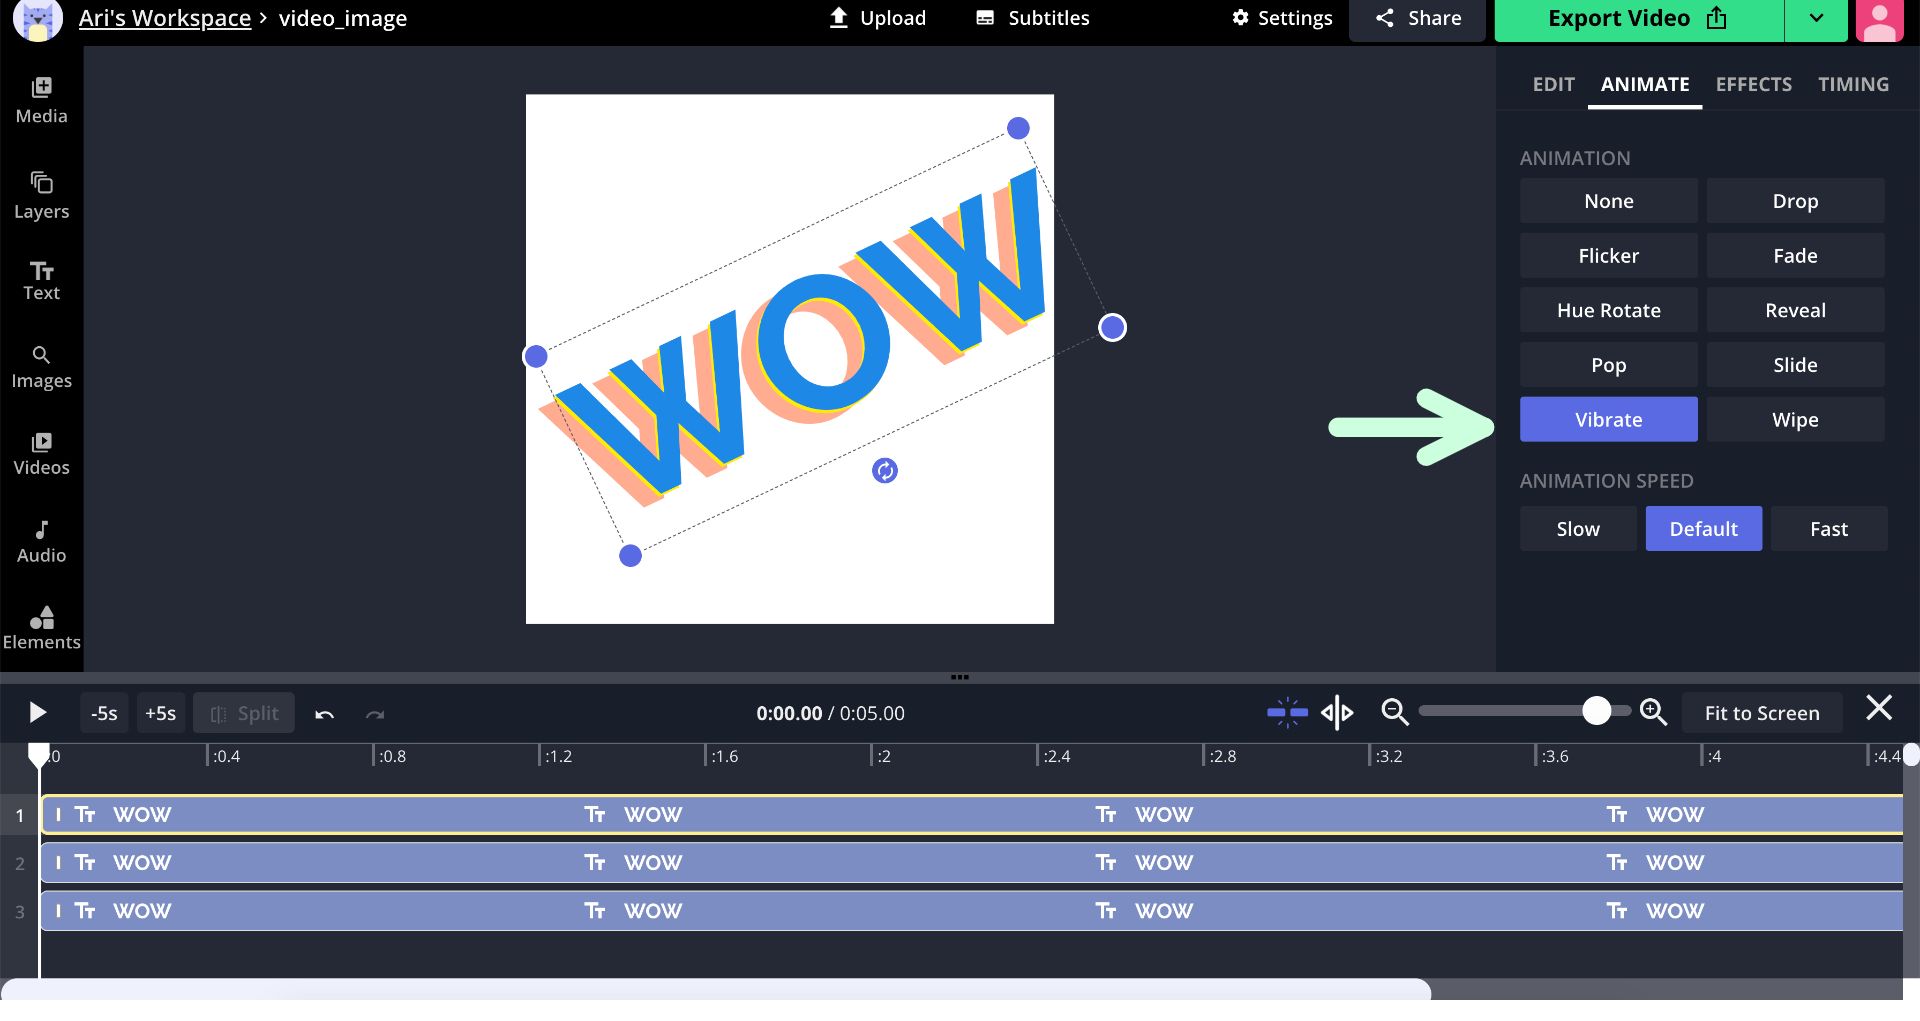
If you’re using an image or text for your animated emoji, you should add an animation to it in order to make it a moving GIF. In the Studio, select your image or text box and find the “Animate” tab in the menu on the right. Here, you can choose from 10 different animation styles to add to your GIF – the Vibrate and Hue Rotate options are likely the most useful for your photo and text GIFs.
Step 3: Export as a GIF
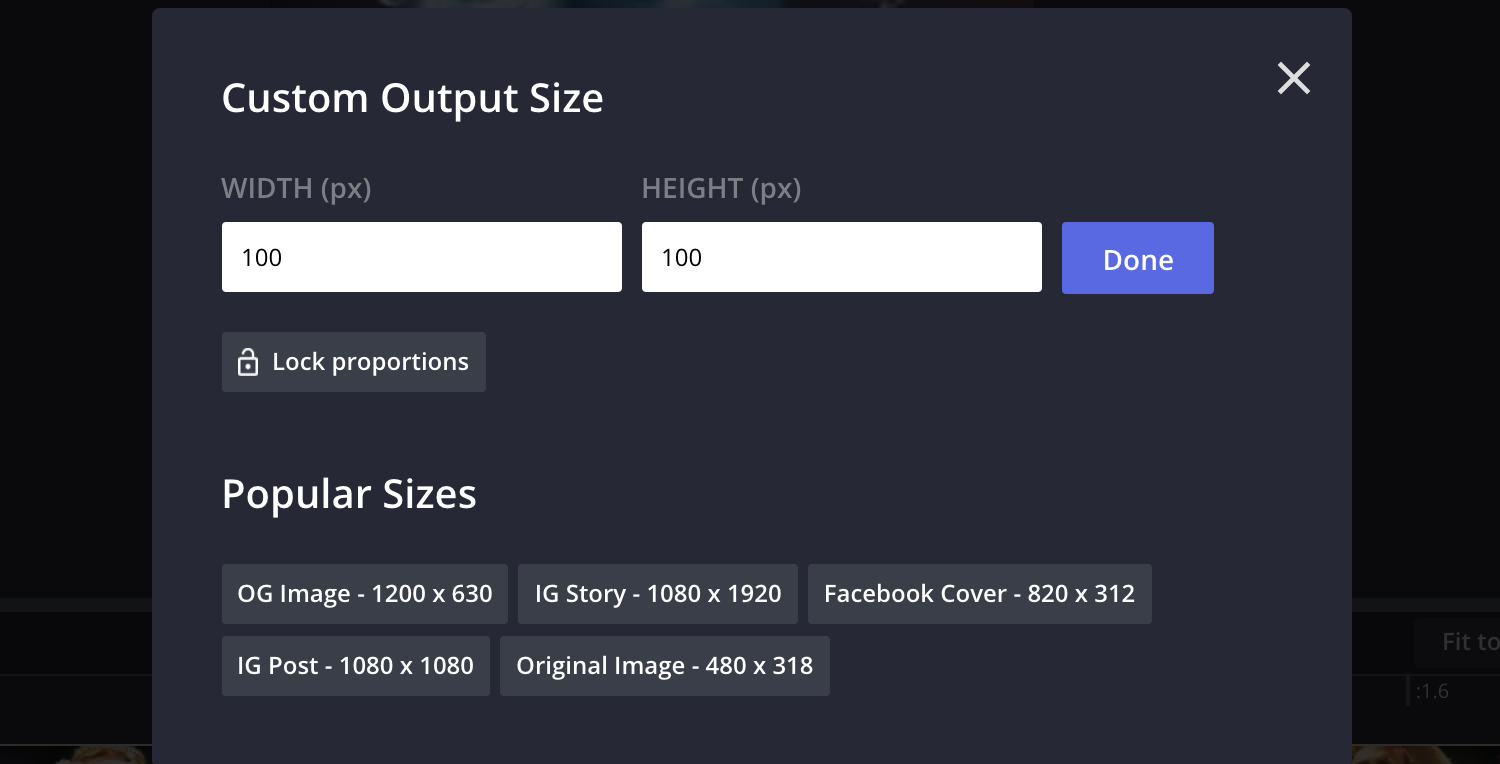
When you’ve either edited your video or animated your photo or text, you have one last step – make sure your GIF is small enough to use as a Discord emoji. Since emojis have to be under 256kb in size, many longer or larger GIFs won’t be able to upload. In the Kapwing Studio, I recommend keeping your GIFs under 3 seconds in length and about 100 pixels in their width and height. To resize your GIF, go to “Output Size” on the right-side menu and decrease your dimensions to a 100x100 square.
With your file size reduced, select the arrow to the right of the red Export button and choose Export as a GIF from the dropdown list. Kapwing will start processing your GIF file and it will be ready for download in under a minute.
Step 4: Add to Your Discord Server
With your GIF emoji saved to your files, go to Discord and open any server where you have emoji permissions as an Admin – the easiest way is to use your own personal server. Here, click the dropdown button next to the server title at the top of the channel list and select Server Settings. Select Emoji from the list of options, choose Upload Emoji, and find the GIF file you downloaded from Kapwing. Once it's uploaded and named, you can use it in any server you belong to!

I hope this article helps you spice up your Discord servers with any GIF you can imagine. If you're interested in more tips and tutorials on creating great digital content in 2021, check out the Kapwing YouTube channel, where we create multiple new videos every week. And while you're here, read through some related articles on creating and sharing content in Discord:
• How to Create a Discord Server Background
• How to Make a Discord Invite Background
• How to Share Large Videos in Discord
• How to Make a Discord PFP Online