How to Add Photo Transitions Online - Slideshow Maker
Your slideshow should always have photo transitions, as well as music and text. In this tutorial, I'll show you how to add photo transition effects online.

Slideshows have been around for a long, long time: ideally, they put all your photos together, add transitions, and create a story from nothing but photos.
The perfect slideshow maker not only lets you add photo transitions, but also allows you to add music and text. In this article, I’ll show you how to achieve this with a free online editor called Kapwing, so you don't have to download any transition packs or expensive editing features. Here's how you can get started:
- Upload your photos to an image editor
- Change the duration of your image layers
- Apply any transition you want
- Download the slideshow
1. Upload your pictures to an image editor
For my project, I'll be using Kapwing for my image editor since I can access it directly from my web browser.
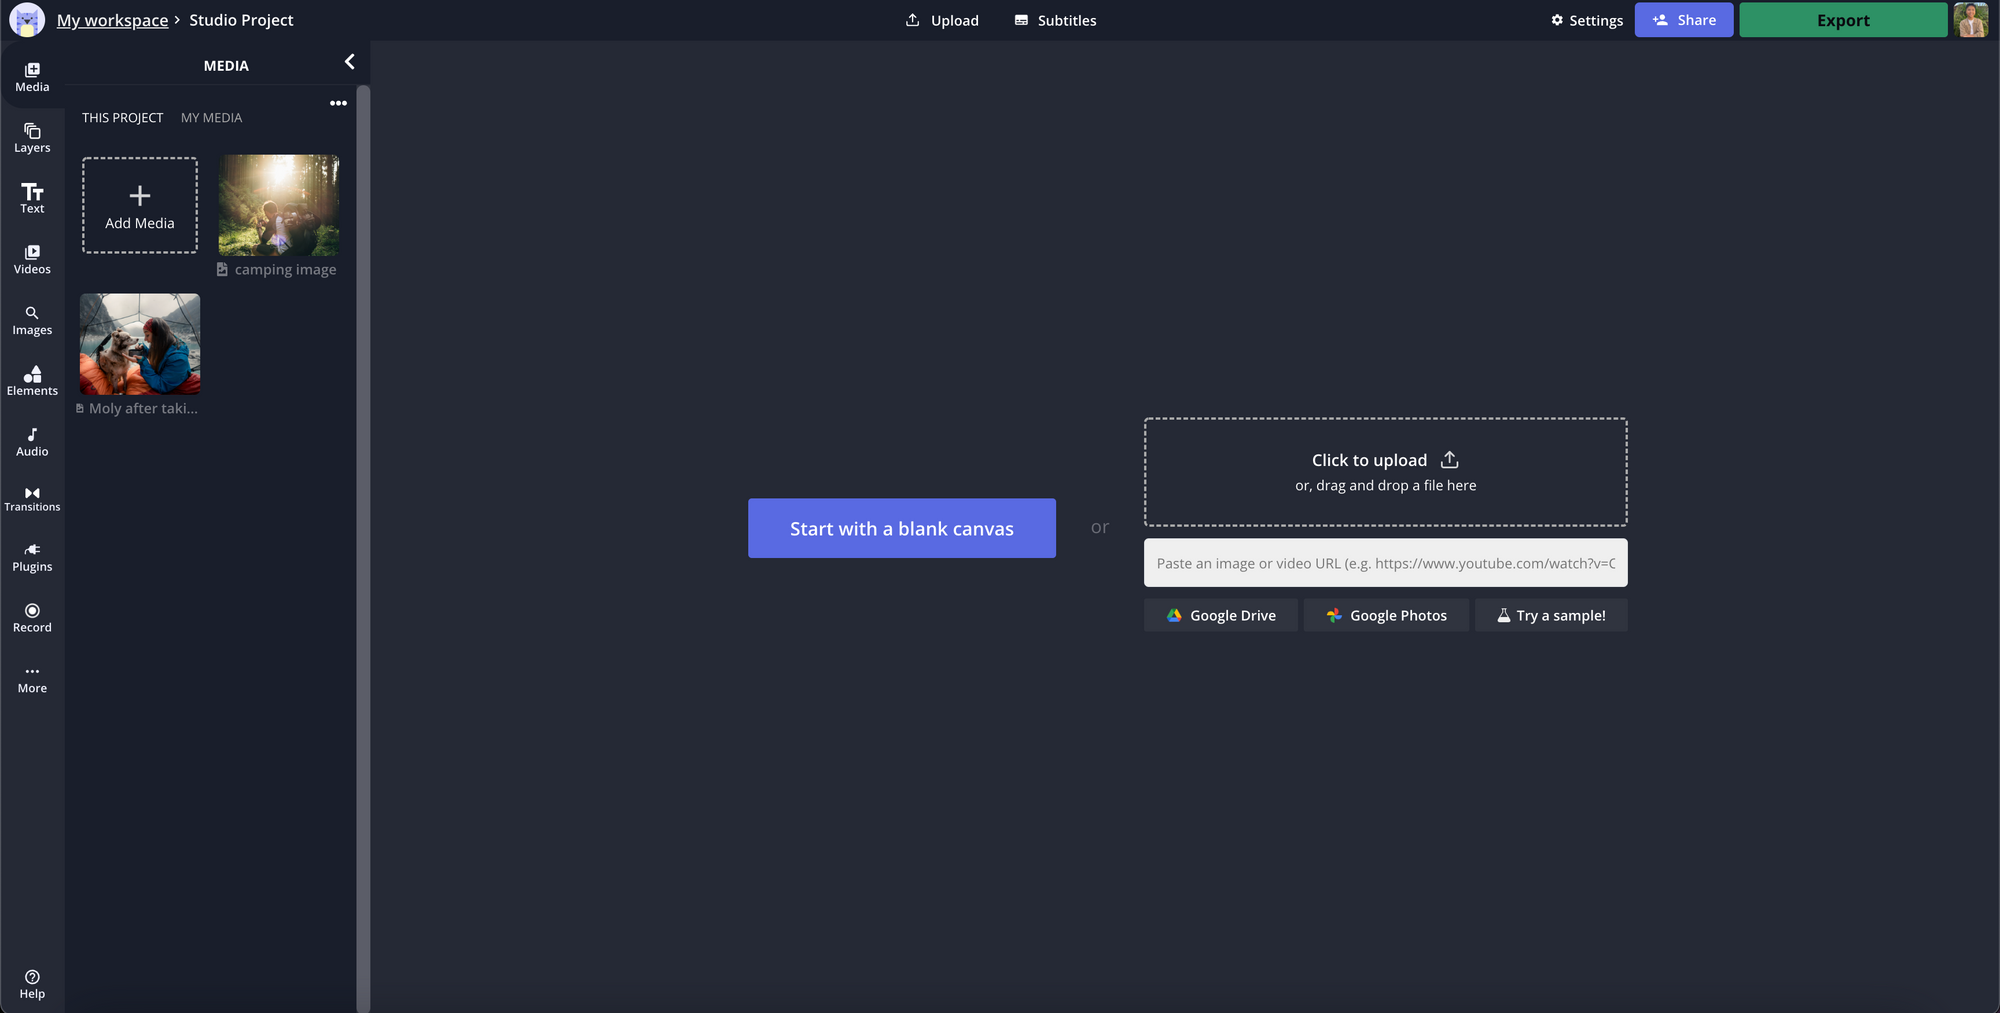
If you're using Kapwing, upload your pictures by dragging the picture files onto your canvas, clicking "Add Media" in the left sidebar, or pasting a link to the image in the link box.
Related Article: What is Keyframing? Keyframe Animation Explained
2. Change the duration of your image layers
Once you've uploaded the pictures you want to use, click on any of them on your canvas and click on the "Duration" dropdown menu in the right sidebar.
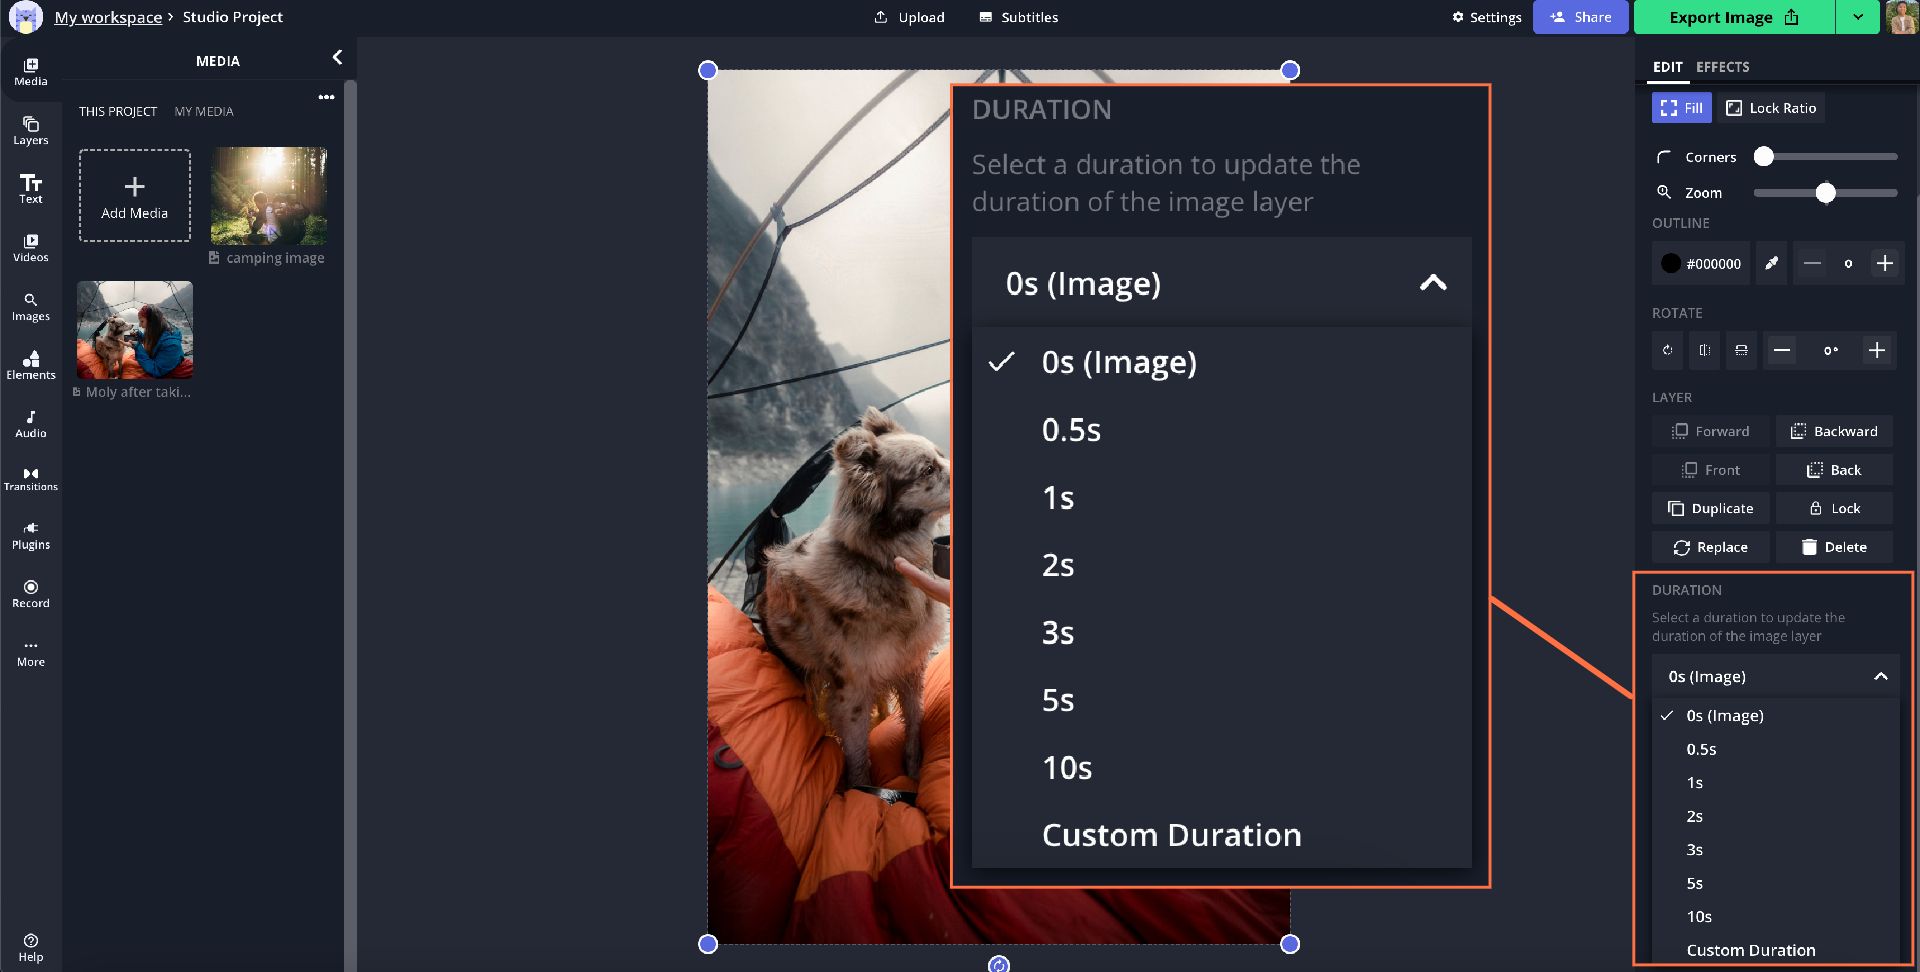
When you select the amount of time you want your pictures to be shown, a timeline will open in your editor. This will allow you to add transitions and any other effects you want for your slideshow.
3. Arrange your image layers and add transitions
In the timeline, click and drag each image layer in the order you want them to appear. You need to do this in order to connect each picture with a transition.
Choose from over 60 different picture transitions to stitch your slideshow together. You can also customize your slideshow with drag and drop text, animated elements and images.
For a high-quality slideshow, transitions might not be enough – adding music to your project can enhance it greatly. To add music, open the "Audio" tab in the left sidebar and upload any audio file from your own computer, or just paste a link to YouTube, SoundCloud, TikTok or any other music location online.
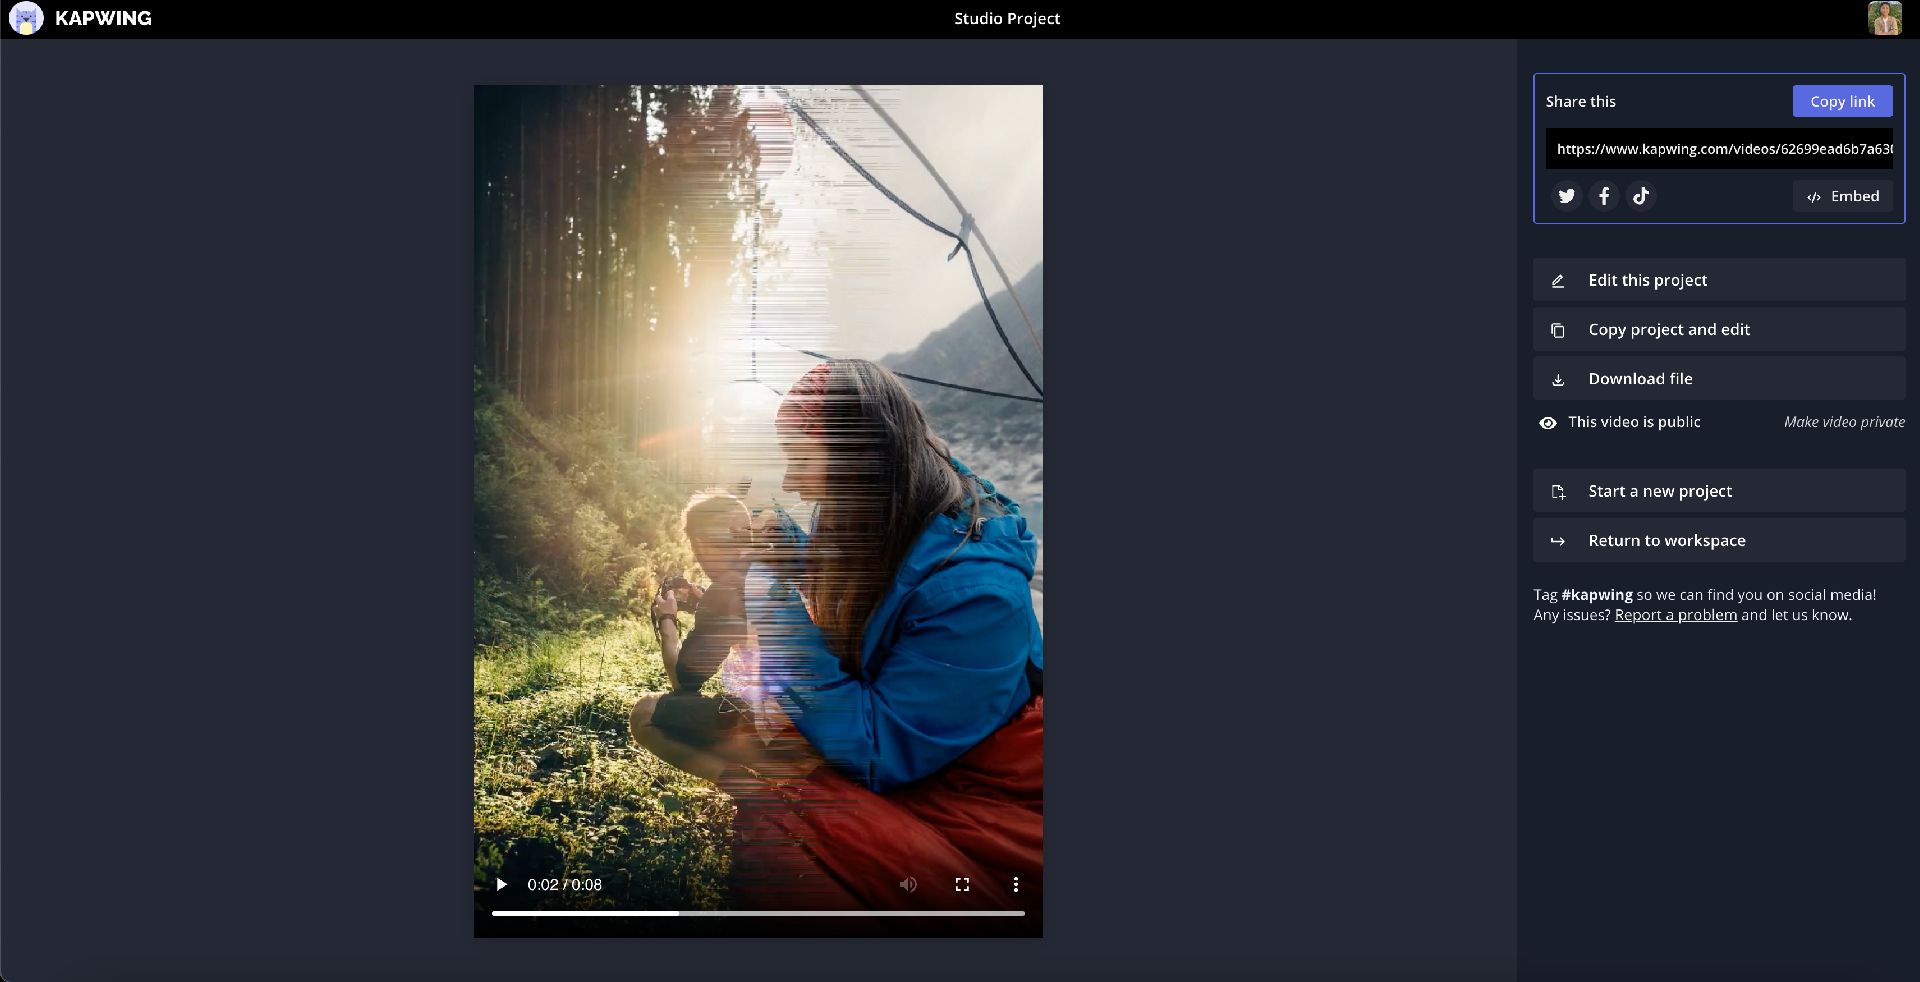
4. Download the slideshow
When you're satisfied with your slideshow, click "Export Video." Once it’s done processing, download your slides and they're ready to share.
If you're not signed into a Kapwing account, sign in or sign up using your Google or Facebook account – once you've signed into a Kapwing account, the watermark in the lower right corner will be removed from your final image.
I hope this article helps you make touching, beautiful slideshows, no matter how much editing experience you have. If you're interested in more tips and tutorials on creating great digital content in 2021, take a look at our YouTube channel, Kapwing App. In the meantime, look through some related articles on photo editing with Kapwing:
- How to Add Text Effects and Animations to a Video
- How to Make a Slideshow With Music
- How to Make a GIF Slideshow
- How to Create an Aging Time Lapse Video